

























How to choose the right marking method
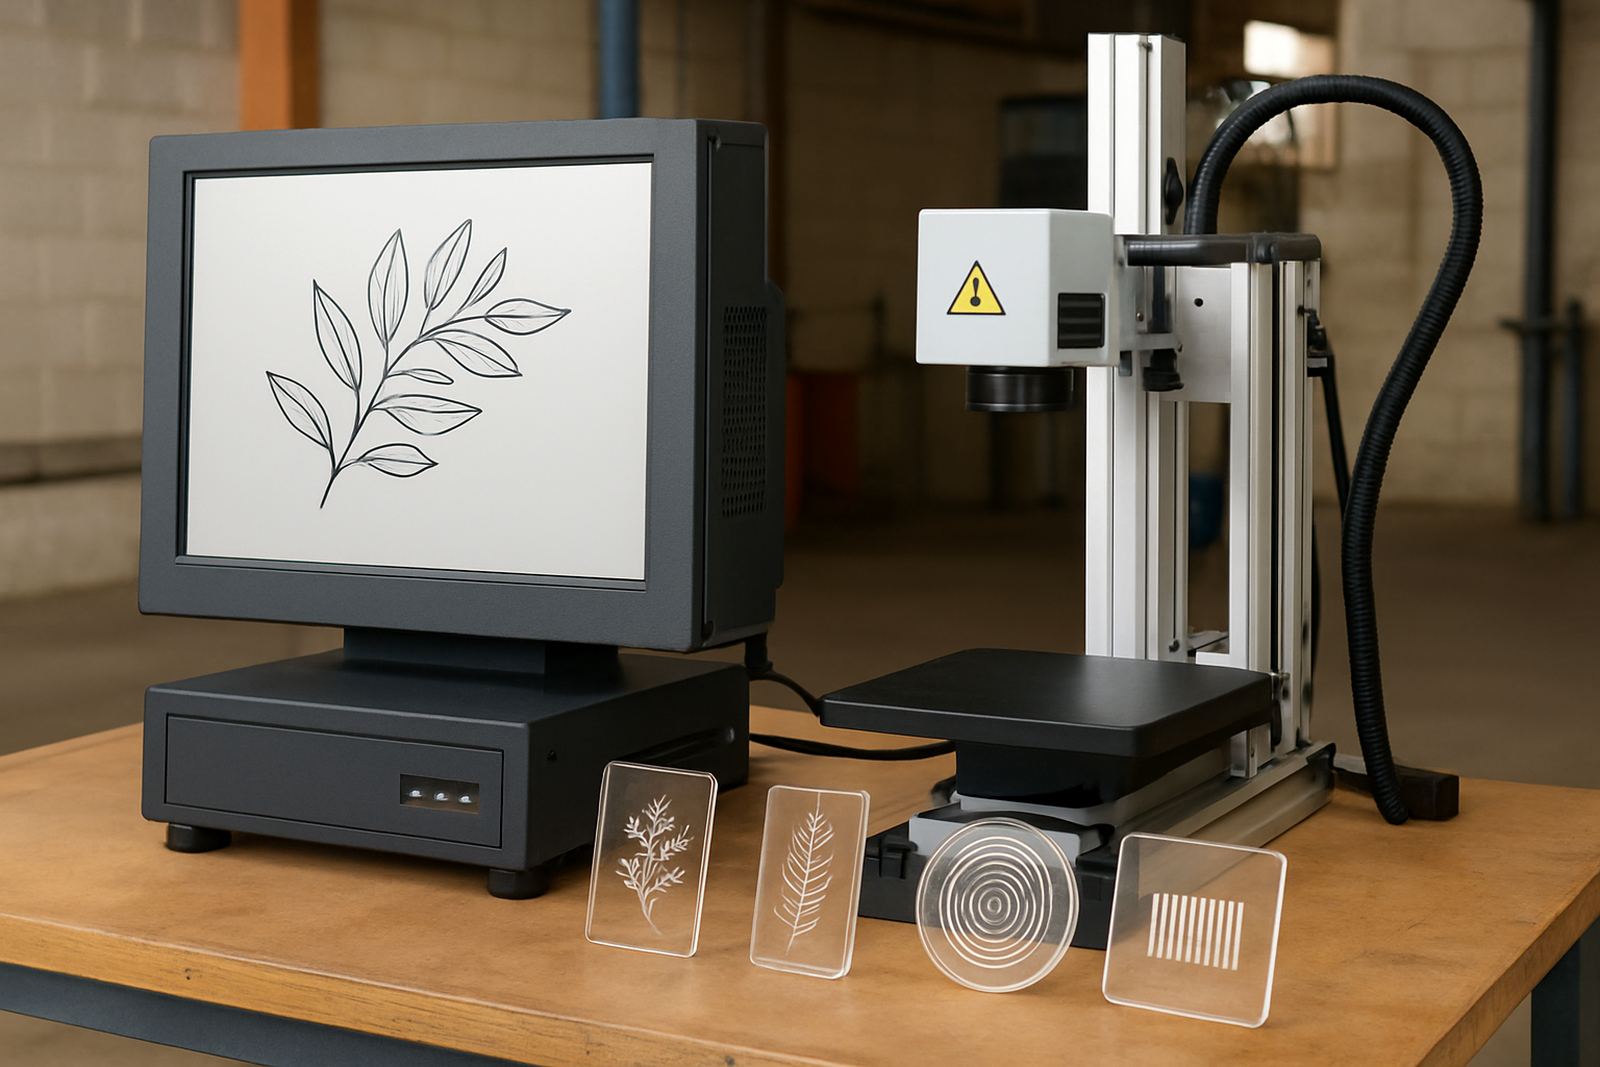
Choosing a marking method starts with the substrate, the finish, and how the product will be used after marking. Glass bottles, cosmetic jars, technical plastics and retail packaging all behave differently, so the same setting will not suit every job.
When you read a journal article here, look for the part that explains permanence, contrast, speed and how the mark holds up in handling or washing. A good decision usually comes down to whether you need a subtle trace, a high-contrast identifier, or a mark that must stay clear through warehouse movement, transport and daily use.
- Check whether the article focuses on glass, plastics, or both
- Match the mark to the product's end use and cleaning process
- Consider production speed, changeovers and batch sizes
- Look for notes on sample testing before full production
Material behaviour on glass and plastics
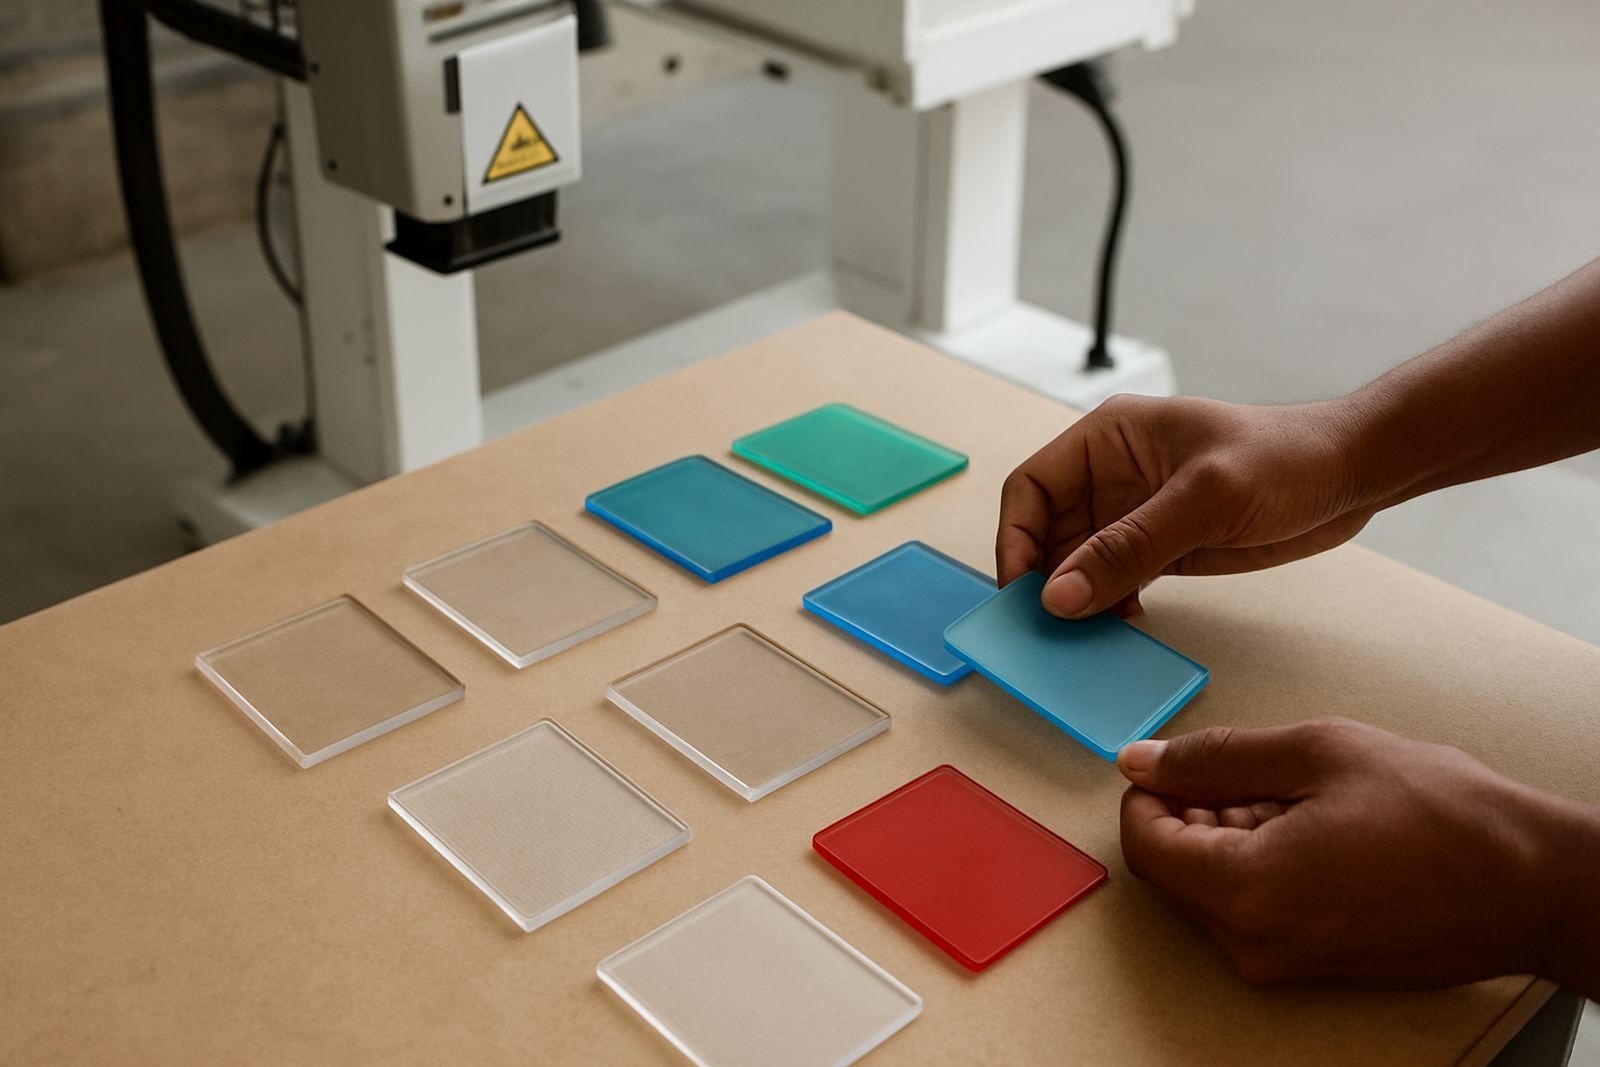
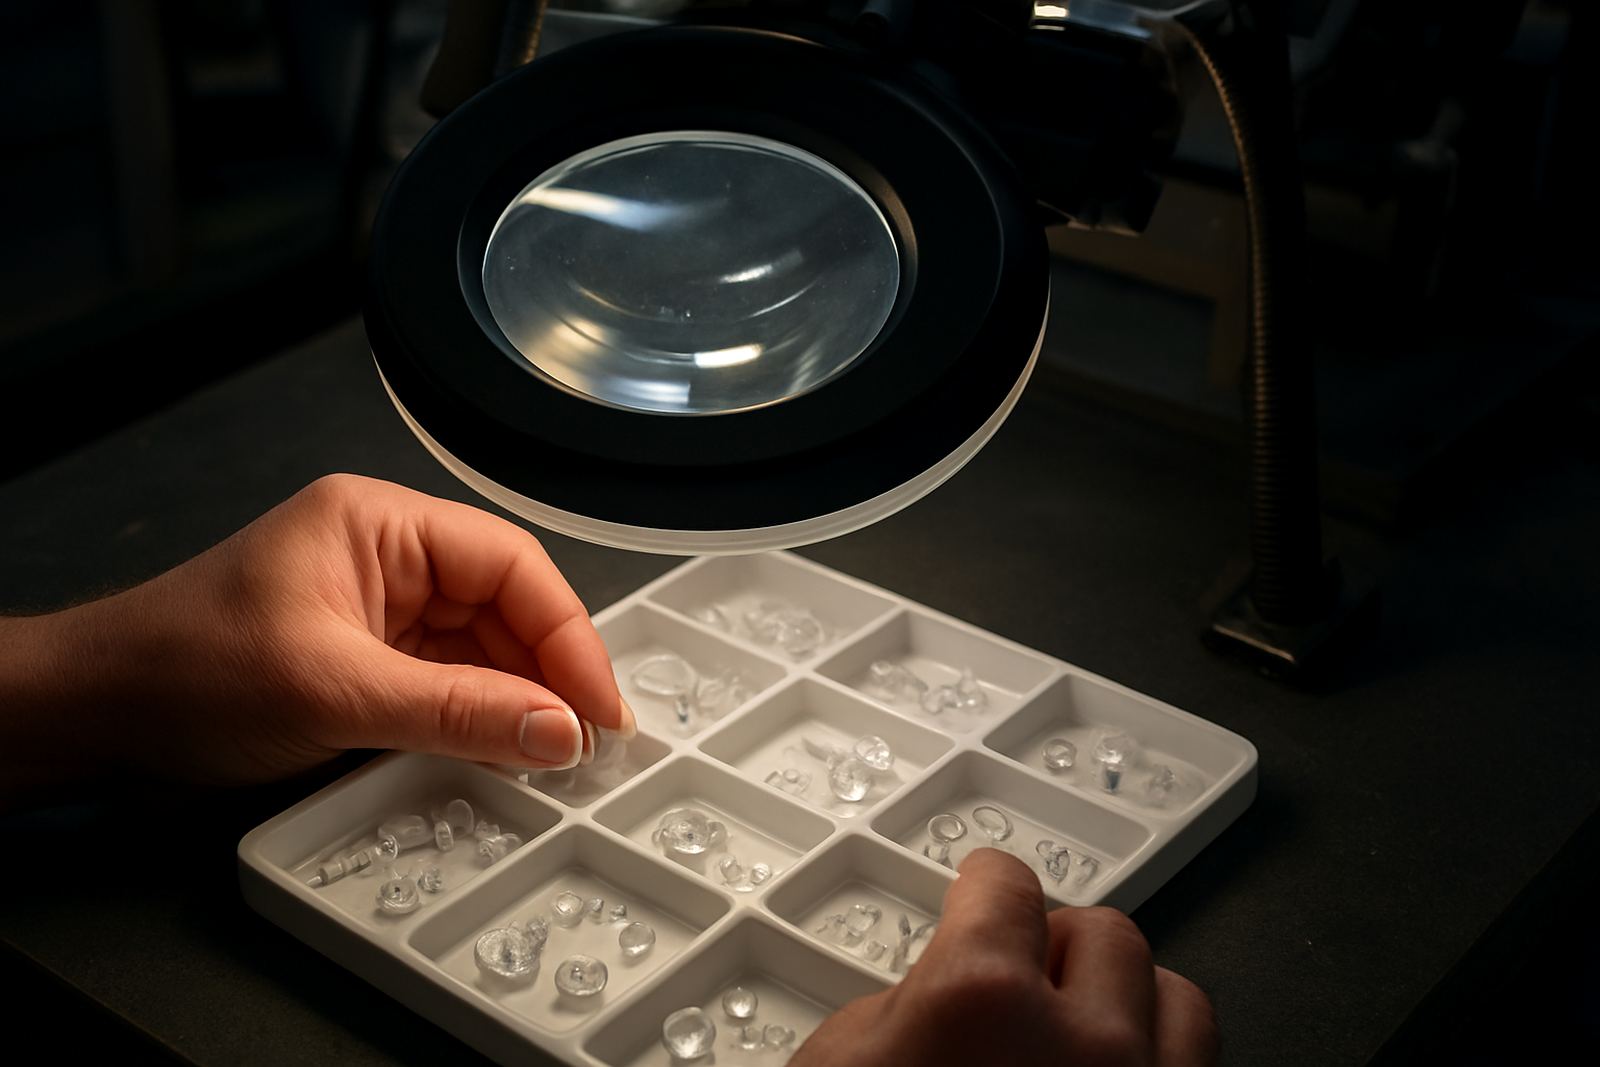
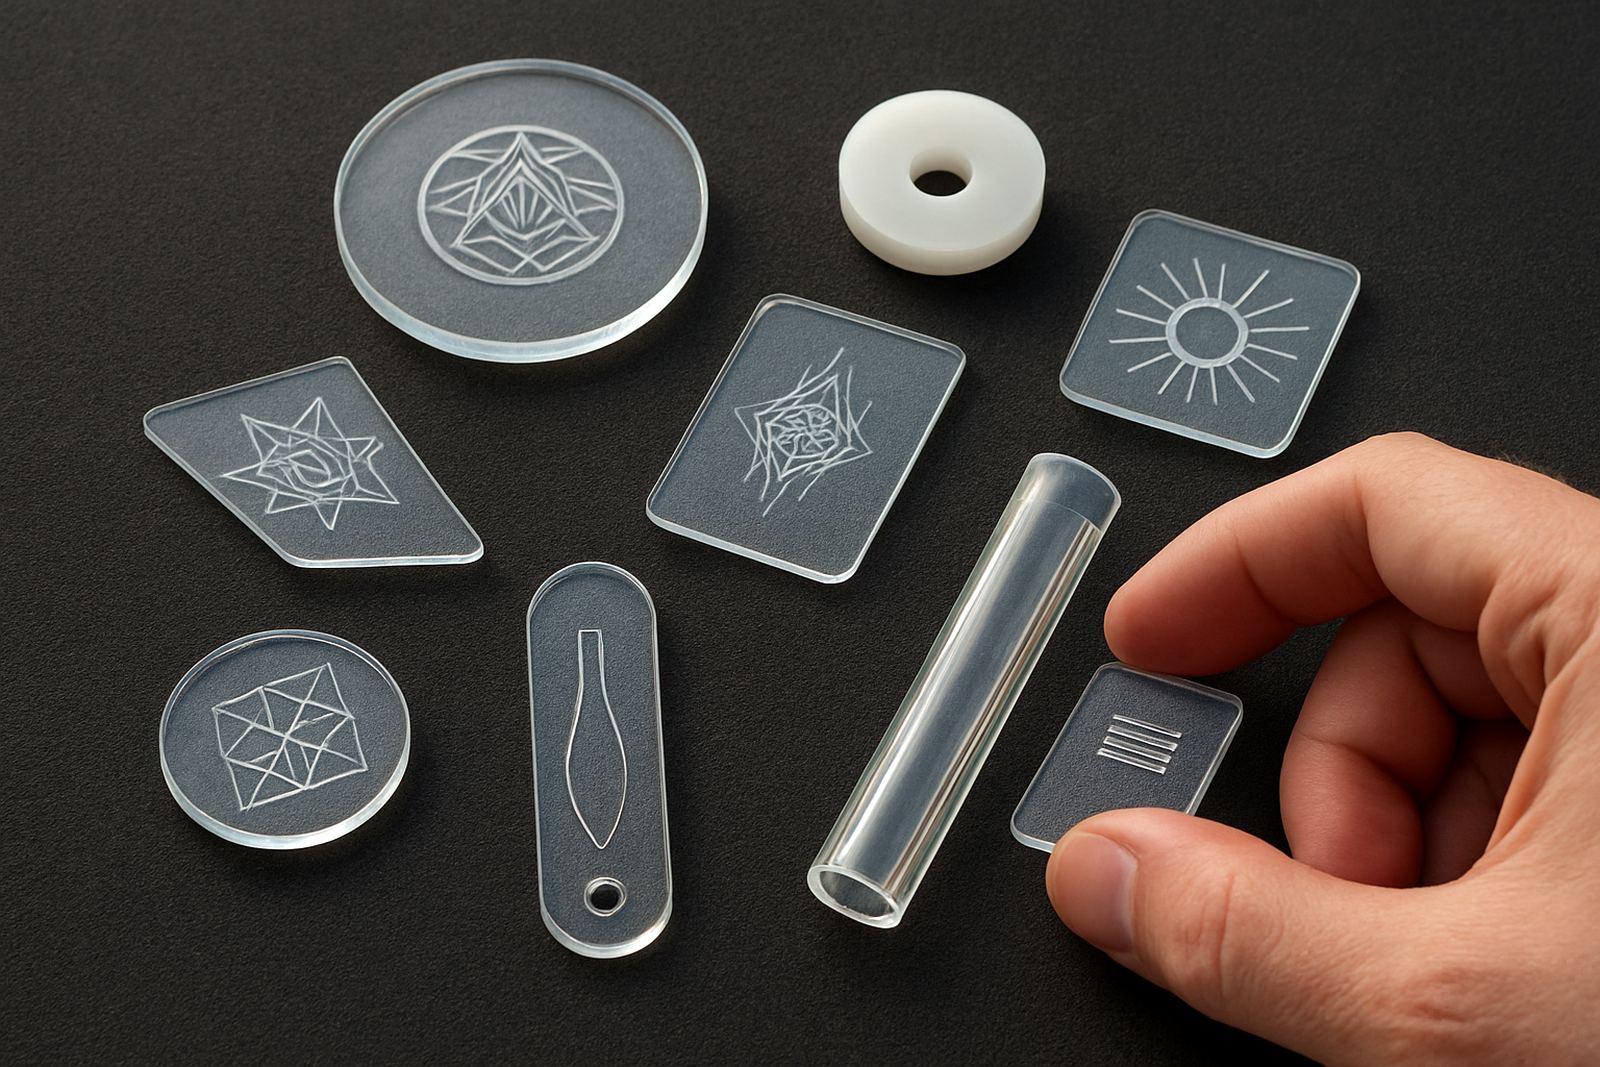
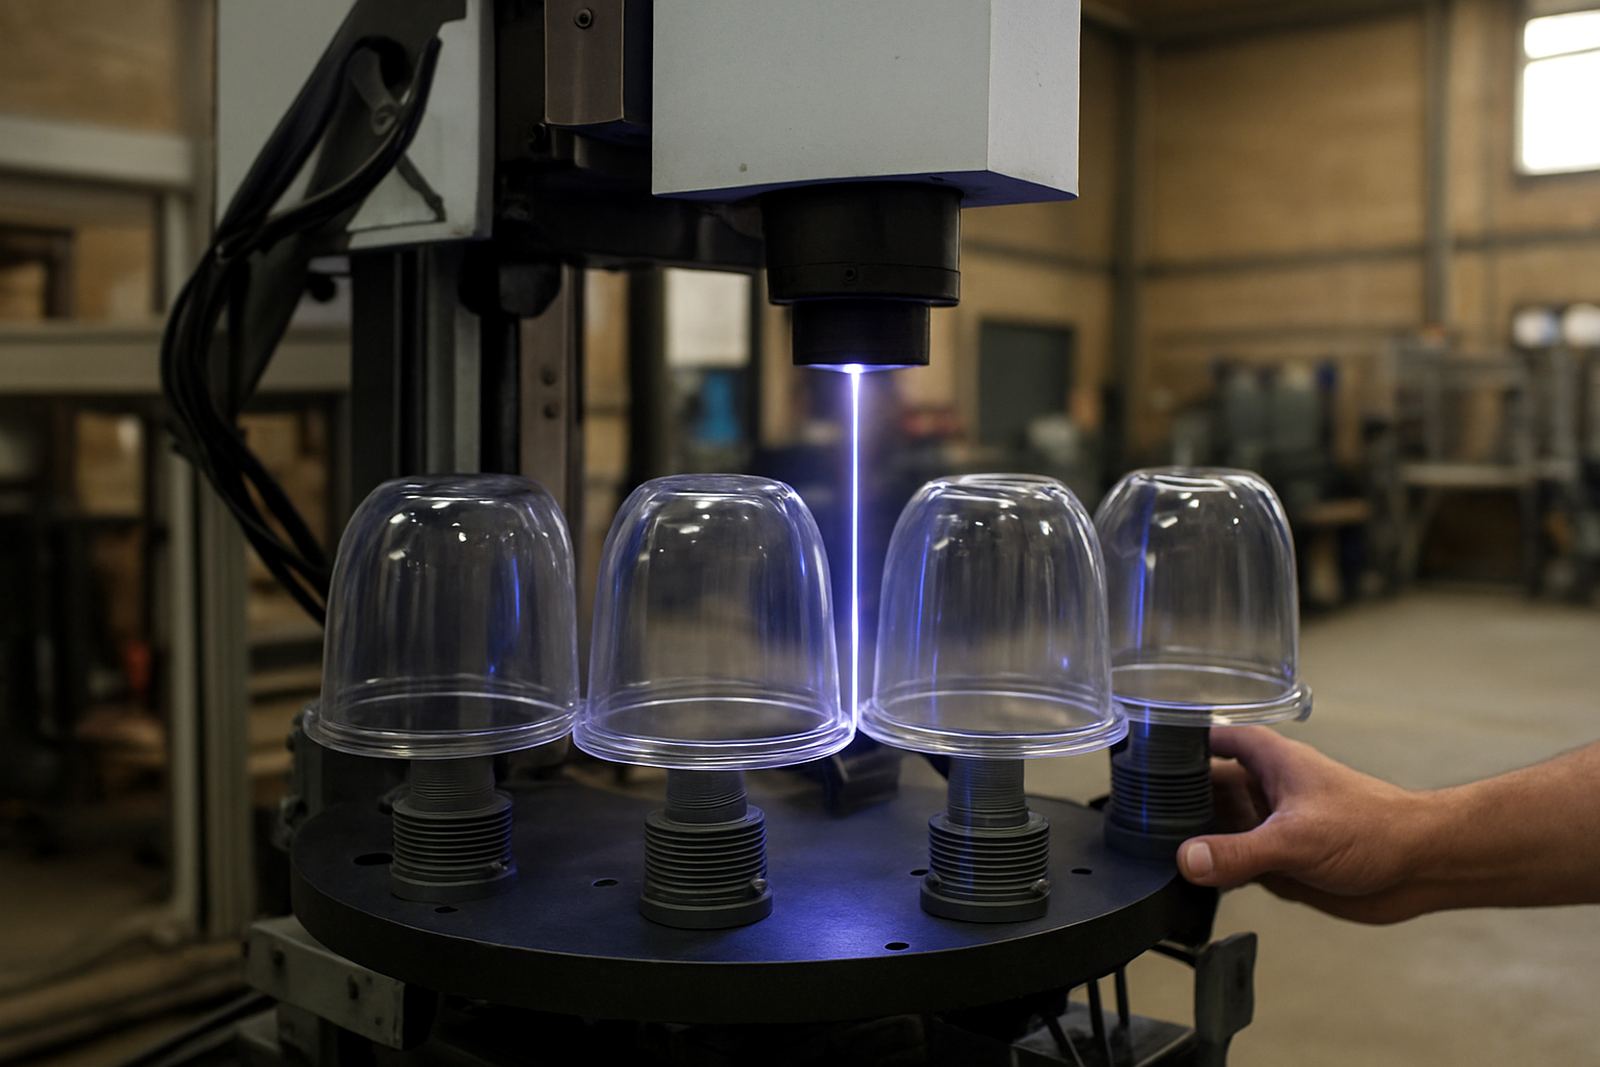
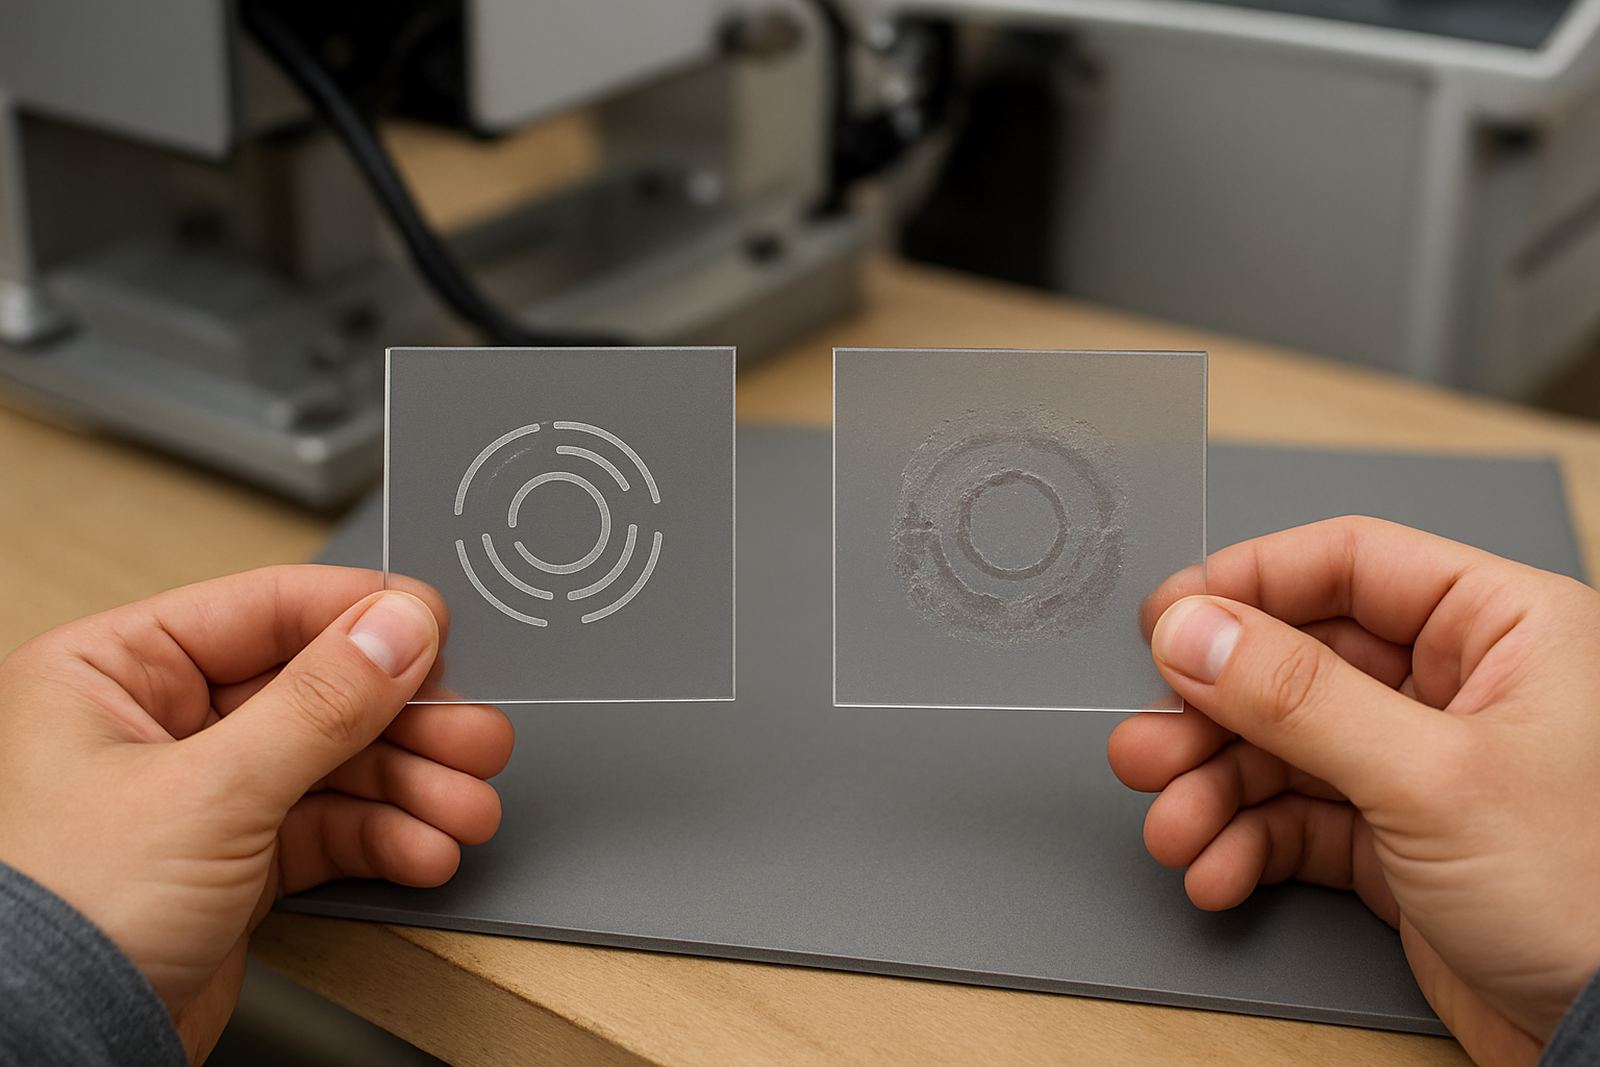
Glass and plastics react differently to heat, surface finish and beam settings, so material behaviour matters more than many buyers expect. Some plastics mark cleanly on the first pass, while others need tighter control to avoid scorching, haze or uneven contrast. On glass, the goal is often a crisp, controlled mark that does not chip or spread.
Our articles explain what to watch for on clear, coloured and coated materials, including how humidity, dust and inconsistent feed can affect repeatability. In coastal areas, storage conditions can also influence how a product behaves before it reaches the machine, so it helps to understand the material before signing off a production run.
- Surface gloss can change how visible the mark appears
- Thickness and shape may affect focus and consistency
- Some plastics need more careful setting to reduce heat build-up
- Glass quality and finish influence edge clarity and detail
Planning production around real factory conditions
Production planning is not only about output per hour. In South African factories, you also have to factor in shift changes, load-shedding, maintenance windows and the time needed for set-up after a changeover. A well planned marking process keeps stoppages short and reduces wasted material.
The journal covers practical issues such as line speed, sample approval, fixture use and how to organise jobs when several product types move through the same area. If your team works from Jet Park to Germiston, or supports customers in Pretoria and Midrand, planning for travel, handover time and on-site checks can save a full day of lost output.
- Allow for set-up time when switching between products
- Build in sample approval before the main run starts
- Keep a small window for power interruptions or machine checks
- Plan spares and cleaning tasks before peak production periods
What sample testing should tell you
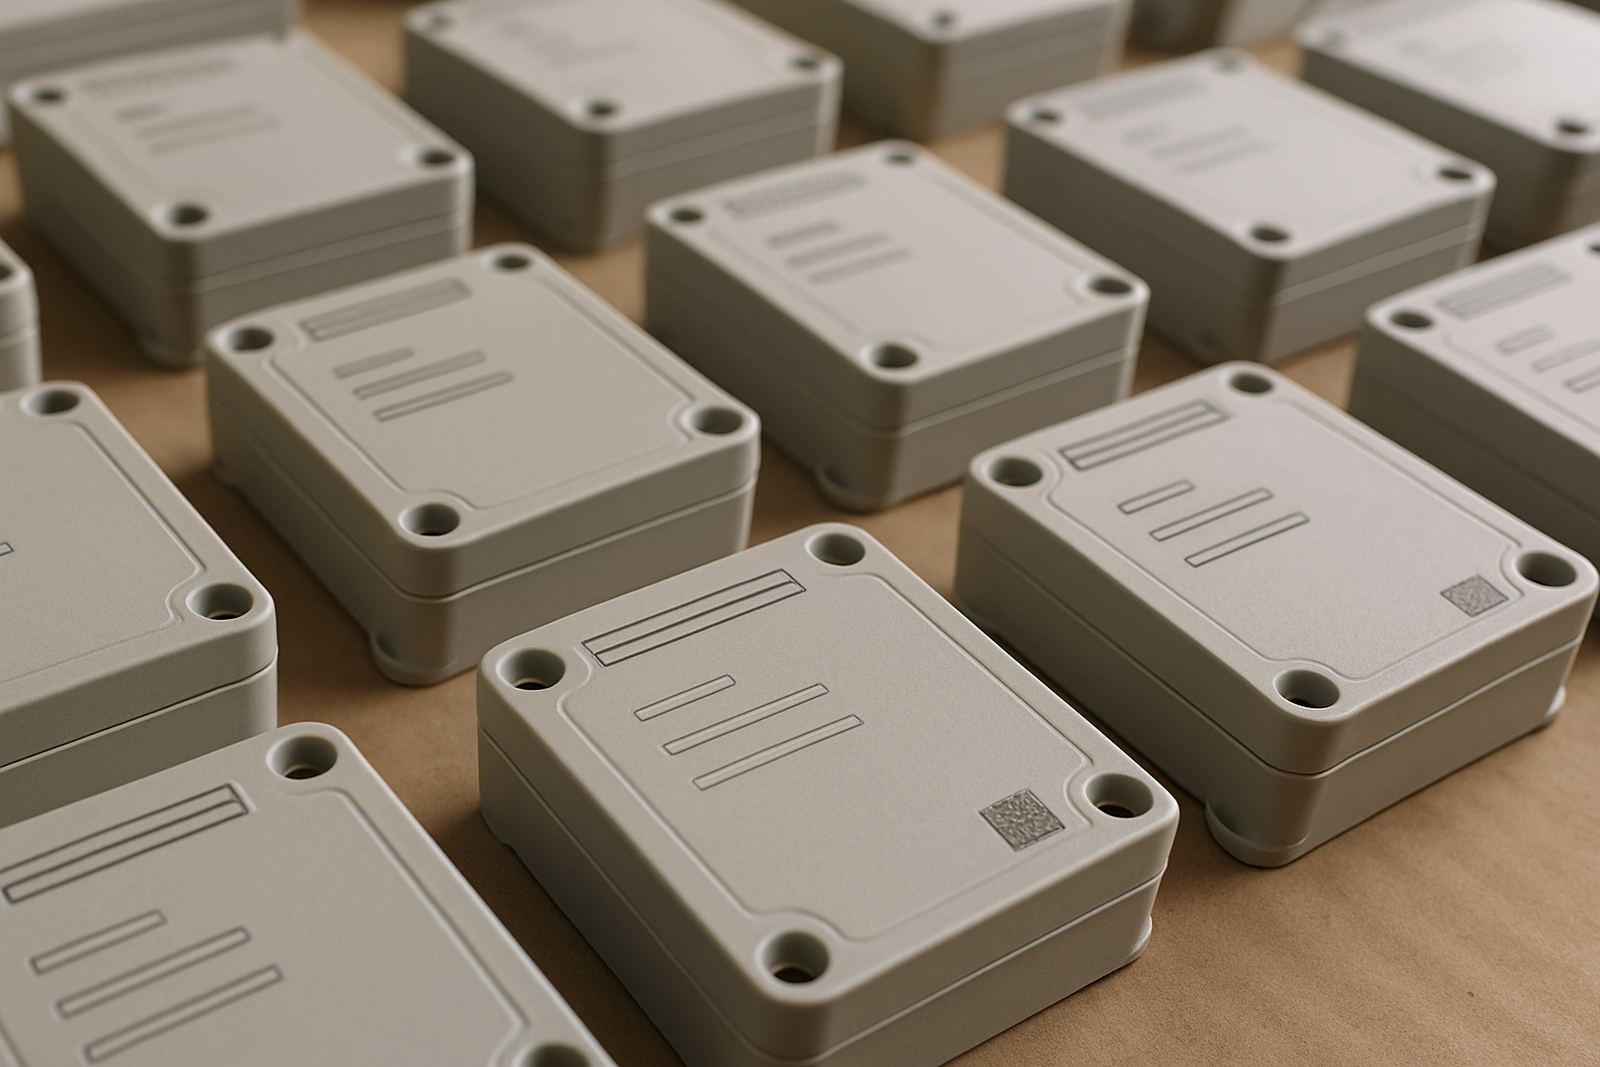
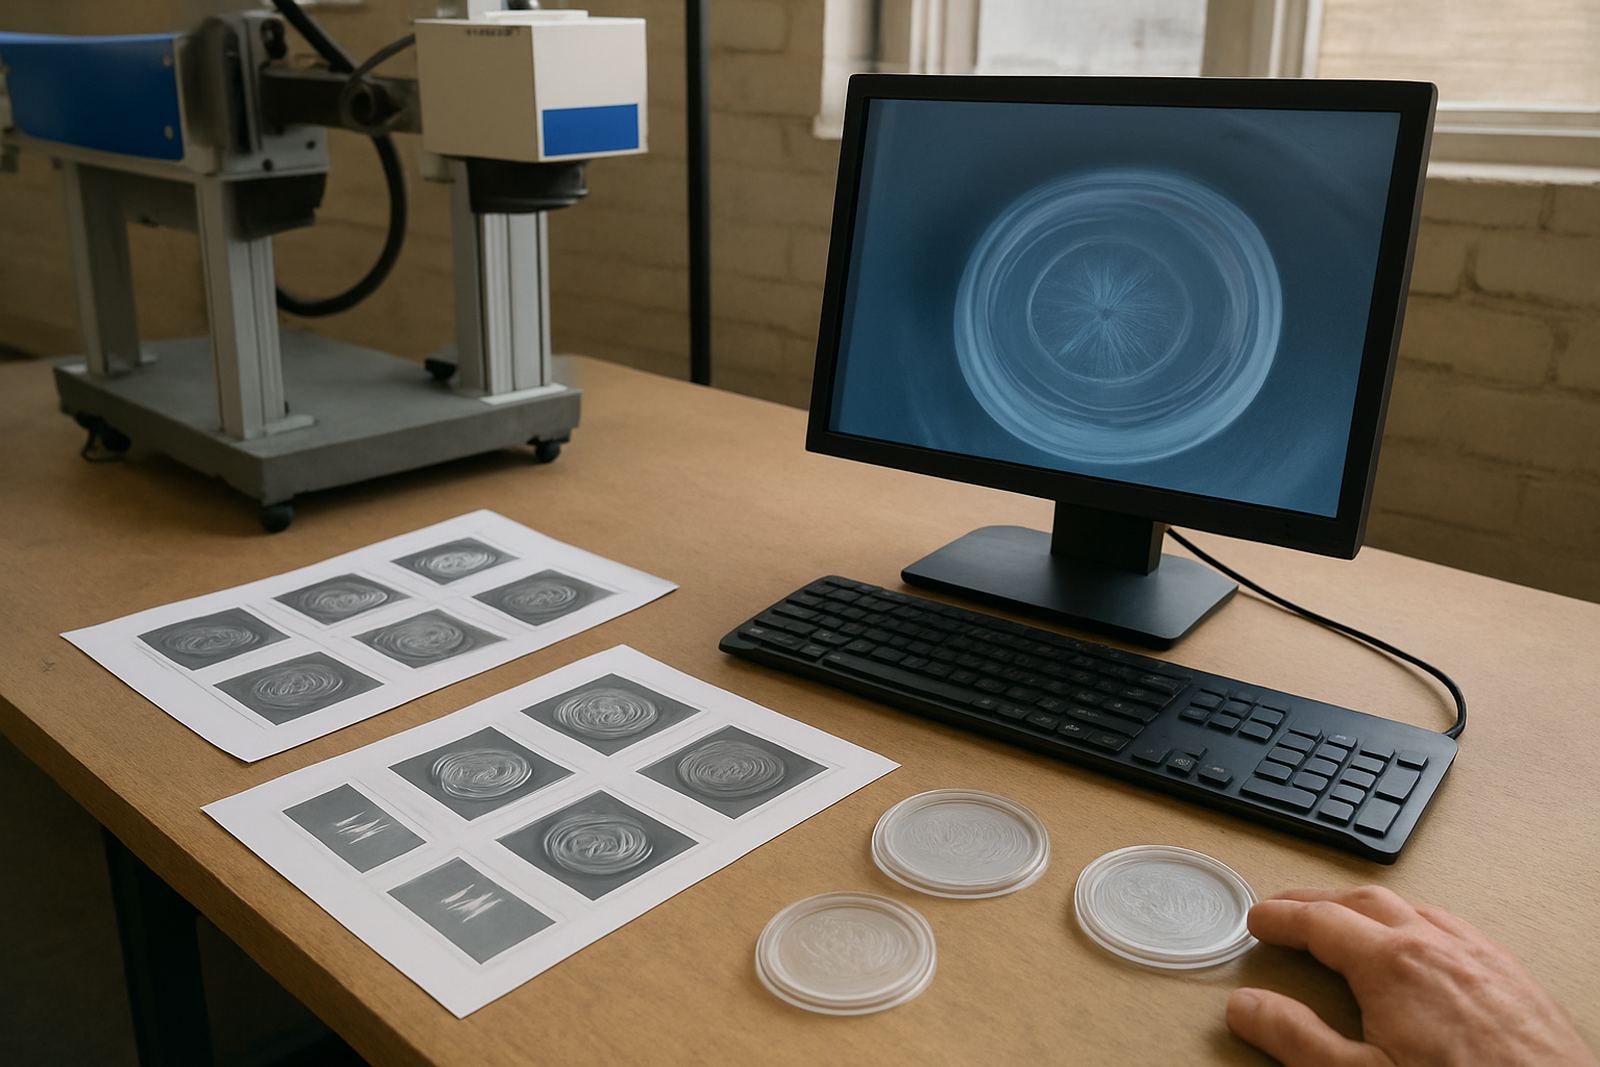
Sample testing is where a marking project becomes practical. It shows whether the finish is legible, permanent and consistent on the actual part, not just on paper or a theory sheet. A proper test should also show whether the mark meets your packaging or traceability needs.
When a customer sends samples in for testing, the aim is to compare options and record what works best for the material and the line setup. That includes marking position, cycle time, font size, fixture design and any change needed in software or handling. A small adjustment can make the difference between a mark that looks acceptable and one that holds up across a whole batch.
- Test on the same material and finish used in production
- Check readability from the distance your staff or customers will use
- Review edge quality, depth and contrast after handling
- Confirm the result still looks right after cleaning or movement
Machine care that keeps output steady
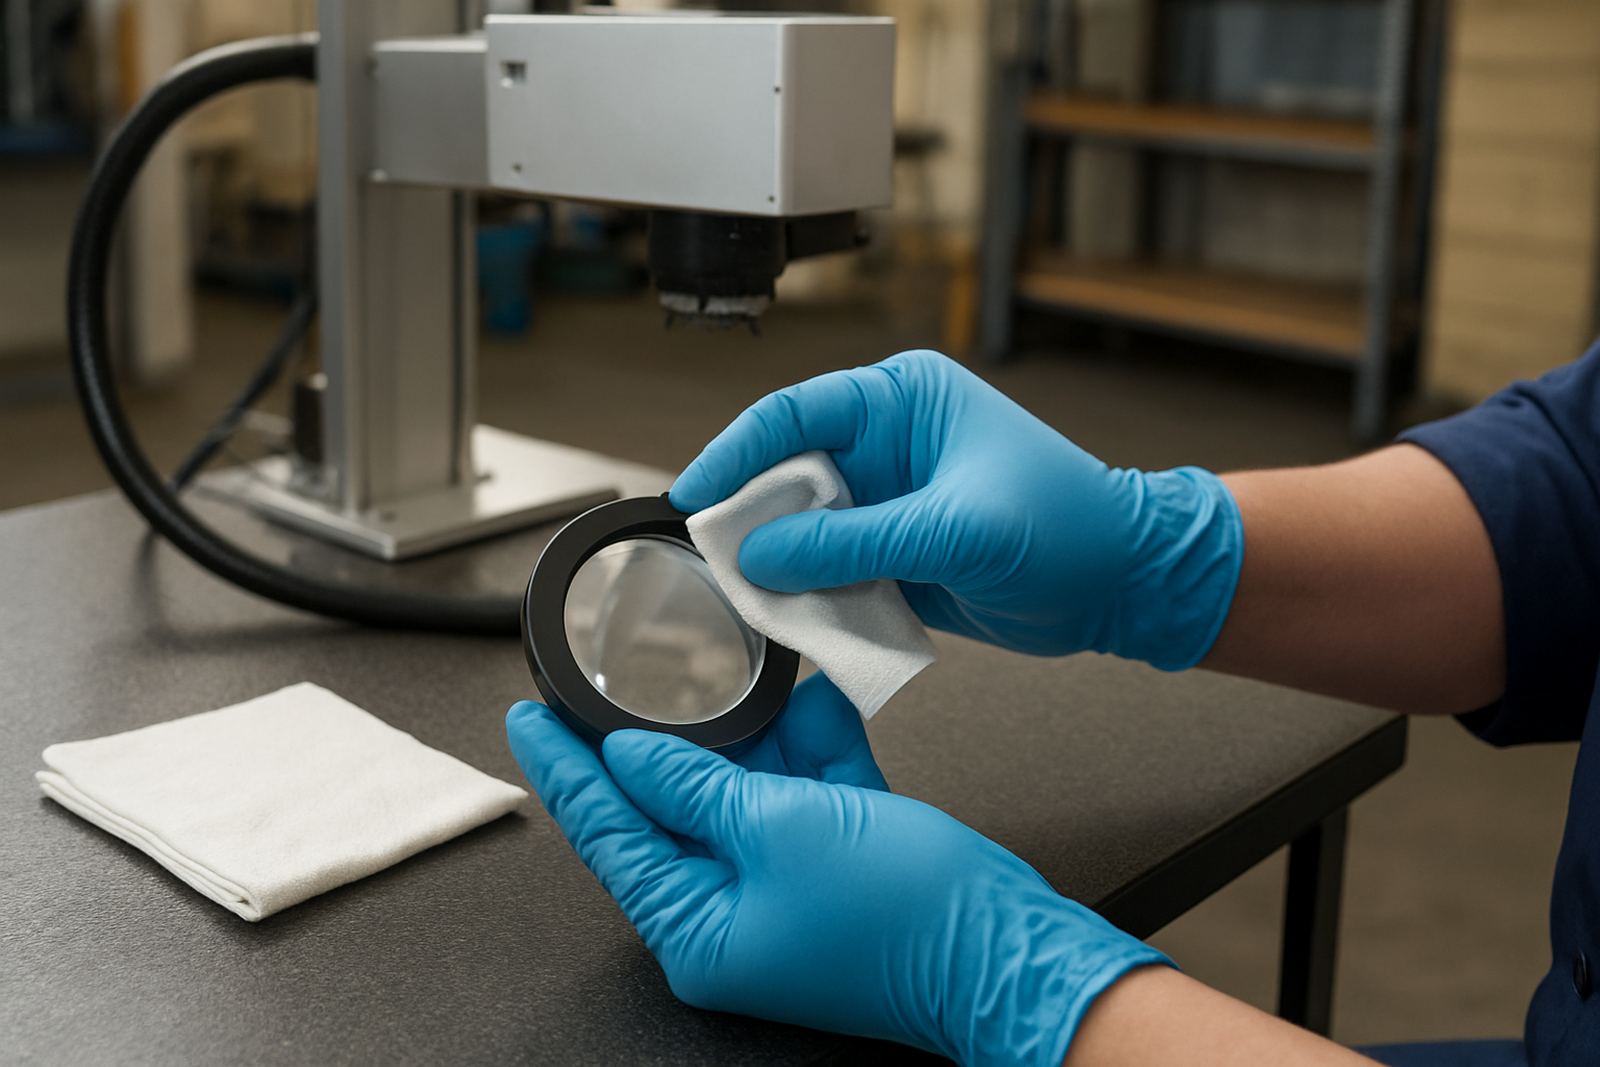
Regular care keeps a marking system working the way it should, especially where dust, vibration and long operating hours are part of the day. Clean optics, stable fixtures and correct software settings all help maintain a steady result, and small checks are easier than emergency repairs later.
The journal includes useful guidance on preventive maintenance, operator checks and signs that a machine needs attention. A trained team can spot drift early, which helps avoid poor marks, rejected stock and delays on a busy line. In many plants, that kind of discipline saves more than the machine itself costs over time.
- Keep fixtures clean and properly aligned
- Check settings after any material or product change
- Schedule maintenance before failure interrupts production
- Record common faults so the team can act faster next time
Using the journal to compare options before you buy
Reading through the journal is a practical way to compare marking options before requesting a demo or sending samples. It helps buyers in Ekurhuleni, Gauteng and beyond to ask better questions, and it gives production teams a clearer idea of what to expect from installation and training.
Start with the article that matches your material, then move to planning, testing and care. If your operation is in Boksburg, Alberton, Benoni or farther afield, the goal is the same: choose a process that fits your product, your staff and your daily production rhythm, with fewer surprises once the line starts running.
- Read material-specific notes before requesting a test
- Use planning articles to prepare your production team
- Check care and repair guidance before rollout
- Compare articles against your own line speed and quality target