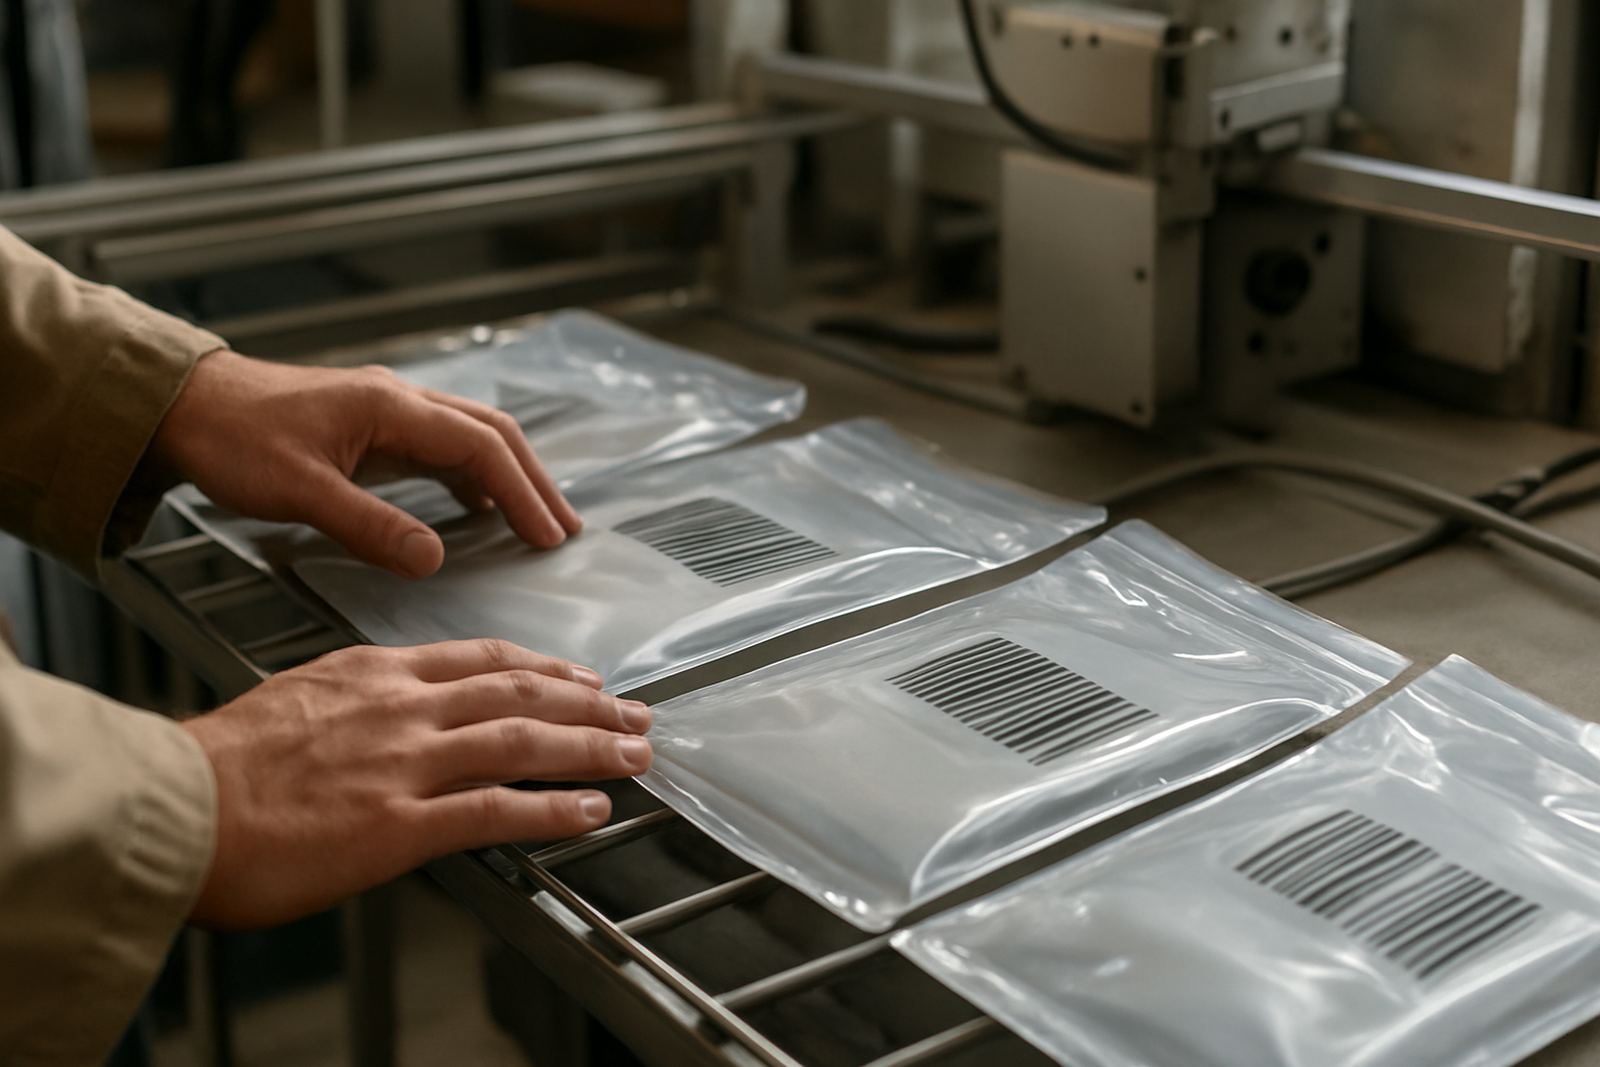
Why clear materials punish poor process control
Glass, acrylic, PET, polycarbonate and other clear substrates all react differently to a laser. On paper they are smooth, but in practice they can craze, haze, chip or show a mark that is either too faint or too harsh. That is why clear material work is less about power and more about control.
On a production line, the same part can give different results if the surface tension changes, the part is dusty, or the fixture lets it move by even a fraction. A mark that looks neat on the machine bed may look patchy once the part is packed and handled. The solution is to match wavelength, pulse behaviour and scan settings to the material, then repeat that setup exactly.
- Keep the part clean and dry before marking
- Hold the component in a stable fixture with no twist
- Test mark from the final viewing angle, not only under the machine light
- Check whether the part is coloured, coated or fully clear, since each behaves differently
Glass needs contrast without stress
With glass the main challenge is creating a readable mark without putting stress into the surface. Too much energy can lead to micro cracking, rough edges or a frosted patch that is larger than intended. Too little energy and the mark disappears under warehouse lighting or when the bottle is filled.
Good glass marking starts with the desired finish. Some clients want a fine frosted code, others need a logo that stays visible after washing. The marking recipe must suit the wall thickness, curvature and bottle speed. On curved bottles the focus point shifts as the surface rolls, so rotary control and proper alignment matter a lot, especially on narrow necks and small cosmetic containers.
- Use sample testing on the exact bottle or jar size
- Set focus carefully for curved surfaces and shoulder areas
- Allow for any coating, print or label already on the glass
- Confirm that the mark remains legible after cleaning or cold filling
For a drinks client in Jet Park, the best result came from reducing mark depth and changing the scan pattern rather than increasing power. The logo stayed visible on a clear bottle, but the glass kept its shine and did not pick up a rough halo.
Plastics behave differently from one resin to the next
Plastic marking can be straightforward on one job and troublesome on the next. Acrylic can craze, polycarbonate can discolour, and PET can react differently depending on additives and wall thickness. This is why a setting that works on one transparent tray may fail on a clear cap or medical component.
The question is not only whether the mark is visible, but whether the part still performs its job afterwards. If the product must seal, flex or take pressure, the mark cannot weaken the surface. Process control helps you avoid whitening, melting or a raised edge that catches the eye for the wrong reason.
- Identify the exact resin before choosing the mark recipe
- Test for whitening, melt marks and stress lines after marking
- Check how the mark looks in sunlight and indoors
- Use fixturing that supports thin or flexible plastic parts
For packaging and technical parts in Ekurhuleni, this usually means a few short trials, then a locked setting for daily production. If the part comes from a different mould or supplier batch, the mark can shift a little, so operators need a clear reference sheet and one person should sign off the setting.
Fixtures and line handling make or break the result
Many marking problems blamed on the laser are really fixture problems. A clear part that moves, tilts or vibrates will not take a consistent mark. This shows up fast on conveyor-fed work where the component is picked, presented and released at speed. If the part is light, smooth or oddly shaped the fixture must do more than just hold it in place.
Fixture design should make loading simple and repeatable. It must also allow the operator to see whether the part is seated correctly before the cycle starts. Good fixture work saves time because there is less rework, fewer rejects and less guesswork during shift change. It also helps when load-shedding interrupts production, because the setup can be returned to the same position after a pause without fresh alignment every time.
- Use nests, stops and clamps that suit the exact component shape
- Keep the viewing area open so placement can be checked quickly
- Allow for fast changeover if the line marks more than one part type
- Build in repeatable reference points for restart after power interruptions
Reading the mark the way your customer will read it
A successful mark is not only technically correct, it is readable in the real world. A code on a clear container may be easy to read under a lab lamp but hard to see in a warehouse or on a shop shelf. Customers often judge the part by how it looks once it is packed, stacked or filled, not by how it looked on the machine bed.
That is why sample testing should include the final use case. If the item will be printed over later, checked under CCTV, or handled by municipal inspectors, the mark needs enough contrast and position accuracy to stay useful. On some projects a small change in font weight or logo size makes the difference between a clean production run and a stream of complaints. There is no need to overdo it, just make it readable and consistent.
In Benoni, a plastics client needed a transparent part marked for traceability on one side and branding on the other. The answer was a lighter first pass for traceability, then a stronger visual element that did not distort the part. That sort of balance is often the difference between a pass and a reject, especialy where quality checks are strict.
Getting support from demo to maintenance
Clear material jobs often need more than a one-time machine drop off. They need sample testing, operator training, maintenance planning and quick support when the line changes. That is especially true for businesses working across Gauteng and further afield, where a site in Jet Park may run one product today and a different mould next week.
A practical setup includes a site demo before purchase, then machine installation, software setup and operator training once the unit arrives. After that, preventive maintenance keeps the optics clean and the motion system accurate, while breakdown repairs and spares supply keep downtime down. When a line is being changed, process optimisation can save more time than people expect.
- Site demos for real parts, not just test samples
- Operator training so settings are applied the same way every shift
- Nationwide support for installs, repairs and line integration
- Preventive servicing to keep marks stable in dusty or humid conditions
For companies in Boksburg, Germiston, Kempton Park, Alberton, Midrand and Pretoria, a local base matters because response time affects output. Clear materials are unforgiving, so the earlier the testing starts the easier it is to keep quality stable from the first batch to the last.