Why curved parts are harder to mark cleanly
Flat panels are simple because the beam meets the surface at a predictable angle. On a bottle, tube, cosmetic jar or formed plastic housing, the surface moves away from the focal point as it curves, so the mark can fade, widen or distort if the part is not held correctly. That is why curved work starts with the part itself, not the marking file.
We often see problems caused by poor loading rather than the laser setting. A part can be perfectly marked on one side and weak on the other if it twists slightly in the fixture. Even a few millimetres of movement can change the result, especially on narrow diameters or glossy glass with high reflection.
- Check the true outside diameter, not just the nominal size
- Confirm wall thickness and material type before testing
- Allow for grip points that do not damage the finished face
- Keep the mark area away from mould seams and textured bands
Rotation control is the difference between a mark and a mess
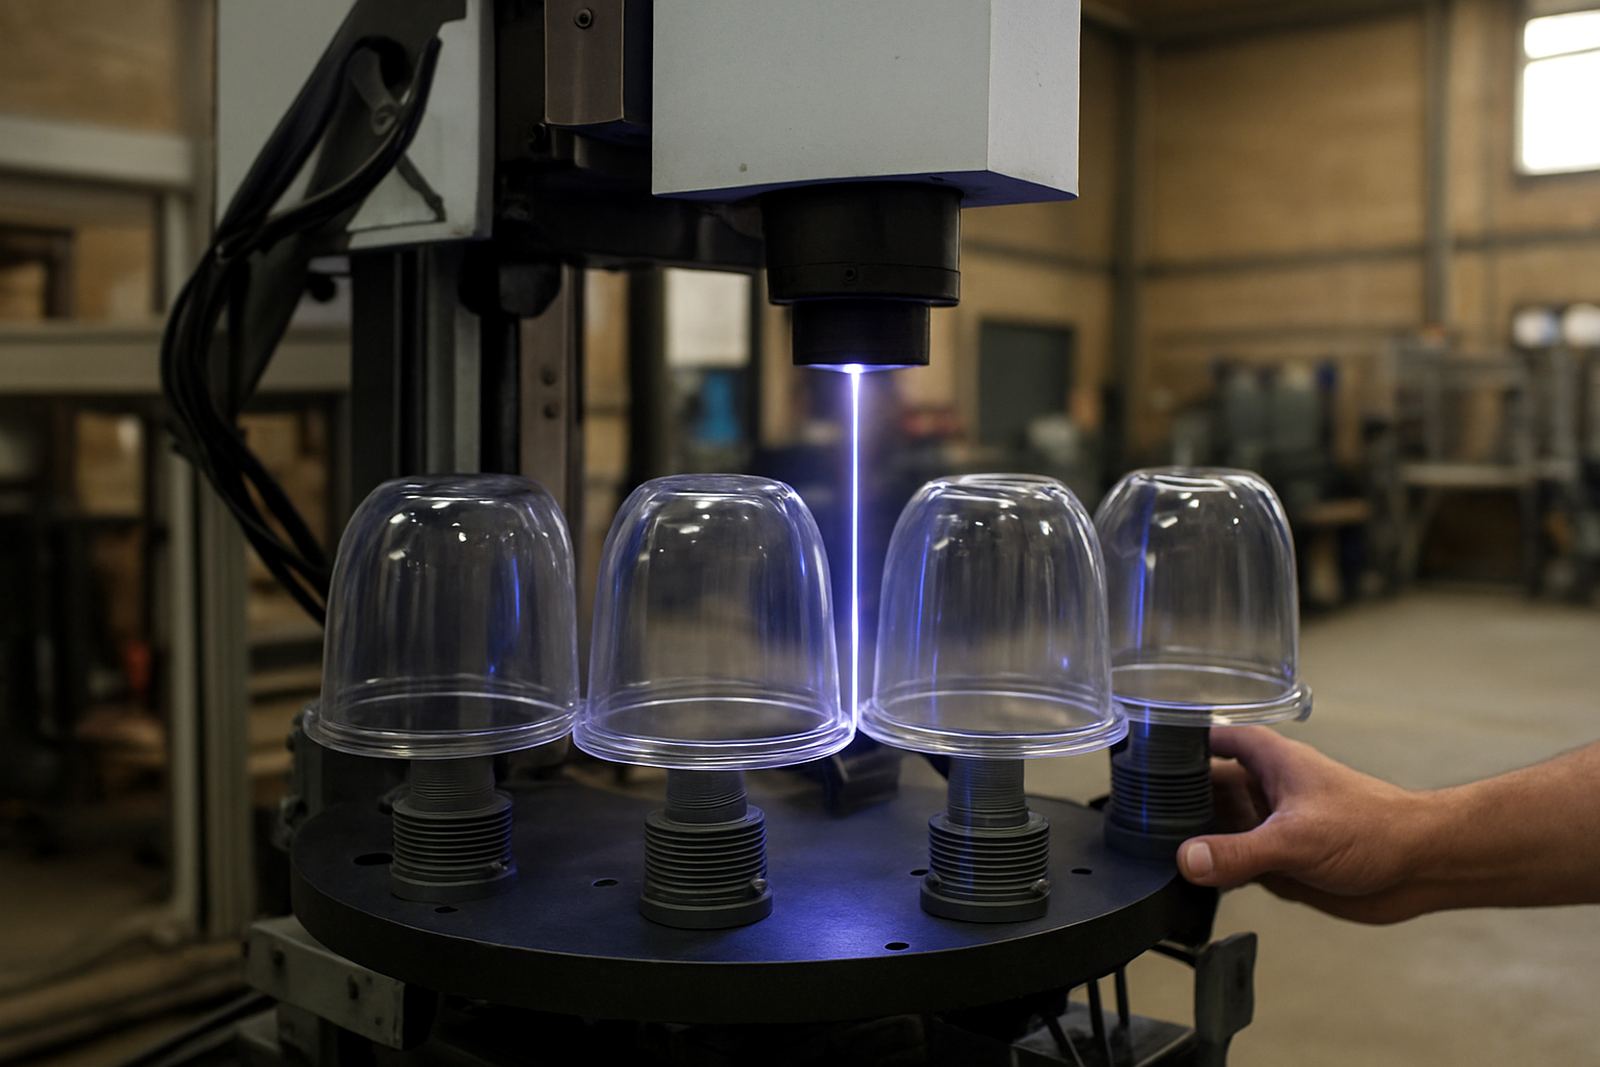
For cylindrical parts, rotation control is the main issue. The part must turn at a consistent speed while the laser follows the path. If the rotation slips, the line becomes uneven or the artwork stretches. This matters on small bottles, medical tubes and technical components where the mark needs to stay readable after washing, handling or packing.
In many cases the fixture is just as important as the marking head. A simple setup may suit one product, but a production line with mixed sizes often needs a proper cradle, rotary attachment or custom holder. The aim is to keep the surface stable without creating stress points or scuffing the part.
- Use repeatable locating points for every load
- Match the rotation method to the part weight and diameter
- Test the full wrap area, not only a small sample patch
- Check for slip after the first few parts, not only at setup
Glass, plastics and the marking result each one gives
Glass and plastics behave very differently under UV laser marking. Glass can give a crisp, permanent change on the surface, but the heat input and focus must be handled carefully to avoid cracking or frosting where it is not wanted. Plastics vary even more. Some types respond with a clear contrast, while others need tighter control to avoid burning or a soft blurred edge.
A proper sample test is always worth the time. The same settings can give two different results on two batches from the same supplier, especially if the resin mix changes. Coastal humidity can also affect storage and handling, so material that has sat in a warm warehouse in Jet Park may behave differently to fresh stock arriving in Boksburg on the same day.
- Confirm the exact material grade before production starts
- Test for contrast, edge quality and readability after curing
- Assess whether the mark needs to survive washing, rubbing or sunlight
- Keep spare samples for sign-off and future comparison
Field planning matters on real sites and not just in the workshop
Curved marking projects often fail because the site was not planned properly. If the machine is going into a busy packaging floor in Germiston or a contract manufacturing line in Kempton Park, there has to be space for loading, inspection and maintenance. Power stability is also part of the plan. Load-shedding protection, earthing and safe cable routing can make the difference between a dependable setup and daily stoppages.
We also check the broader process. If parts are moving straight from moulding to marking, the temperature of the part may still be changing. If they are being packed in trays, the tray design can limit access. If the site has municipal noise or safety rules, those need to be considered before installation. A quick visit can save a lot of trouble later, and yes it is better to find the issue before the machine arrives.
- Measure access for delivery, installation and future servicing
- Check power quality and backup arrangements
- Plan the flow from unpacking to marking to packing
- Allow enough light for visual inspection of fine marks
Fixtures should support the job, not fight it
Good fixture design holds the curved part in the right place every time. That may be a simple pocket for a bottle cap, a clamp for a formed plastic housing or a custom nest for multiple parts. The best fixture is one that speeds up loading without forcing the operator to guess where the part should sit.
Our applications team often starts with a sample, then develops the holder around the actual production movement. If the operator needs both hands to position the item, the fixture is too awkward. If the part can roll or rock, the mark will vary from one cycle to the next. A small adjustment to a support pad or stop point can improve repeatability straight away.
- Use non-marking contact points wherever possible
- Design for quick cleaning and simple changeovers
- Keep the view to the marking area clear for inspection
- Allow for worn parts and minor size variation over time
A practical Ekurhuleni example from sample to production
A packaging client in Boksburg needed permanent identification on curved plastic containers used for local distribution. The challenge was not the artwork itself, but keeping the text aligned on every unit while operators handled mixed batch sizes. Refilwe and Thabo worked through sample testing, then set up a fixture that controlled rotation and reduced movement at the loading point.
After installation, the team received operator training on setup checks, basic cleaning and daily verification. The result was better consistency across the batch, fewer rejected parts and faster line changeovers. For a business running under tight delivery schedules, that is where the value sits. Not in the machine alone, but in the process around it.
That approach is useful across Jet Park, Alberton, Benoni, Midrand and Pretoria as well. Whether the job is a short demo, a new install or a line already in full production, curved surfaces need the same careful preparation. Get the position right, control the rotation and test the mark under real conditions before committing to volume.
What to bring to a sample test
If you are planning curved marking work, bring real samples and not just drawings. The actual part gives a better reading on material behaviour, grip and visibility. It also helps to know what the mark must do in the field, because a code that looks fine on a workbench may disappear after handling or washing.
- Finished samples from the production batch
- Artwork, code format or label requirements
- Expected output rate per hour
- Any size changes between product variants
- Details of cleaning, packing or transport after marking
For enquiries, use the form on our contact page and we will arrange the next step, whether that is a sample test, site visit or installation plan. We support businesses nationwide from our Jet Park base, with practical help for curved glass and plastics that need clear, durable marking.