Start With the Bottle, Not the Mark
The first step in bottle marking is to understand the container itself. Glass, PET and other plastics behave differently under the beam, and the bottle shape matters just as much as the material. A straight-sided 750 ml bottle is far easier to mark than a curved cosmetic bottle or a narrow neck container with a heavy shoulder.
When we assess a project in Jet Park or on site in Germiston, we look at the bottle diameter, wall thickness, finish, label position and how the bottle moves through the line. A bottle that sits neatly in a guide rail can still shift at the point of marking if the base is uneven or the conveyor is running too fast. That small movement is often what causes a mark to land faint, broken or slightly off centre.
For consistent results, the marking area should be chosen early. Decide whether the code, logo or design will sit on the shoulder, body or near the base. On bottles with embossing or mould seams, leave enough room so the mark does not cross an uneven section, because that can weaken legibility.
Handling Matters More Than Most Teams Expect
Good marking starts before the bottle reaches the station. Dirty, wet or static charged bottles can cause problems even if the laser setup is correct. In South Africa, humidity near the coast and dust inland both affect handling. On a warm day in Boksburg, a chilled bottle can pick up condensation quickly and that moisture may interfere with the surface finish during marking.
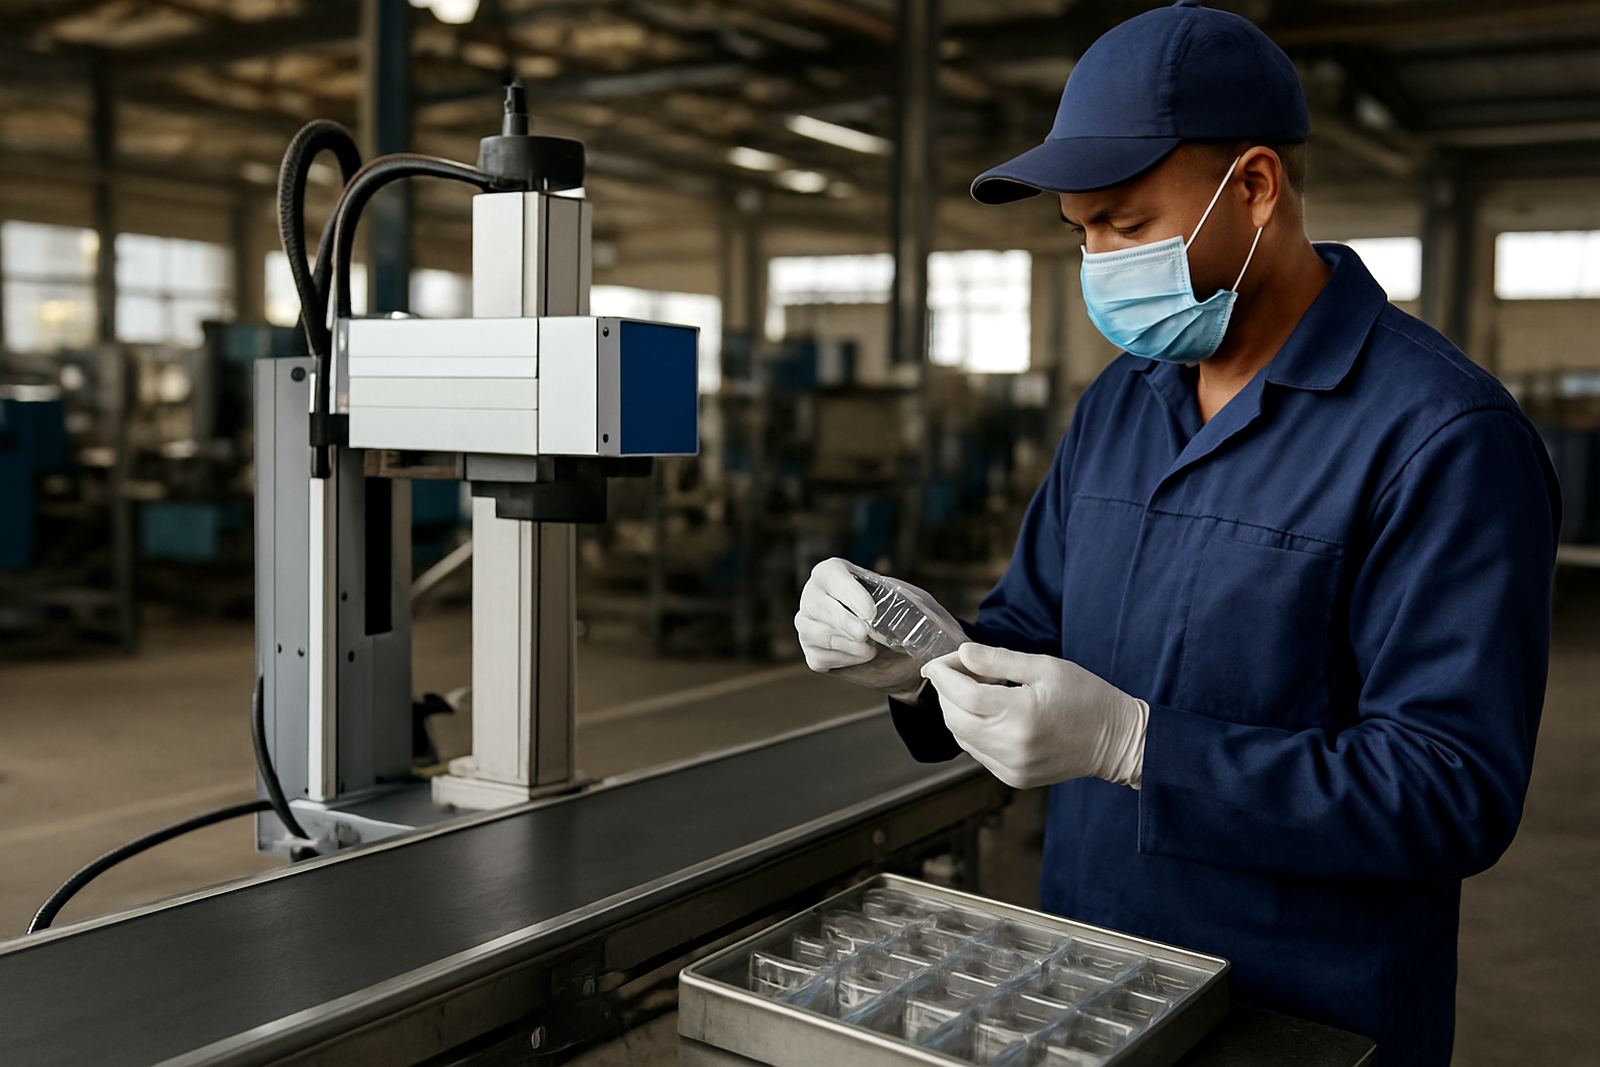
Operators should avoid touching the marking zone with oily hands or wet gloves. If the bottles are fed manually, consistent placement is critical. If they run on a line, the infeed needs a steady flow with no bottle tipping or side loading. A slight twist in the bottle can move the mark enough to affect readability, especially on small cosmetic or pharmaceutical containers.
- Keep bottles clean and dry before marking
- Check for condensation after cold storage or chilling
- Use stable infeed guides so bottles enter the station squarely
- Train operators to spot wobble, tilt and surface contamination early
Fixture Design Controls Repeatability
Fixture design is one of the most important parts of bottle marking basics. The fixture holds the bottle in the same position every time, which is essential when you are marking batch codes, traceability details or brand graphics. Without proper support, the bottle may rotate slightly or sit at a different height from one cycle to the next.
For cylindrical bottles, a cradle or nest may be enough. For tapered, square or contoured bottles, the fixture often needs a shaped support to keep the marking zone fixed. In some cases, a small adjustment to the neck support or base guide makes a bigger difference than changing the laser settings.
We often advise customers to think about changeover time as well. If a line handles one bottle size in the morning and another after lunch, the fixture should allow quick adjustment without losing alignment. That matters in busy plants around Midrand and Pretoria where production windows are tight and load-shedding already makes planning more difficult.
- Use a fixture that matches the bottle shape, not just the diameter
- Allow for quick height and width adjustment
- Keep the marking face exposed but well supported
- Check that the bottle cannot roll, twist or lift during marking
Choose the Marking Zone for the Line, Not Only the Label
It is tempting to place the mark wherever there is open space, but that can create problems later. The best marking zone depends on how the bottle is packed, filled and stored. If the bottle is shrink wrapped, the mark should not sit where film wrinkles or condensation can distort the result. If the bottle is boxed, the mark should remain visible after handling in the warehouse.
For branded bottles, the marking position should also work with the label layout. A code too close to a label edge can look untidy, while a logo too near a curved shoulder may appear stretched. On clear glass, the contrast of the mark and the view through the bottle should be checked from different angles, not just from the front.
It helps to test the same bottle under real conditions. We recommend checking the bottle after filling, capping and cooling, because the surface can change once the product reaches final packout. A line that looks fine in the workshop may need a different point of entry on the production floor.
Testing Before Installation Saves Time Later
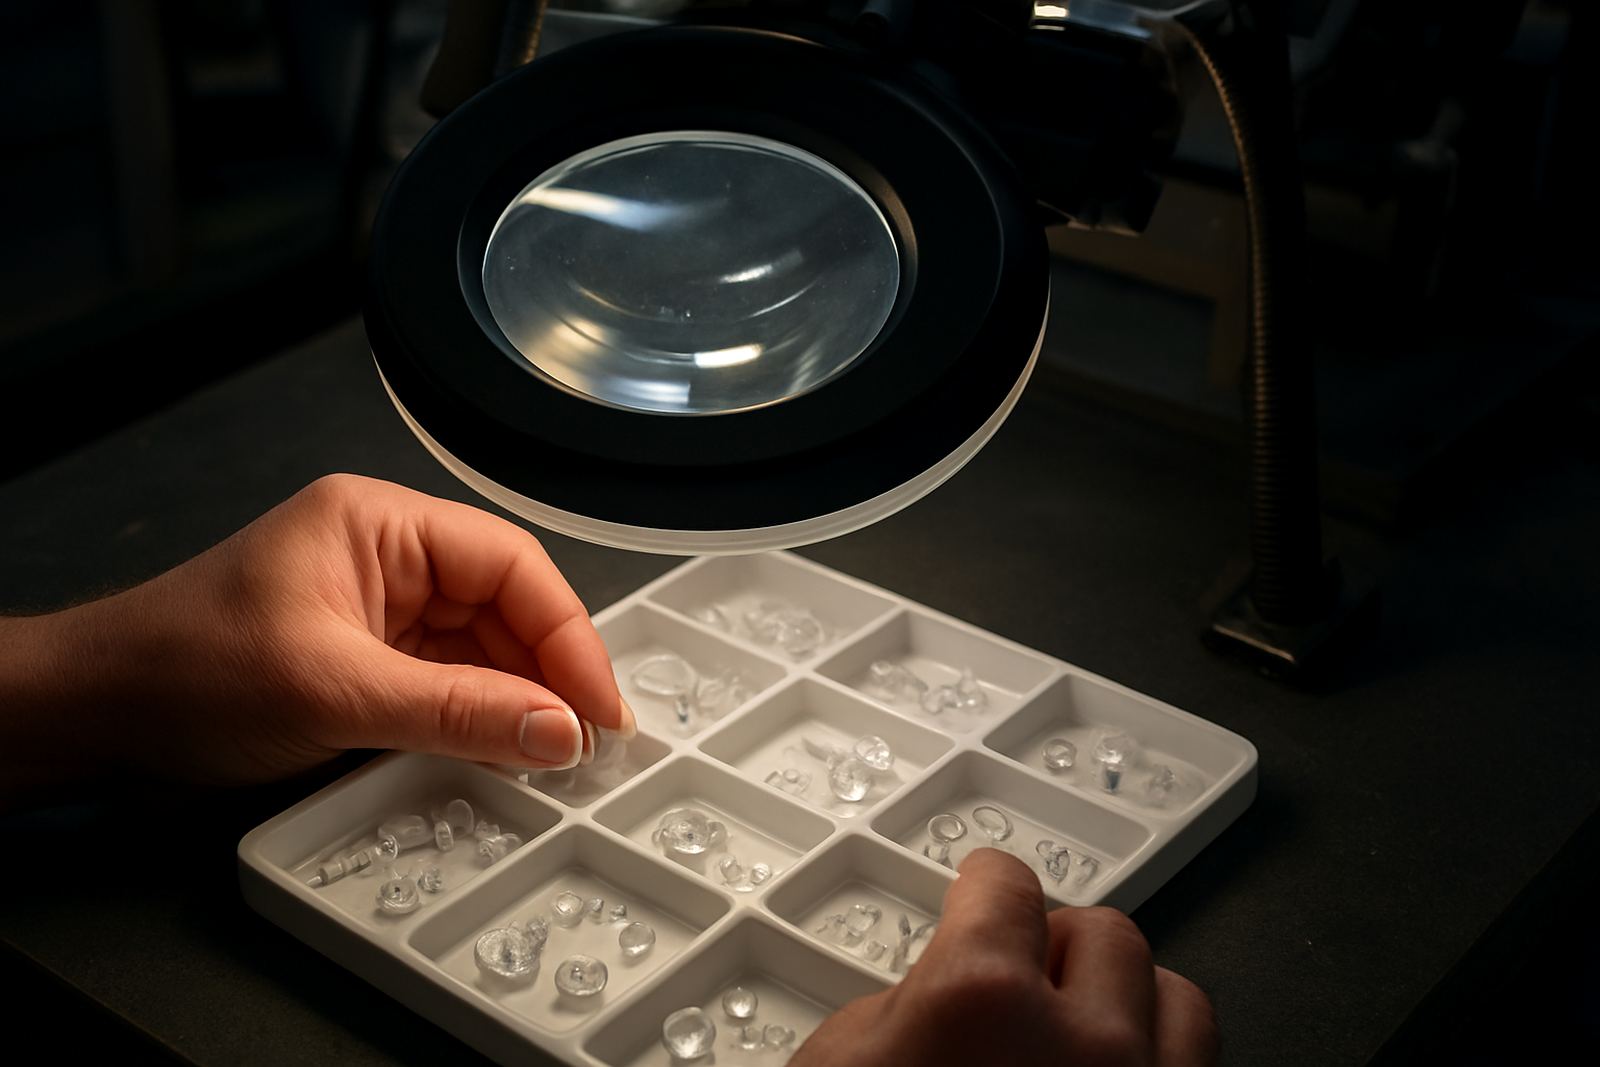
Sample testing is where most bottle marking jobs are properly settled. It shows how the material reacts, how deep or light the mark needs to be, and whether the fixture holds the bottle correctly. A good test should include the actual bottle, not only a sample from another batch, because supplier changes can alter wall thickness or surface finish.
During testing, we check the marking quality at production speed and not only at a slow manual pace. Some bottles mark well at one speed and fail once the conveyor is running harder. That is why site demos and sample testing are useful for manufacturers in Benoni, Alberton and the wider Ekurhuleni area. It removes guesswork before installation.
- Test with the real bottle and final product fill where possible
- Check mark clarity after handling, packing and storage
- Compare results at more than one line speed
- Confirm that the fixture can be repeated by different operators
Local Conditions Can Change the Result
South African production floors are not all the same. Some sites run in cool, enclosed spaces with controlled airflow. Others deal with heat, dust, vibration and power interruptions. In Jet Park and nearby industrial areas, it is common for a line to restart after a stoppage and then need a quick recheck on bottle position. That is where a reliable fixture and trained operator make a real difference.
Breakdown repairs and preventive maintenance also matter because a marking station that drifts out of alignment will give inconsistent results long before it fails completely. Check guides, mounts and software settings regularly. If the product mix changes often, keep a simple record of the best settings for each bottle type so the team does not have to start from scratch every time.
Clear bottle marking is usually won or lost in the small details. Get the handling right, keep the bottle steady and choose a fixture that suits the container, and the marking process becomes far easier to manage. That is the difference between a line that keeps running and one that needs constant attention.