Why acrylic behaves differently to other plastics
Acrylic is used for nameplates, display panels, machine covers, instrument windows and retail signage because it cuts cleanly and has a bright finish. That same clean surface can work against you when the marking process is not tuned for it. A mark that looks fine on one sheet may look grey, cloudy or uneven on another if the grade, thickness or surface texture changes.
The main thing to remember is that acrylic does not react like soft packaging film or textured engineering plastics. It can show heat stress, surface bloom or a slight edge haze if the energy is too high, if the beam stays on one area too long, or if the part is not held flat. In a humid coastal area, or on material stored in a workshop with dust and temperature swings, the surface can also carry more contamination than expected.
For this reason, acrylic mark quality starts before the machine is switched on. The part must be clean, stable and presented correctly. If the panel bends, lifts or vibrates during marking, the finished look will usually show it.
What creates contrast on clear and coloured acrylic
Contrast is often the first thing customers ask about. On acrylic, contrast comes from how the material surface is changed by the beam, not from ink or a coating. The mark may appear frosted, bright white, grey or slightly matte depending on the colour of the base material and the process settings.
Clear acrylic usually gives the most visible contrast when the mark creates a fine frosted effect. Black or dark coloured acrylic can give a softer grey appearance, while white or pale sheets may need more careful testing to avoid a weak mark. Cast and extruded sheets can also respond differently, even when they are the same thickness.
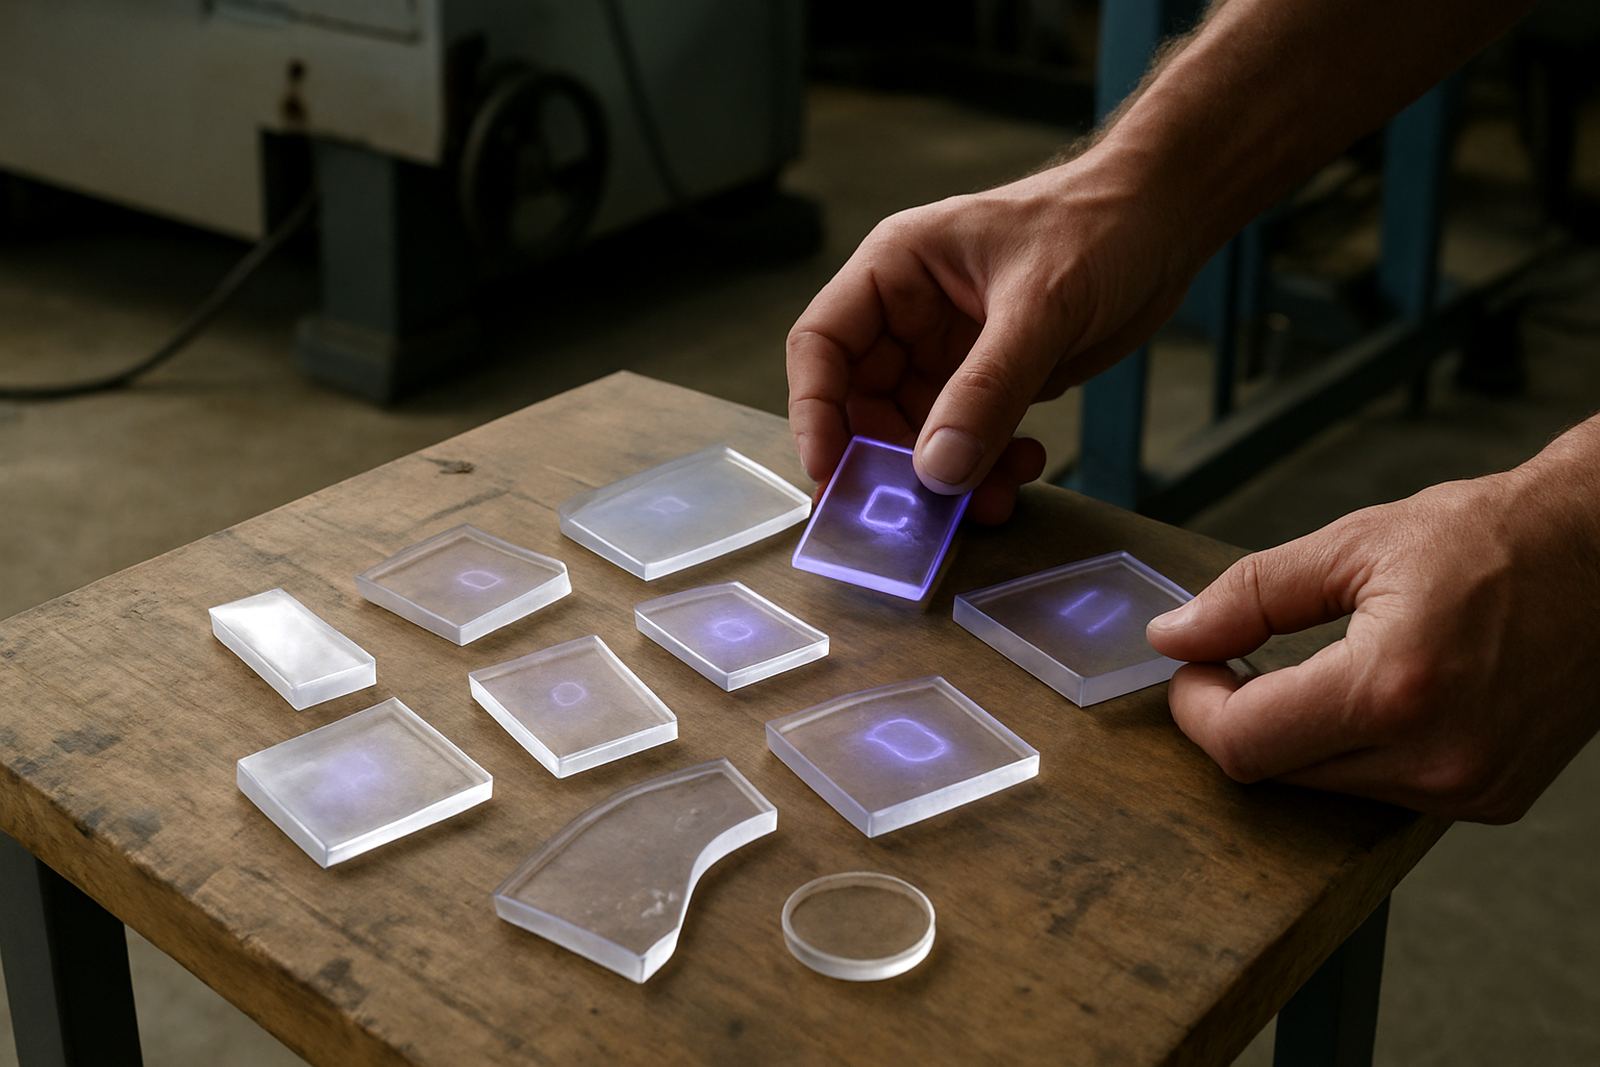
There is no single setting that suits every job. Good contrast depends on the right balance between speed, power, focus and marking depth. Too little energy and the result looks faint. Too much and the surface can go rough or slightly burnt at the edges. That is why sample testing is valuable before full production starts.
- Check whether the sheet is cast or extruded
- Confirm the thickness before setting the job
- Test the mark on offcuts from the same batch
- Inspect the result under normal viewing light, not only under machine light
How edge neatness is affected by heat, focus and movement
Neat edges are a major part of good acrylic work. A label or panel can have strong contrast and still look untidy if the line edges are rough, swollen or slightly melted. This usually comes down to heat control and focus accuracy. If the beam is out of focus by even a small amount, the mark can spread and lose definition.
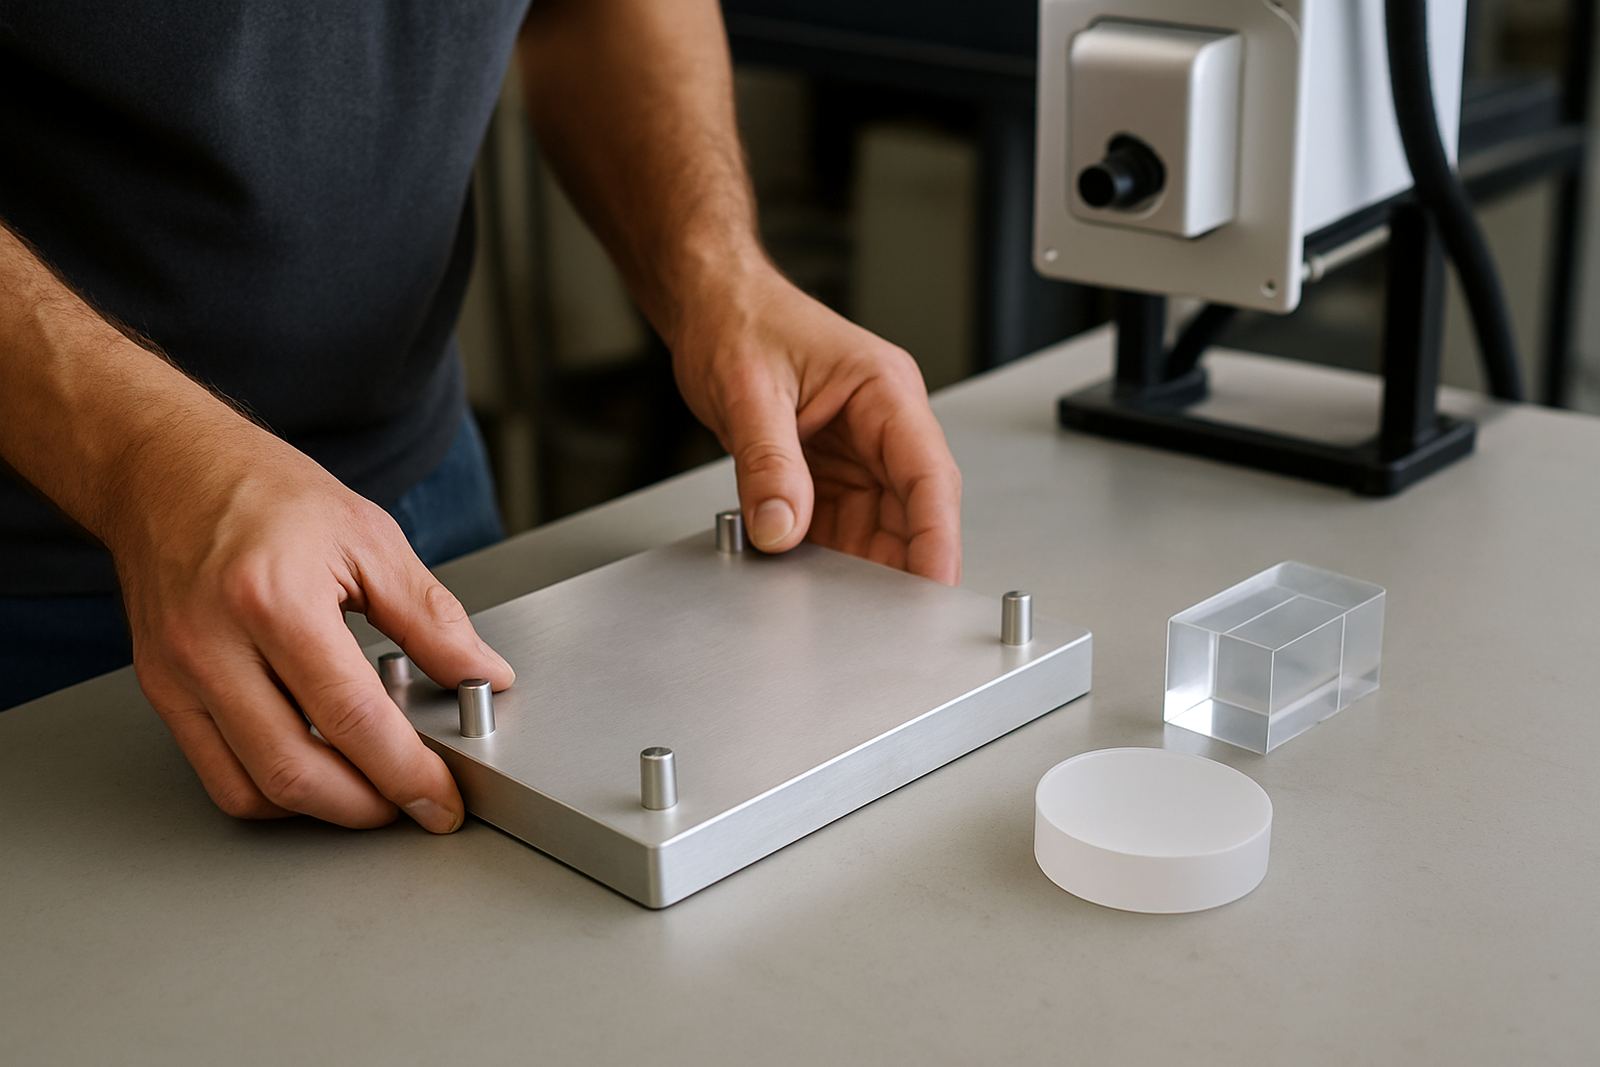
Movement matters too. If the fixture allows the panel to shift, the mark can show tiny double lines or fuzzy corners. That is a common issue on longer panels where the centre is supported but the ends flex. The solution is often mechanical, not just software related.
In practice, neatness improves when the job is clamped flat, the lens height is checked, and the marking path is matched to the shape of the part. For detailed logos or serial numbers, the operator should confirm that the smallest text can still be read at normal viewing distance. If it cannot, the mark may need a different size or a slower pass.
Surface finish: matte, frosted or glossy around the mark
The finished appearance around the marked area can make the difference between a product that looks factory-made and one that looks patchy. On acrylic, the mark may sit in a frosted patch while the surrounding area stays glossy. That contrast can be useful, but only if it is even and controlled.
Some applications need a fine satin finish, while others need the rest of the sheet to remain untouched. If the process causes a bloom around the mark, or if there is residue left on the surface, the part can look dirty even when the mark itself is accurate. Cleaning after marking must be suitable for acrylic, because harsh solvents can dull the face or cause fine cracking later on.
Humidity and dust can also affect the final look. A panel stored near a loading bay in Boksburg, for example, may carry fine grit that creates micro scratches during handling. That is why we advise clients to treat the full workflow as part of quality control, from storage and handling through to final inspection.
- Use clean gloves or clean handling methods
- Keep protective film on until just before marking
- Remove dust before the job starts
- Avoid strong cleaners that haze the surface
Practical checks before marking panels for real use
Before a production run, it helps to test the panel the same way it will be used in the field. A sample that looks fine on the bench may behave differently once it is fixed to a frame, exposed to sunlight or handled by staff. This is especially important for industrial labels, point of sale panels and control faceplates.
We often suggest checking the following:
- Readability at arm’s length and from a working distance
- Mark alignment with holes, edges and mounting points
- Consistency across the first, middle and last part in the batch
- Resistance to handling, wipe down and light abrasion
- Suitability for indoor, outdoor or mixed conditions
If the panel will be used in a factory with regular cleaning, or in a site with load-shedding backups and changing power conditions, the marking should still hold its appearance after repeated use. A clean mark that fades under normal handling is not good enough for a busy workshop or production floor.
A local example from a Jet Park production run
A Jet Park client recently needed marked acrylic control panels for a small production line. The panels had to stay readable, match a corporate look, and hold up to daily wipe down. The first test showed good contrast but the corners were a little soft because the sheet sat slightly proud in the fixture. Once the support points were adjusted and the focus checked across the full panel, the mark came out sharper and the finish looked more even.
That job also showed how small differences matter. One batch of sheets had a slightly different surface feel from the previous delivery, so the process was retested before the full run went ahead. It took a bit longer, but the end result saved time later because there were no reworks. On a job like this, the real cost is not only the marking time, it is the cost of poor presentation and parts that must be redone.
For many South African businesses, especially those working across Germiston, Kempton Park, Benoni and Alberton, the goal is simple: parts that look right first time and keep looking right after installation. That is where sample testing, fixture design and operator training make a measurable difference.
What to ask for when you need a better acrylic finish
If your acrylic marks are not coming out as expected, the next step is usually to check the process rather than the artwork alone. The best results come from matching the part, the fixture and the settings to the actual material on hand. A proper assessment can pick up issues like uneven sheet thickness, poor support, lens height errors or a mark that is too fine for the viewing distance.
When we support a client, the focus is on practical production needs: neat lines, readable text, consistent contrast and a finish that suits the end use. That may involve sample testing, operator training, process optimisation or line integration. For businesses with more than one site, it also helps to keep settings and methods standardised so the result is repeatable in Pretoria, Midrand or anywhere else in the country.
Good acrylic mark quality is not luck. It comes from the right setup, careful handling and a process that is checked before production runs build up. Get those pieces in place and the panels tend to look sharper, cleaner and more professional with less rework.