Why fixture design matters before the first mark
A laser can only mark what it can hold still. If a bottle, lens, cap or moulded part shifts even a few millimetres, the mark can move off centre, the artwork can distort and the finish can look uneven. Good fixture design starts with the part itself, not the machine, because the fixture must suit the shape, weight and surface of what you are marking.
For glass and plastics, the big challenge is repeat loading. Operators need to place parts quickly, but the part still has to sit in the same position every time. That is where simple locating points, firm support and easy clamping come in. A fixture should feel straightforward to use, even during a busy shift or when load-shedding has interrupted the line and the team needs to restart without wasting material.
- Hold the part firmly without crushing, scuffing or distorting it.
- Make loading obvious so the operator cannot place the part the wrong way round.
- Keep the marking area clear, with space for the beam and any scan movement.
- Allow fast changeover when you switch between sizes or product lines.
Start with the product, not the holding plate
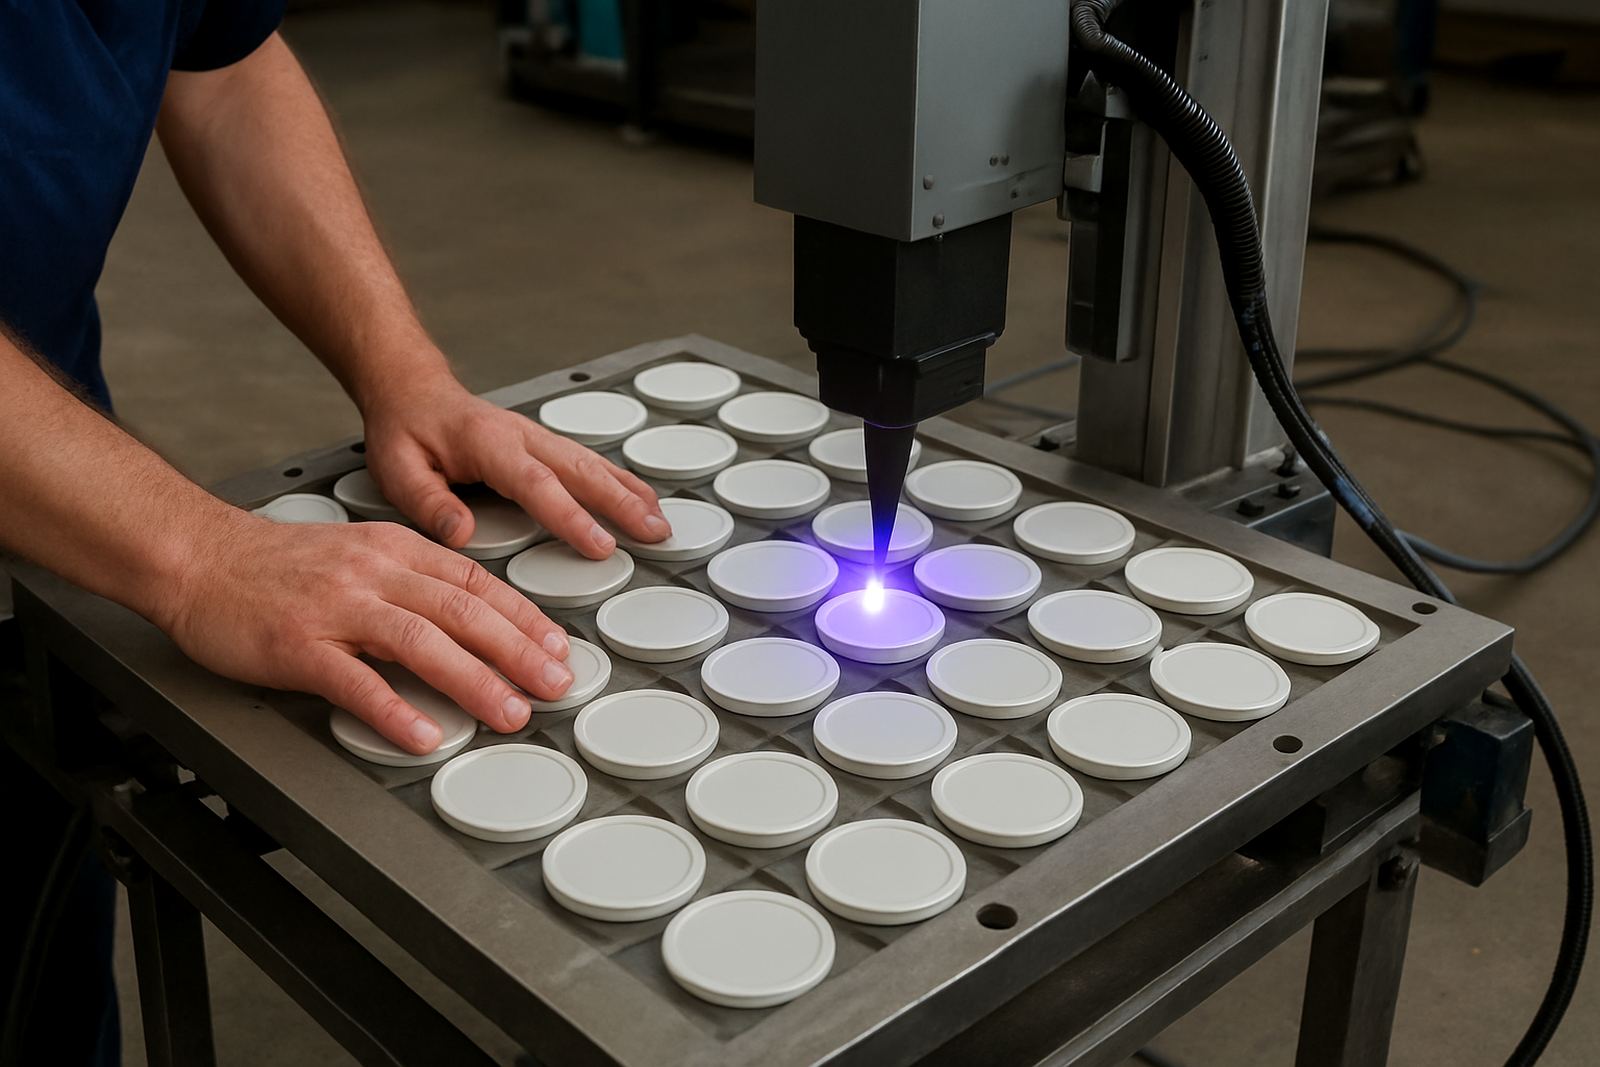
Before any jig is cut or welded, measure the part and note the practical details. Where is the mark going, what tolerances matter, and how often will the same fixture be used? A one-off sample run may only need a simple rest and stop, while a production line in Benoni or Germiston may need a more durable tool with indexed positions and quick-release clamps.
For glass, the fixture must prevent point loading that can cause chips or cracks. For plastics, the fixture should avoid heat build-up and surface marks, especially on glossy items. If the part flexes, it needs wider support points. If the part rolls, it needs a nest or cradle. If the mark must sit on a curved surface, the fixture should present that curve at a stable angle, not force the operator to guess.
- Record the part dimensions, material type and surface finish.
- Check whether the mark must align to a mould line, logo or moulded feature.
- Test how the part behaves when clamped, lifted and released.
- Allow for operator access so hands do not block loading or unloading.
Accuracy comes from locating points and clear reference edges
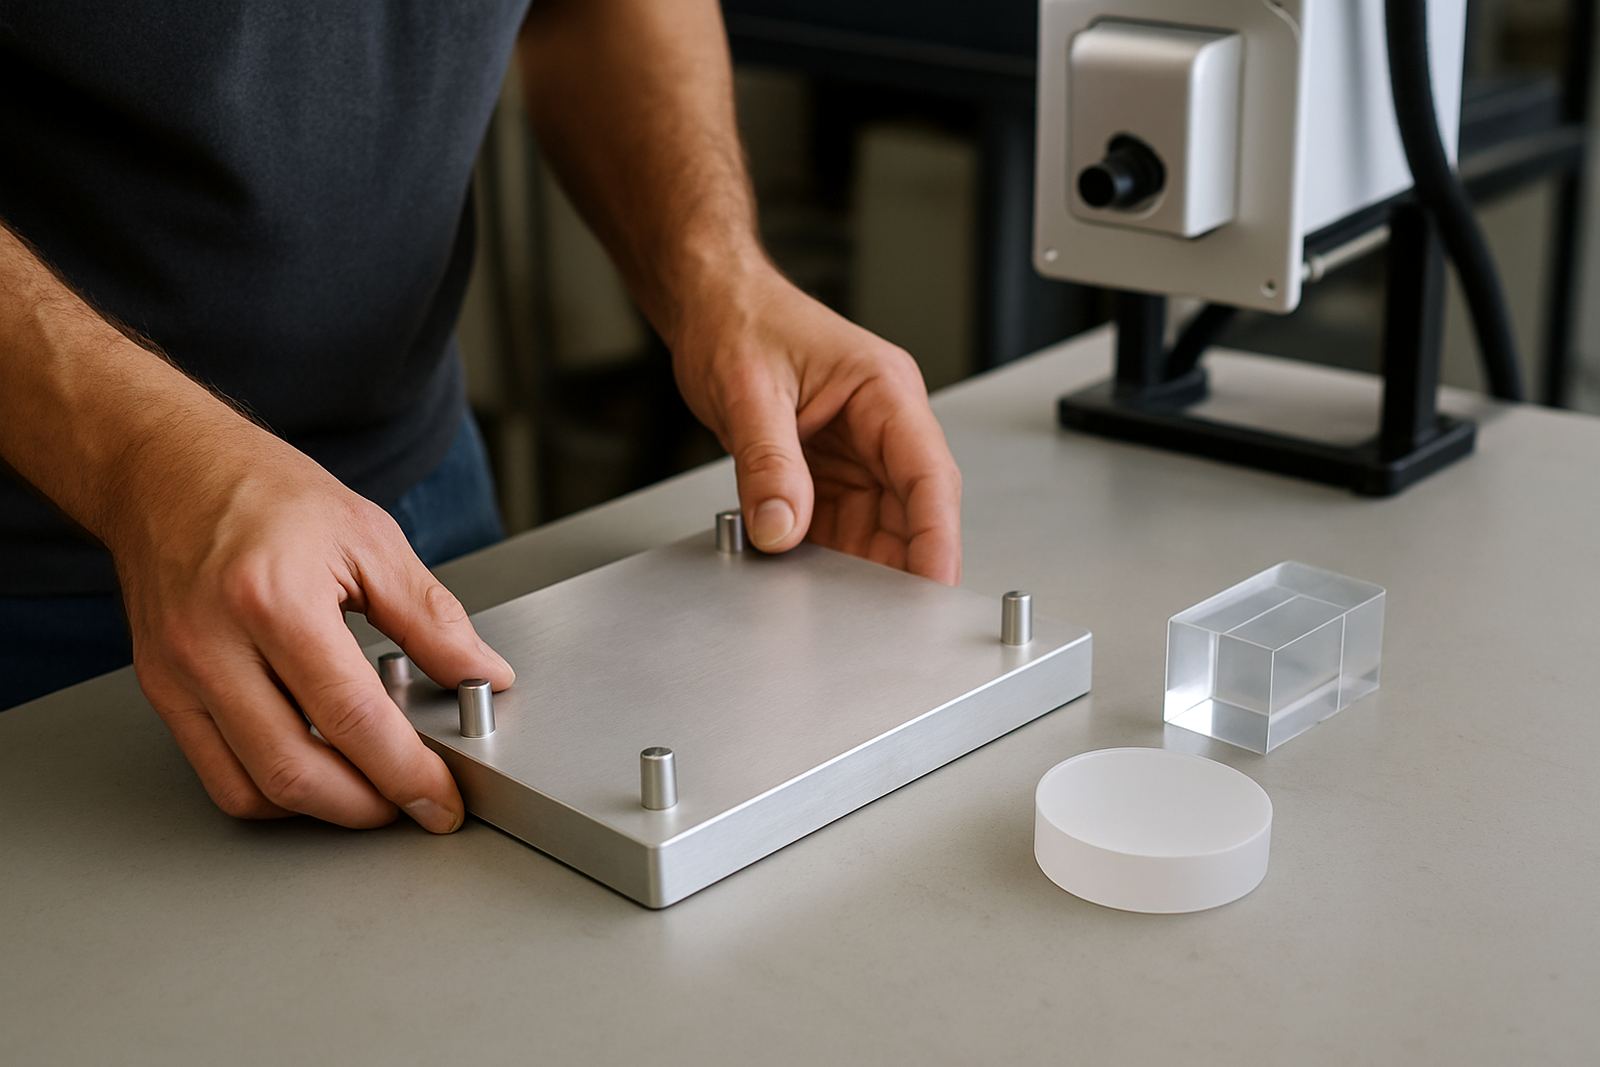
Most fixture problems come from unclear reference points. If the operator has to “eyeball” the position, each piece will drift a little. Better fixtures use hard stops, pins, side guides or pockets that define where the part sits. On small components, a single misaligned stop can throw the whole batch off. On larger items, poor support can let the part sag and shift during marking.
Three things matter most: repeatability, visibility and access. Repeatability means the same part lands in the same place each time. Visibility means the operator can see when the part is seated correctly. Access means the fixture does not block the laser path or make cleaning difficult. In a cleanroom-style environment or a dusty factory floor, that last point matters more than people think.
Good practice is to build in one primary datum and one secondary guide. That keeps the part fixed without over-constraining it. Too many contact points can make loading awkward and slow, and the operator ends up forcing the part into place. That is when marks move, parts chip, or the fixture wears unevenly over time.
Choose materials that suit heat, cleaning and daily use
Fixture materials should be chosen for the site conditions as much as the part itself. A production area in coastal KwaZulu-Natal may need better corrosion resistance than a dry inland site. A plant in Gauteng may care more about dust, repeated handling and the wear that comes from constant changeovers. If the fixture will be cleaned with solvents or exposed to fine glass dust, the surface finish and fasteners need to cope with that.
In many shops, a mix of aluminium, mild steel, engineering plastics and replaceable pads works well. The base structure needs enough stiffness to keep alignment. Contact points may need softer inserts to protect the product. Where hygiene or clean presentation matters, smooth surfaces and easy wipe-down access save time. If the fixture is too heavy, operators tend to avoid using it properly. If it is too light, it may move during loading and lose its repeatability.
- Use corrosion-resistant hardware where moisture or cleaning is frequent.
- Fit replaceable wear pads on points that see daily contact.
- Keep edges smooth to avoid snagging gloves or damaging labels.
- Avoid designs that trap dust, glass fines or plastic chips.
Design for the operator as well as the machine
The best fixture is not only accurate, it is easy to live with on the shop floor. Operators work faster when the loading sequence is clear and the part only fits one way. That reduces training time and helps new staff get up to speed. It also reduces errors during shift handover, when a small misunderstanding can lead to a whole tray of rejects.
Think about the full movement: pick up the part, place it in the nest, check the seating, start the cycle, remove the marked item and load the next one. Each step should be logical and safe. If the fixture needs two hands to clamp, make sure the operator does not have to reach over a hot lamp, moving head or sharp edge. If the part is fragile, give the operator enough room to load without bumping adjacent items.
A good local example is a plastics converter in Jet Park marking moulded covers with batch codes and logos. The team needed a fixture that handled different sizes without slowing the line. A simple indexed nest with interchangeable inserts let them switch sizes quickly, keep the mark centred and reduce operator guesswork. That kind of practical change often gives better results than making the machine work harder.
Test with samples before you commit to production
Fixture design should always be tested with real samples. Paper drawings are useful, but they do not show how a part flexes, how a glass edge reacts to clamping, or how quickly an operator can load a tray under pressure. Sample testing helps reveal small issues early, before they become a daily nuisance.
During testing, check mark position, cycle time, loading effort and part wear. If the operator has to fumble to seat the part, redesign the guide. If the mark shifts after ten cycles, check for movement or poor support. If the fixture works well on day one but becomes awkward after a week, look at wear points and cleaning access. Small changes like a taller stop, wider pocket or better hand clearance can make a big difference.
For South African sites, it also pays to think about the service side. Fixtures that are easy to adjust, inspect and maintain reduce downtime when schedules are tight. That matters in plants that run across multiple shifts or need to recover quickly after power interruptions, maintenance stoppages or urgent orders.