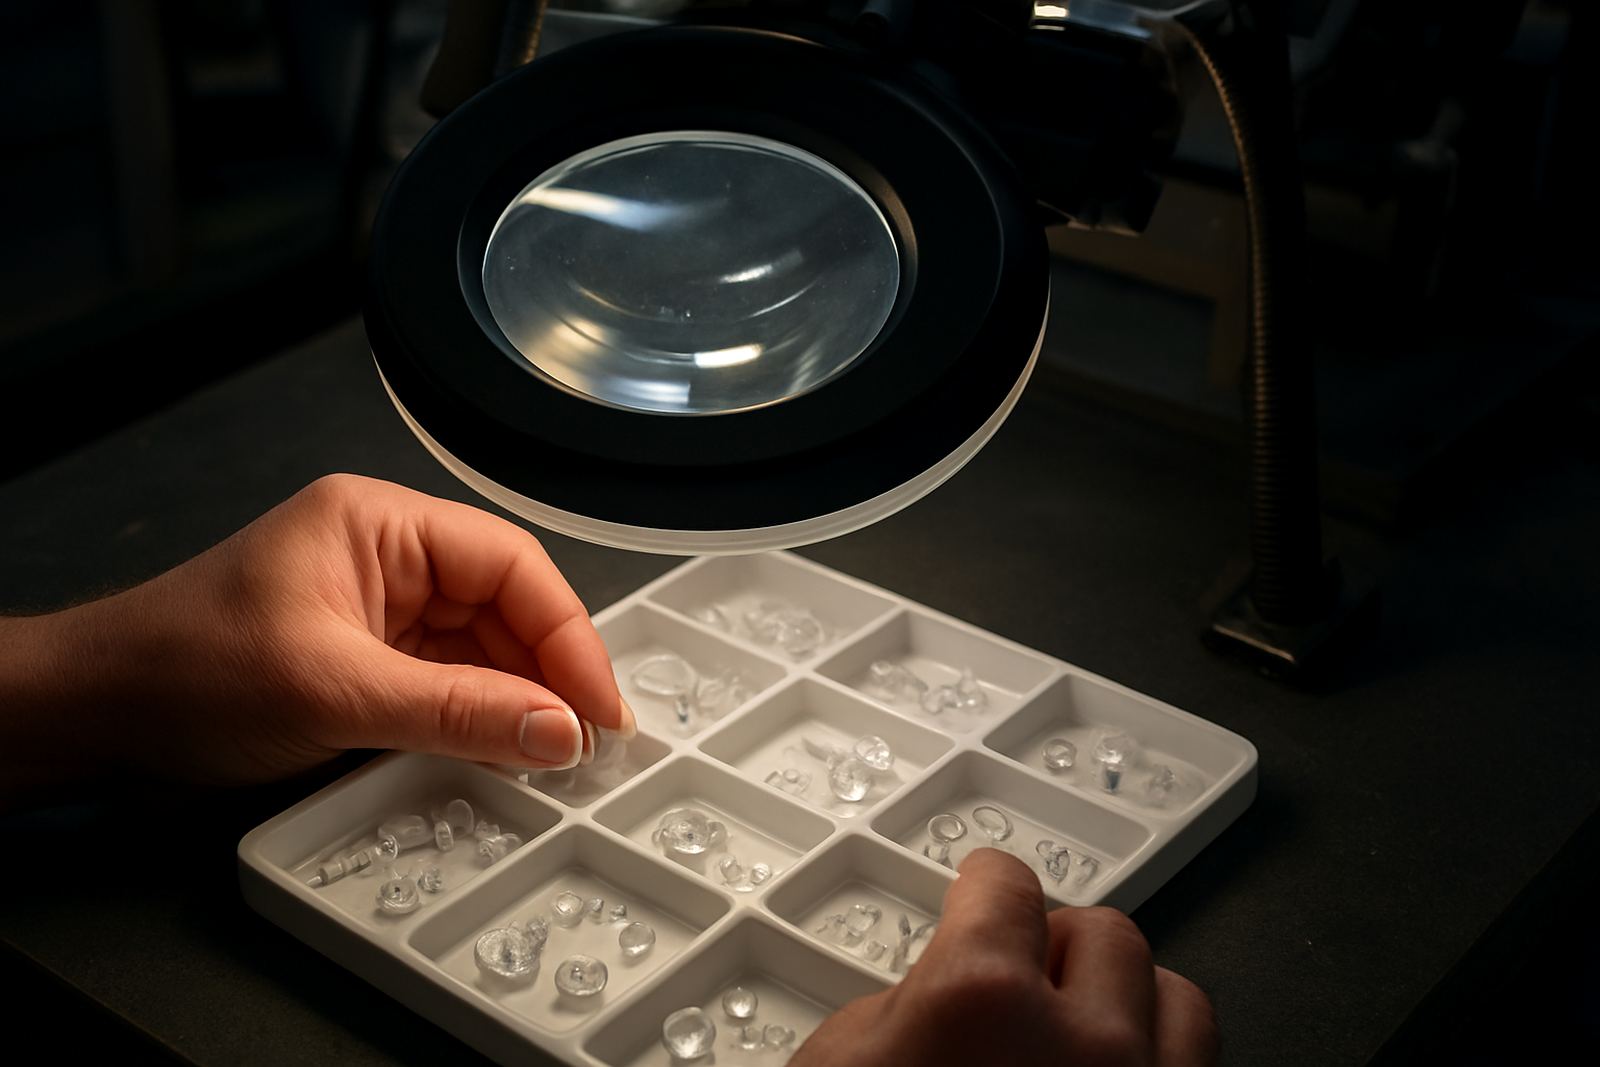
Why small parts need a different marking approach
Miniature components leave very little room for error. A cap, vial, syringe part, connector housing or sample bottle might only give you a few millimetres of usable space, so the mark has to be planned around the part itself, not added as an afterthought. If the part moves, the focus shifts or the surface reflects too much light, the result can look patchy or faint.
On glass and many plastics, a good mark should stay readable after handling, wiping, packing and transport. That matters in South Africa where parts may move from a cool store room into a hot loading bay, then sit in a vehicle through midday heat. If the marking method is not suited to the material, the detail can fade fast or appear uneven from one batch to the next.
The goal is simple: keep the mark permanent, keep the cycle time sensible and keep the part usable. That means choosing the right energy, the right fixture and the right settings for the exact component in front of you.
Set the part up so the beam lands where it should
Most marking trouble starts before the laser fires. Small parts need proper location and support so they sit in the same place every time. A loose tray or a quick hand placement might work for a sample, but it will not hold up in daily production. Even a slight tilt can change the focus and make one side of the mark lighter than the other.
For repeat work, use fixtures that match the component shape. That may mean pockets, locating pins, soft inserts or a simple clamp that holds the part steady without scratching it. On clear glass, fixture marks can become just as much of a problem as the laser mark itself, so the contact points need to be planned carefully.
- Use a repeatable nest or jig for every part size.
- Keep the mark area clean and free of dust, mould release and fingerprints.
- Check that the part sits flat before every run, not just at setup.
- Allow for slight variation in moulded parts, especially on thin plastics.
In Jet Park and nearby areas like Boksburg and Germiston, many small packaging and labelling jobs run in mixed batches. A fixture that is quick to load and easy to adjust can save a lot of stoppages when the production schedule changes during the day.
Contrast is everything on glass and clear plastics
Readability depends on contrast. On glass, a good mark often comes from controlled surface change rather than heavy engraving. That can mean a fine frosted effect that stays neat and legible without weakening the part. On plastics, the aim may be a crisp colour change, a light surface texture or a very shallow mark that does not distort the component.
Not all plastics react the same way. Some mark dark and clean, others go pale, and a few need tighter control to avoid melting or burring. If the part is tiny, those small differences become obvious. A mark that looks fine on one sample can blur on the next if the material grade shifts or the wall thickness changes by just a little.
For best results, test on actual production material, not a nearby substitute. That includes the final moulded finish, since gloss level and clarity affect how the mark appears under warehouse lights and in final inspection. A mark that is easy to read on the machine table should still be clear under normal shop-floor lighting and after the product has been packed.
Keep heat, speed and focus under control
Small parts do not forgive sloppy settings. Too much energy can soften plastic edges, craze thin glass or leave a rough mark that catches the eye for the wrong reasons. Too little energy gives you a mark that looks weak and may disappear once the part is cleaned or rubbed during handling.
The best setting is the one that produces a clear mark with the least disturbance to the material. That usually means balancing power, marking speed, pulse control and focus distance carefully. If the part has a curve, you may also need to adjust the focal height or use a setup that keeps the beam consistent across the marking field.
- Run sample tests at the same speed you expect in production.
- Check edges first, since overburn often shows there before the centre does.
- Inspect after marking and again after cleaning, packing and transport.
- Record the settings that work so operators can repeat them later.
On a line where load-shedding backup is part of daily planning, settings that are easy to restore after a power interruption matter as much as the mark itself. If the process restarts in the middle of a batch, operators should be able to return to the same parameters without guessing.
Plan for the way parts are handled after marking
Small components are usually touched more than larger ones. They get counted, bagged, stacked, inspected and sometimes cleaned before they reach the end user. That is why a mark must survive more than the marking cycle alone. If the surface is too rough or the mark too shallow, it can wear badly during normal handling.
For glass items, ask whether the mark will sit inside a box, on a retail shelf, or in a technical environment where labels and traceability matter. For plastics, think about exposure to sunlight, washing agents and temperature changes. A good marking method should hold up through all of that without needing stickers that can peel off.
Where parts must meet traceability requirements, consistency is just as important as appearance. Batch numbers, part codes and small logos should all sit in the same position from piece to piece. That helps with inspection and reduces the chance of rejected stock later in the supply chain.
A practical example from a Boksburg production line
A common local case is a manufacturer in Boksburg producing small clear plastic caps and glass sample containers for the medical and laboratory sector. The first issue is usually not the marking itself, but the way the parts feed into the machine. If the caps twist in the tray or the glass sits unevenly, the mark shifts and the text looks inconsistent across the batch.
With a properly designed fixture and the right settings, the same line can mark fine part numbers and tiny logos cleanly, even on a busy shift. The operator can load the parts quickly, the mark stays readable after cleaning, and the finished items are ready for dispatch without rework. That kind of setup matters when the client needs steady output from a plant in Ekurhuleni and support across Gauteng or further afield.
For many businesses, the best result is not the deepest mark. It is the one that stays crisp, repeatable and easy to read when the part reaches the next stage of use.
What to check before you approve a small-part mark
Before releasing a job, it helps to inspect the part in the same way the customer or end user will see it. A mark that looks fine under the machine light may be harder to read at an angle, in a carton, or once the part has been cleaned. Approval should be based on real handling conditions, not just a quick glance on the bench.
- Is the text or code readable without magnification?
- Does the mark stay clear on every part in the sample set?
- Has the process affected the surface finish or part strength?
- Can the settings be repeated by the next operator or shift?
If the answer is yes to all four, the process is in good shape. If not, the fixture, focus or material settings need another look. For small plastic and glass components, that attention to detail is what turns a difficult marking job into a dependable production step.