





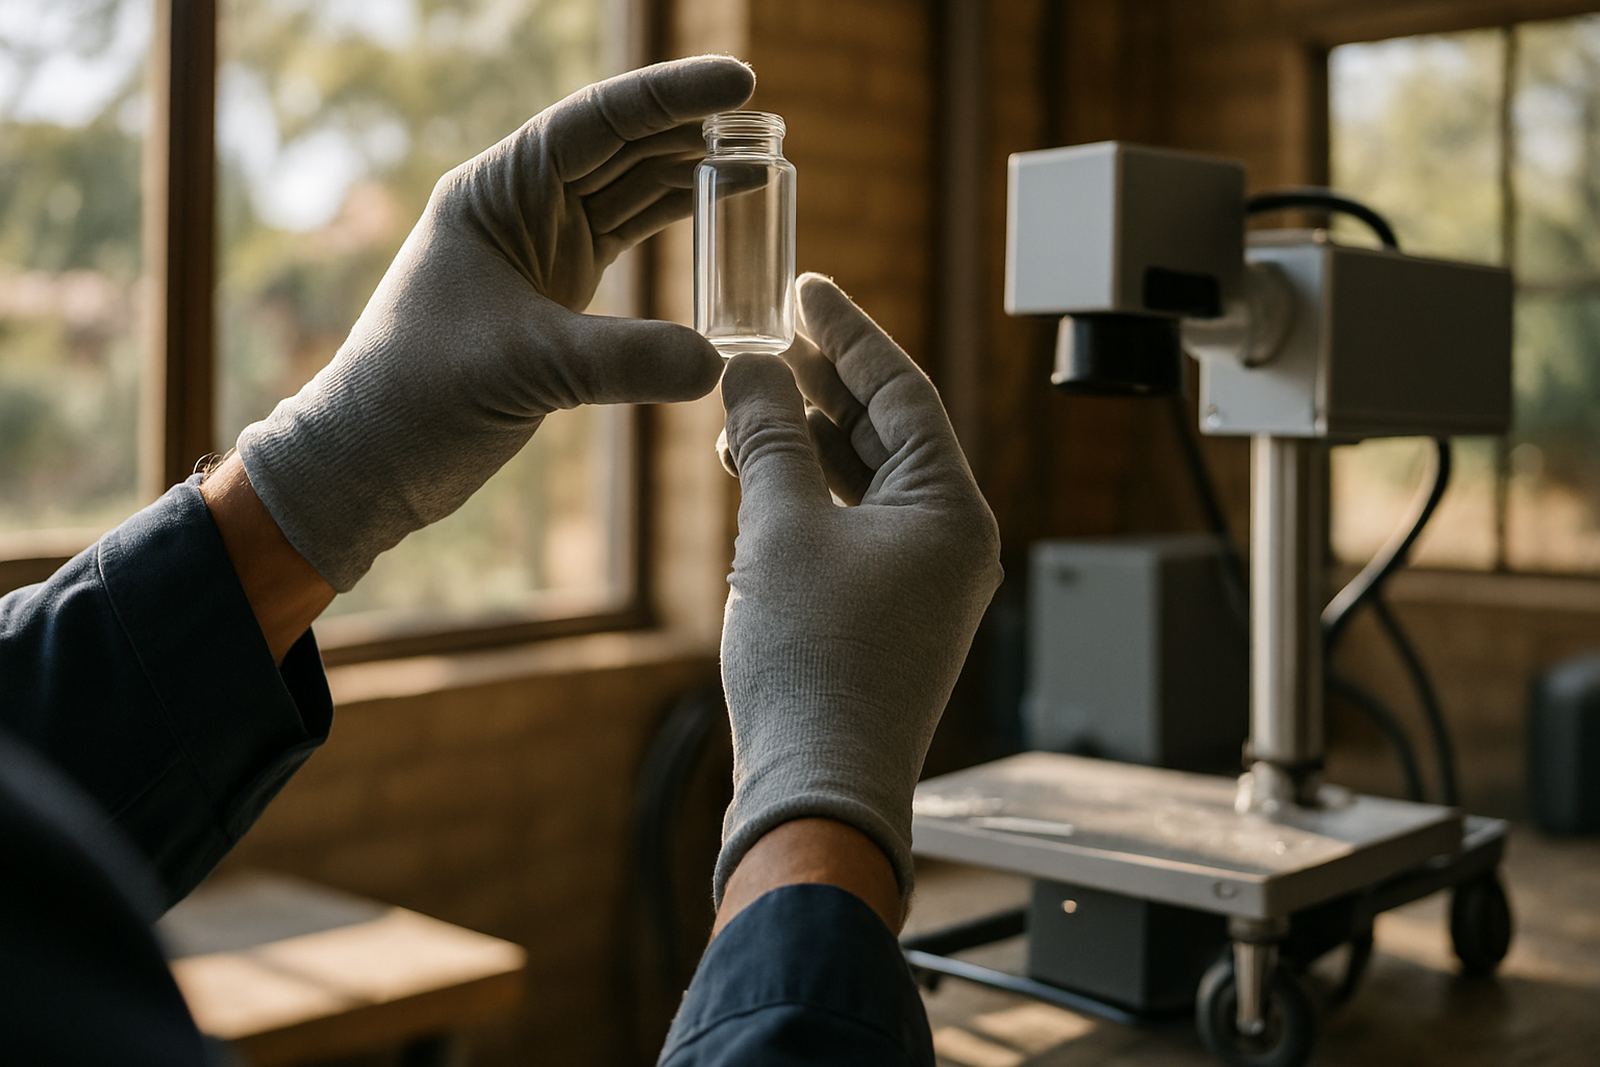
How to choose a UV marking guide that fits your job
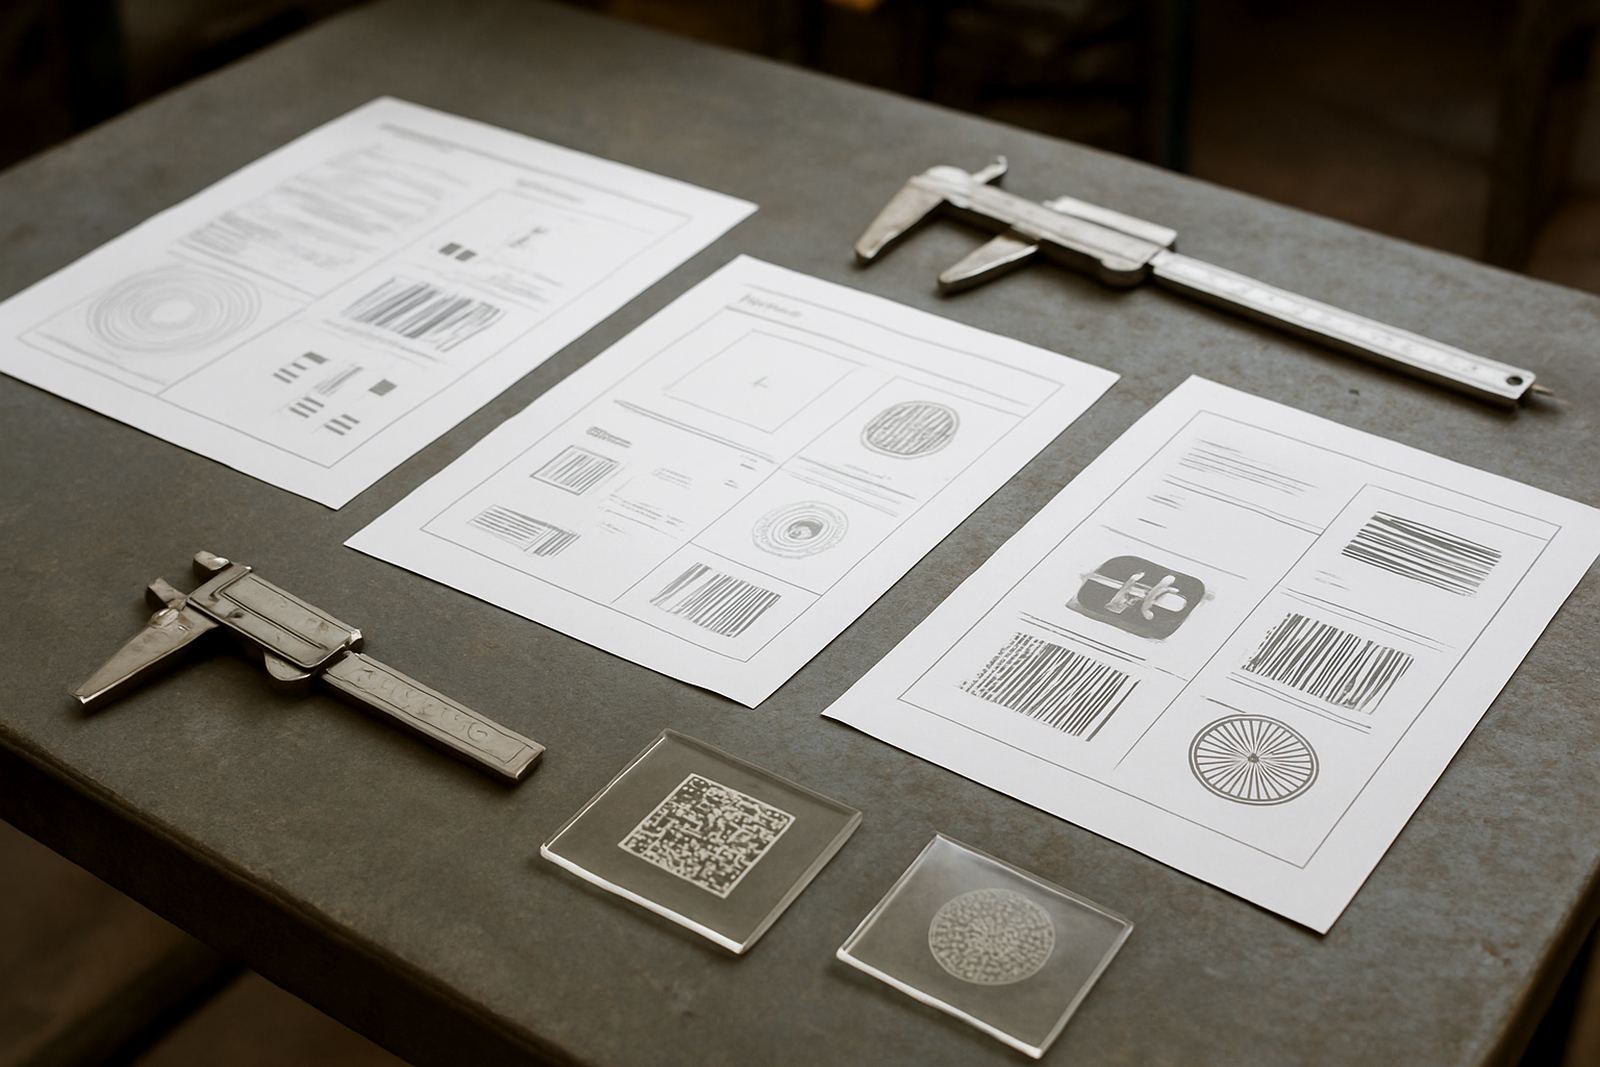
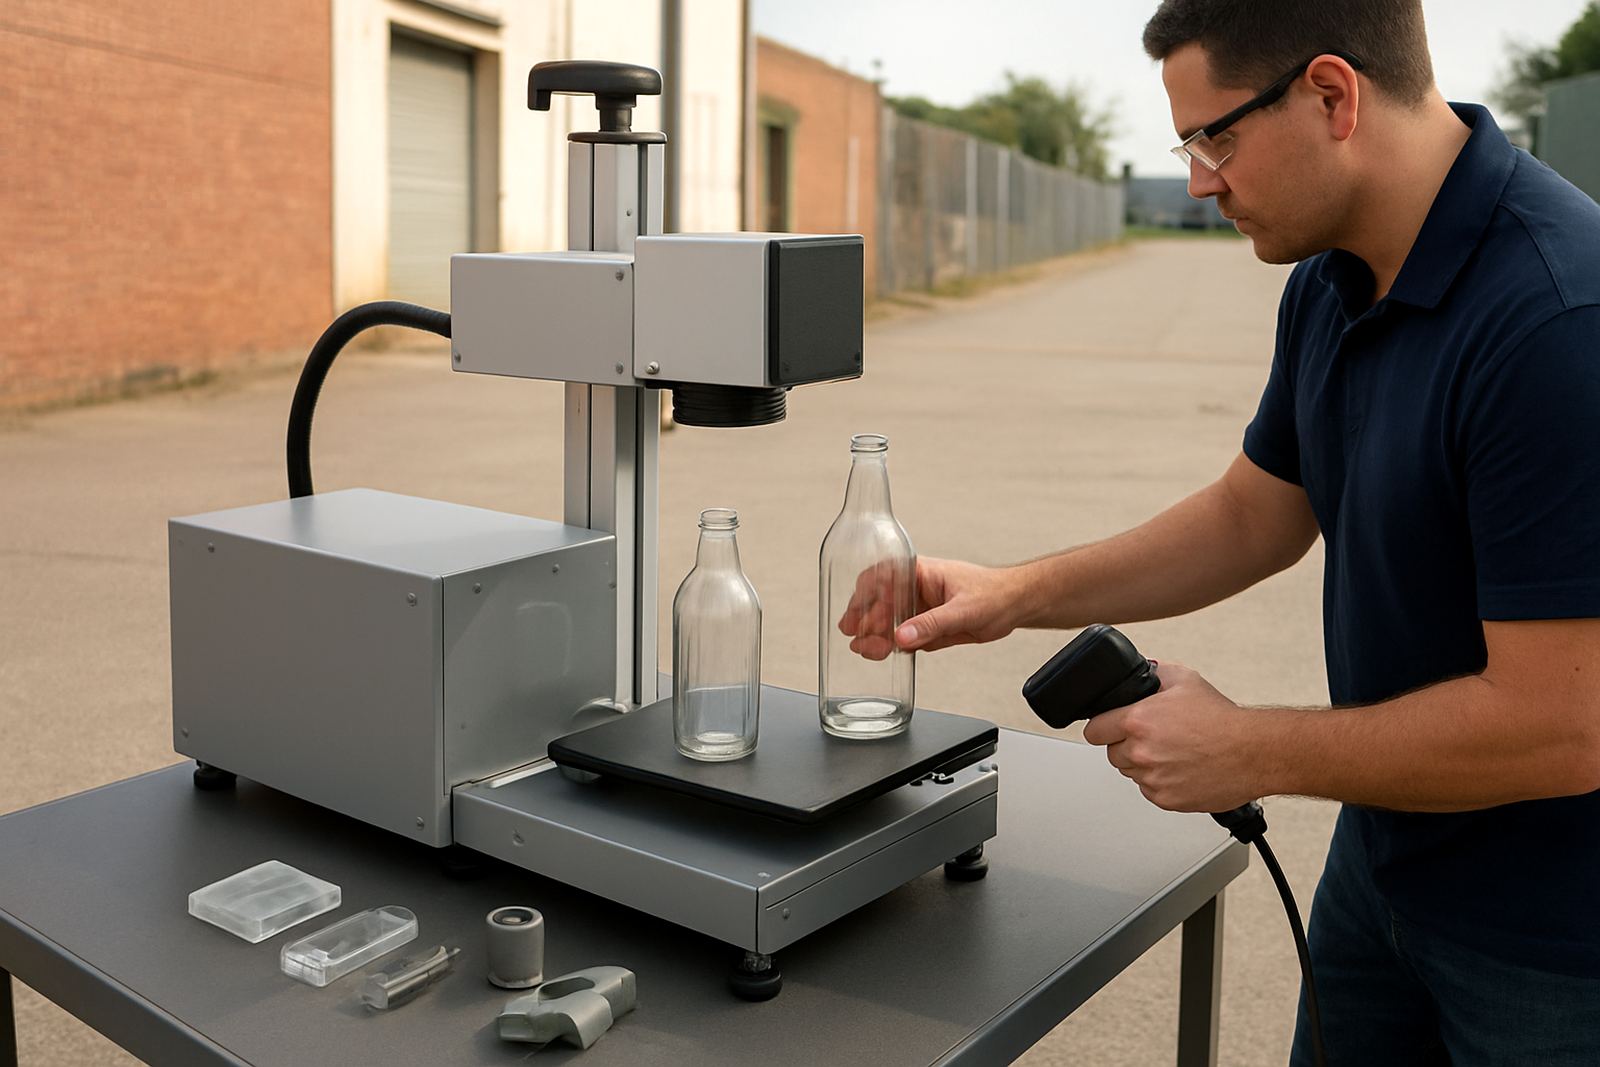
Start with the material, the mark size and the finish you need. Glass bottles, cosmetic jars, medical parts and plastic components all behave differently under a UV laser, so a guide should help you match the right settings, fixtures and handling steps to the job at hand.
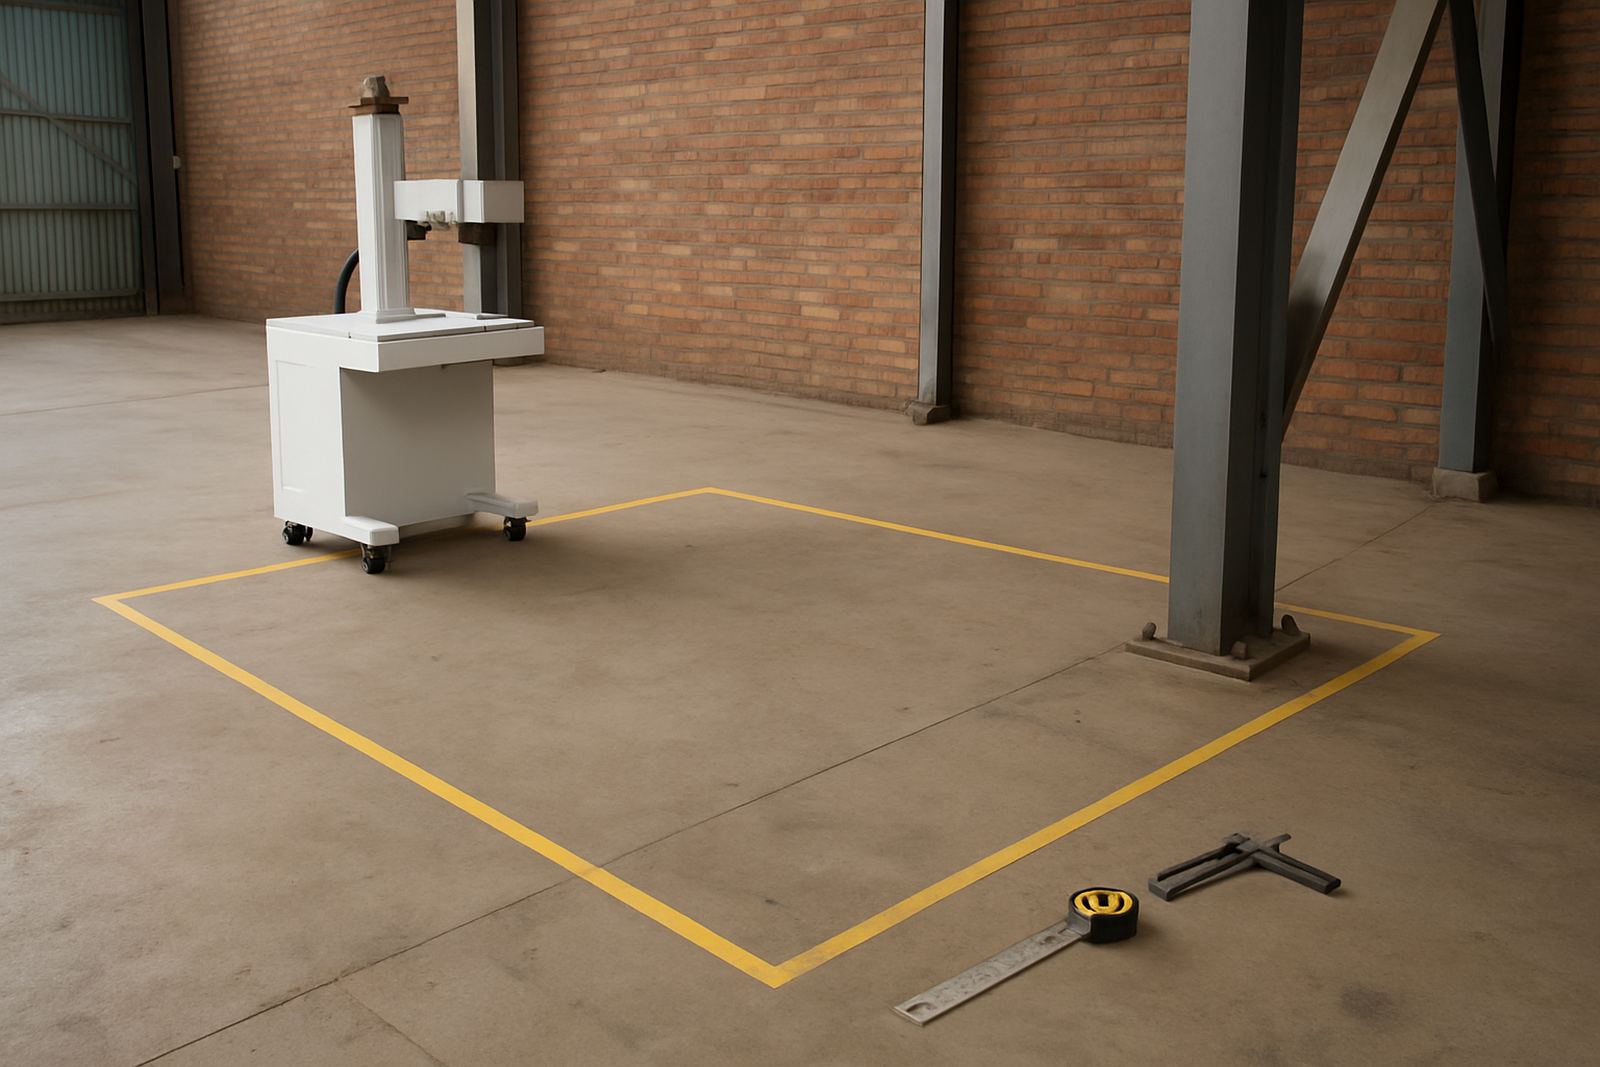
For buyers in Ekurhuleni, Gauteng and beyond, the useful guides are the ones that explain actual production questions: will the mark stay clear after washing, can it run on a curved surface, and what changeover time is realistic between one product size and the next. If your team works through load-shedding or has limited floor space, that also matters when planning a marking cell.
Glass marking topics that production teams ask about
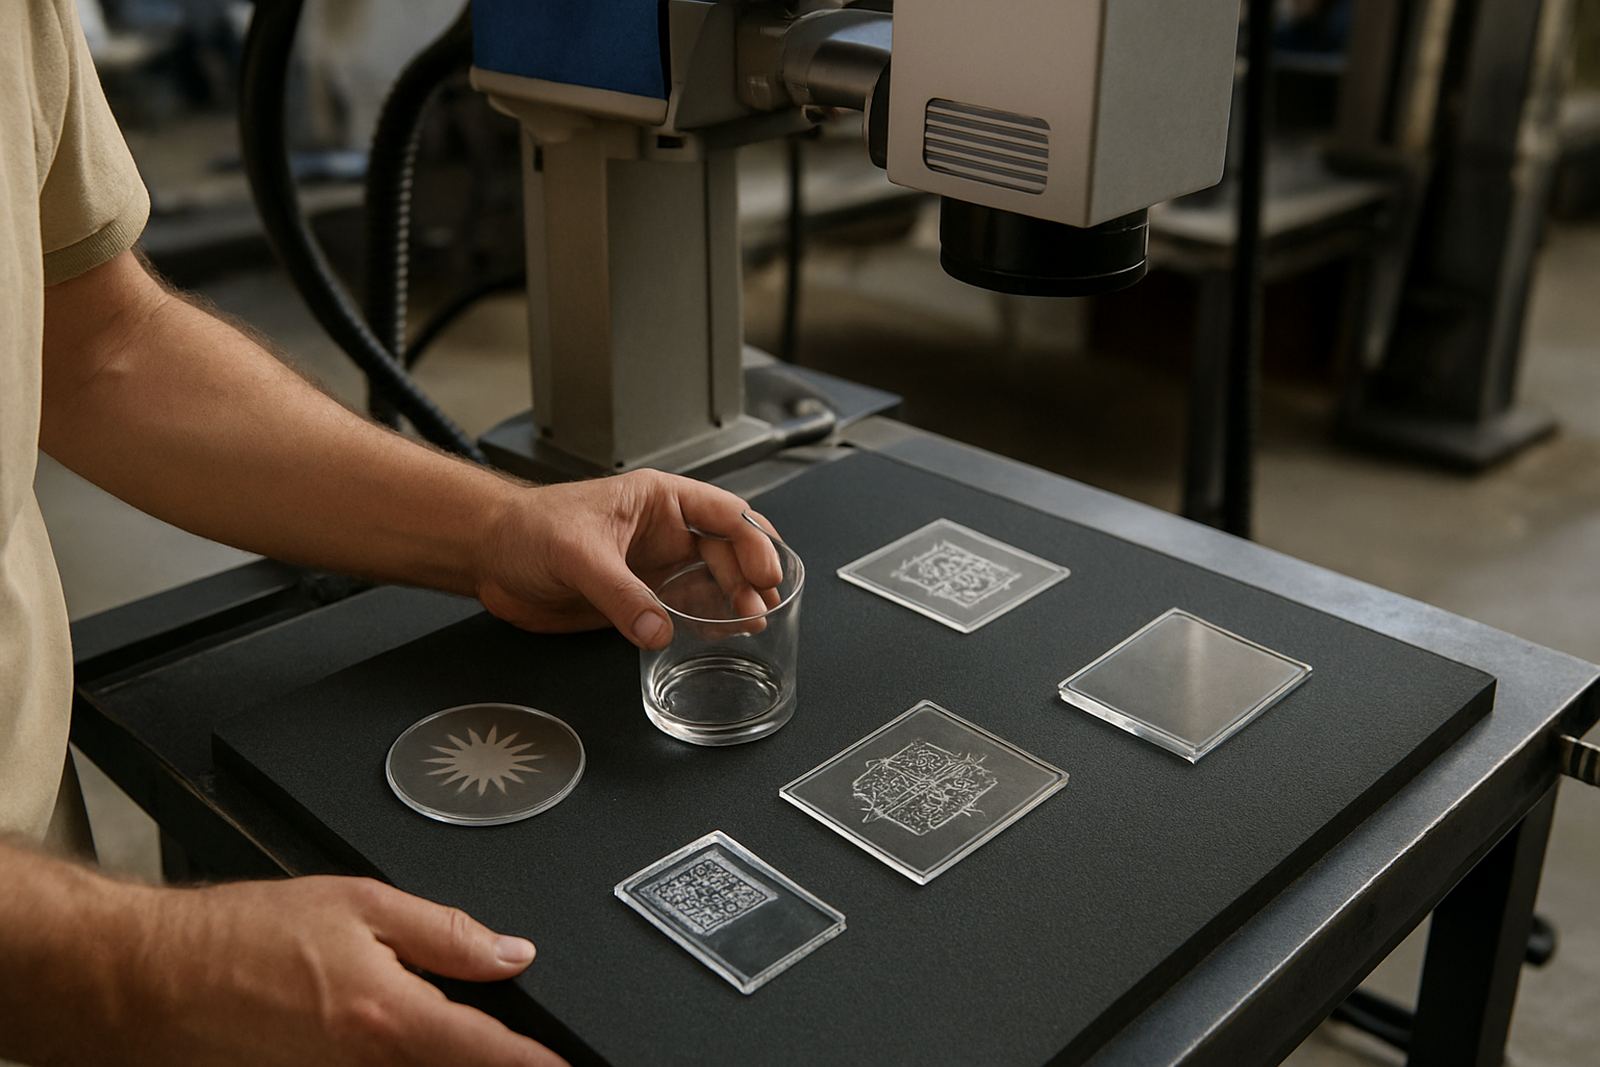
Glass needs careful handling because surface tension, wall thickness and curvature all affect the final result. A good guide should explain when a shallow frosted mark is enough and when a darker contrast is needed for branding or traceability.
- Cosmetic bottles and jars with curved shoulders or narrow necks
- Food and beverage containers that need permanent batch codes
- Laboratory glass where legibility must stay consistent after cleaning
- Decorative pieces where fine detail and position accuracy matter
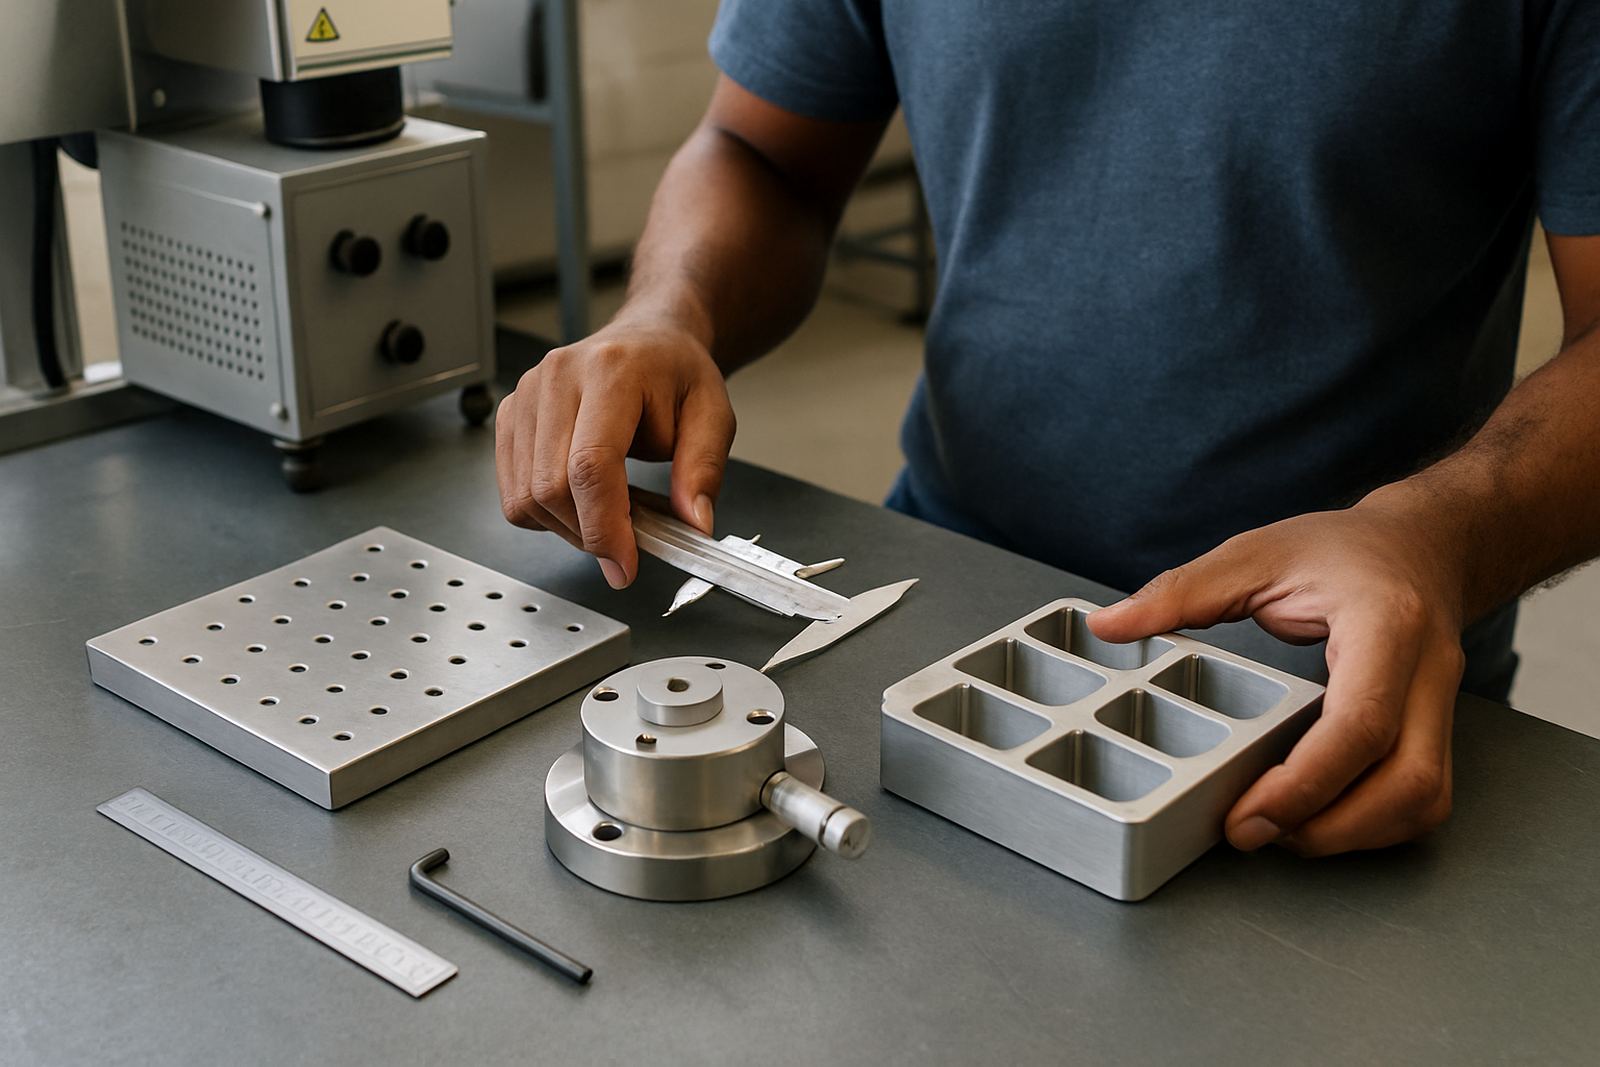
In practice, the best result comes from correct fixturing, stable part location and a clean surface. Even a small amount of dust, moisture or label adhesive can change the mark on glass, so the guide should show what prep is needed before the first sample run.
Plastic marking guides for labels, codes and fine detail
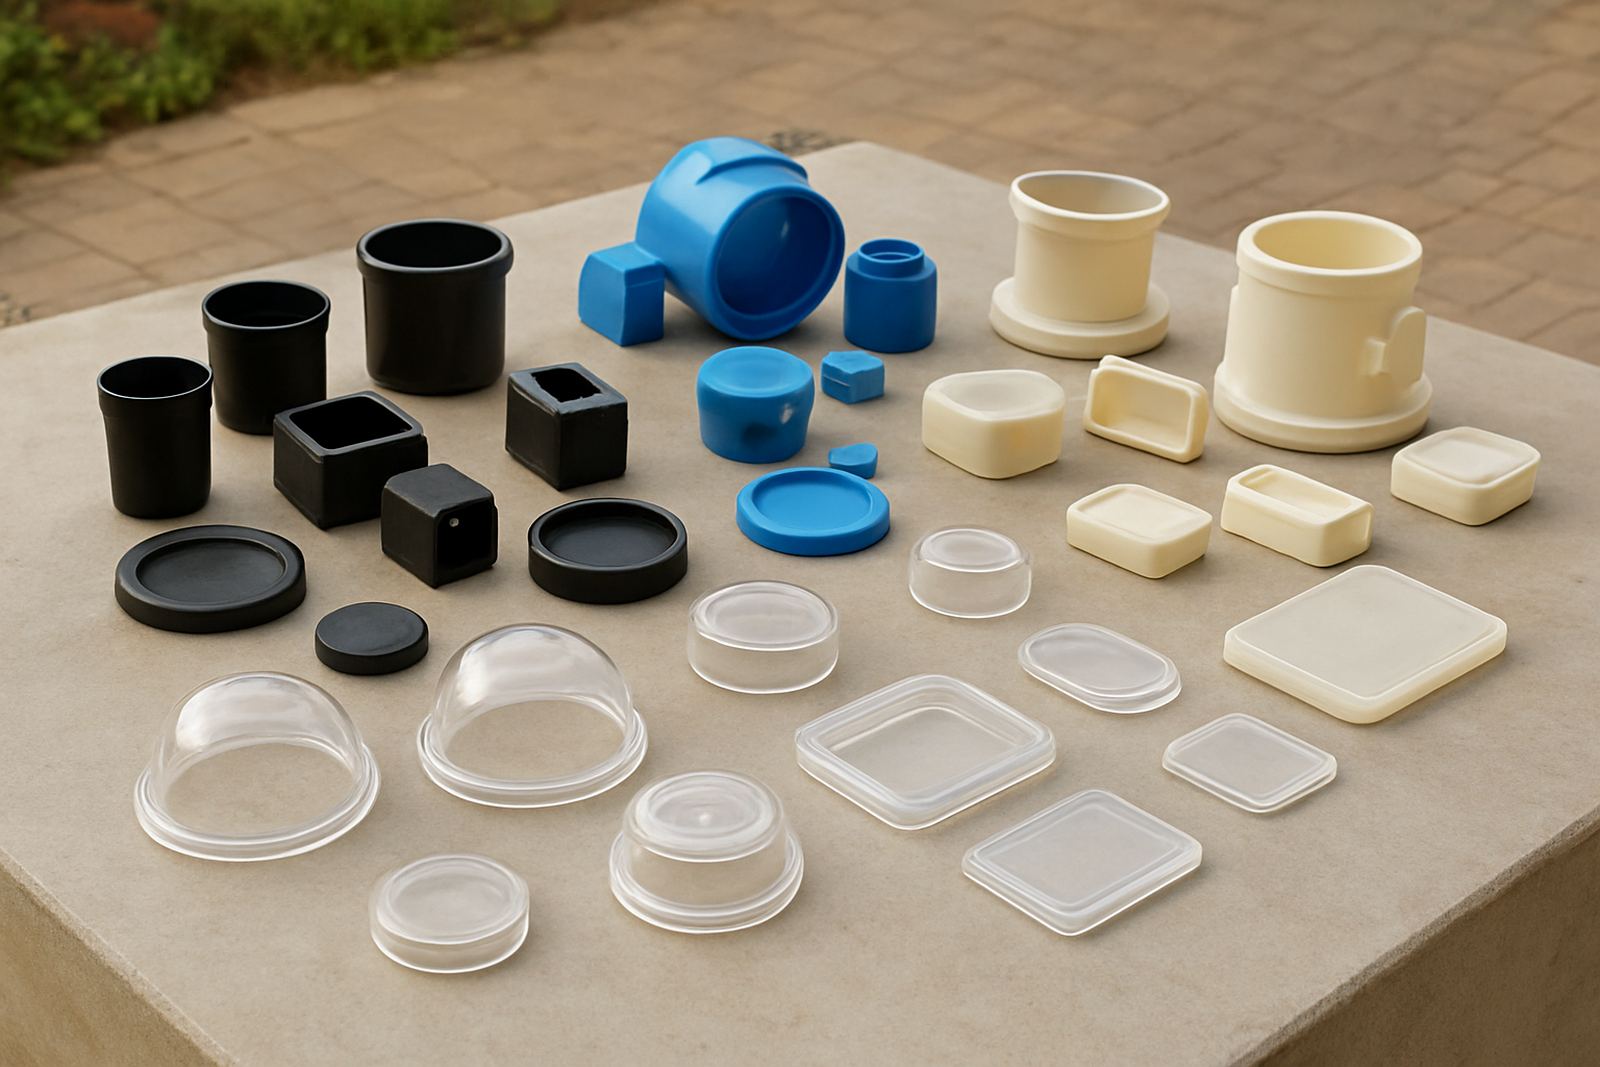
Plastics vary a lot. Some mark cleanly with sharp contrast while others need more careful process setup. The right guide should help you understand whether the plastic is clear, coloured, filled, textured or moulded with additives that affect the final mark.
This is important for South African factories making consumer goods, electrical parts, packaging closures and technical components. If the mark is for branding, the finish must look neat. If it is for traceability, it has to stay readable after handling, transport and exposure to heat or cleaning chemicals.
- Check whether the plastic is rigid or flexible before testing
- Confirm if the mark must be cosmetic, functional or both
- Ask for sample testing on the exact part, not just a similar one
- Allow time for setting up the right fixture and focus position
What to expect from a marking workflow
These guides are also meant to help teams plan the work, not just the machine. A practical workflow covers sample testing, installation, operator training and the first production run. That makes it easier to spot issues early, especially where line speeds, part size changes or software setup are involved.
For plants in Jet Park, Boksburg, Germiston, Kempton Park and nearby areas, the key is to get the process repeatable. Once the fixture, software and settings are right, operators can follow a simple routine with less rework and fewer stop-start delays. That saves time when orders are moving fast and the production floor is already stretched.
When a site demo or sample test is worth doing
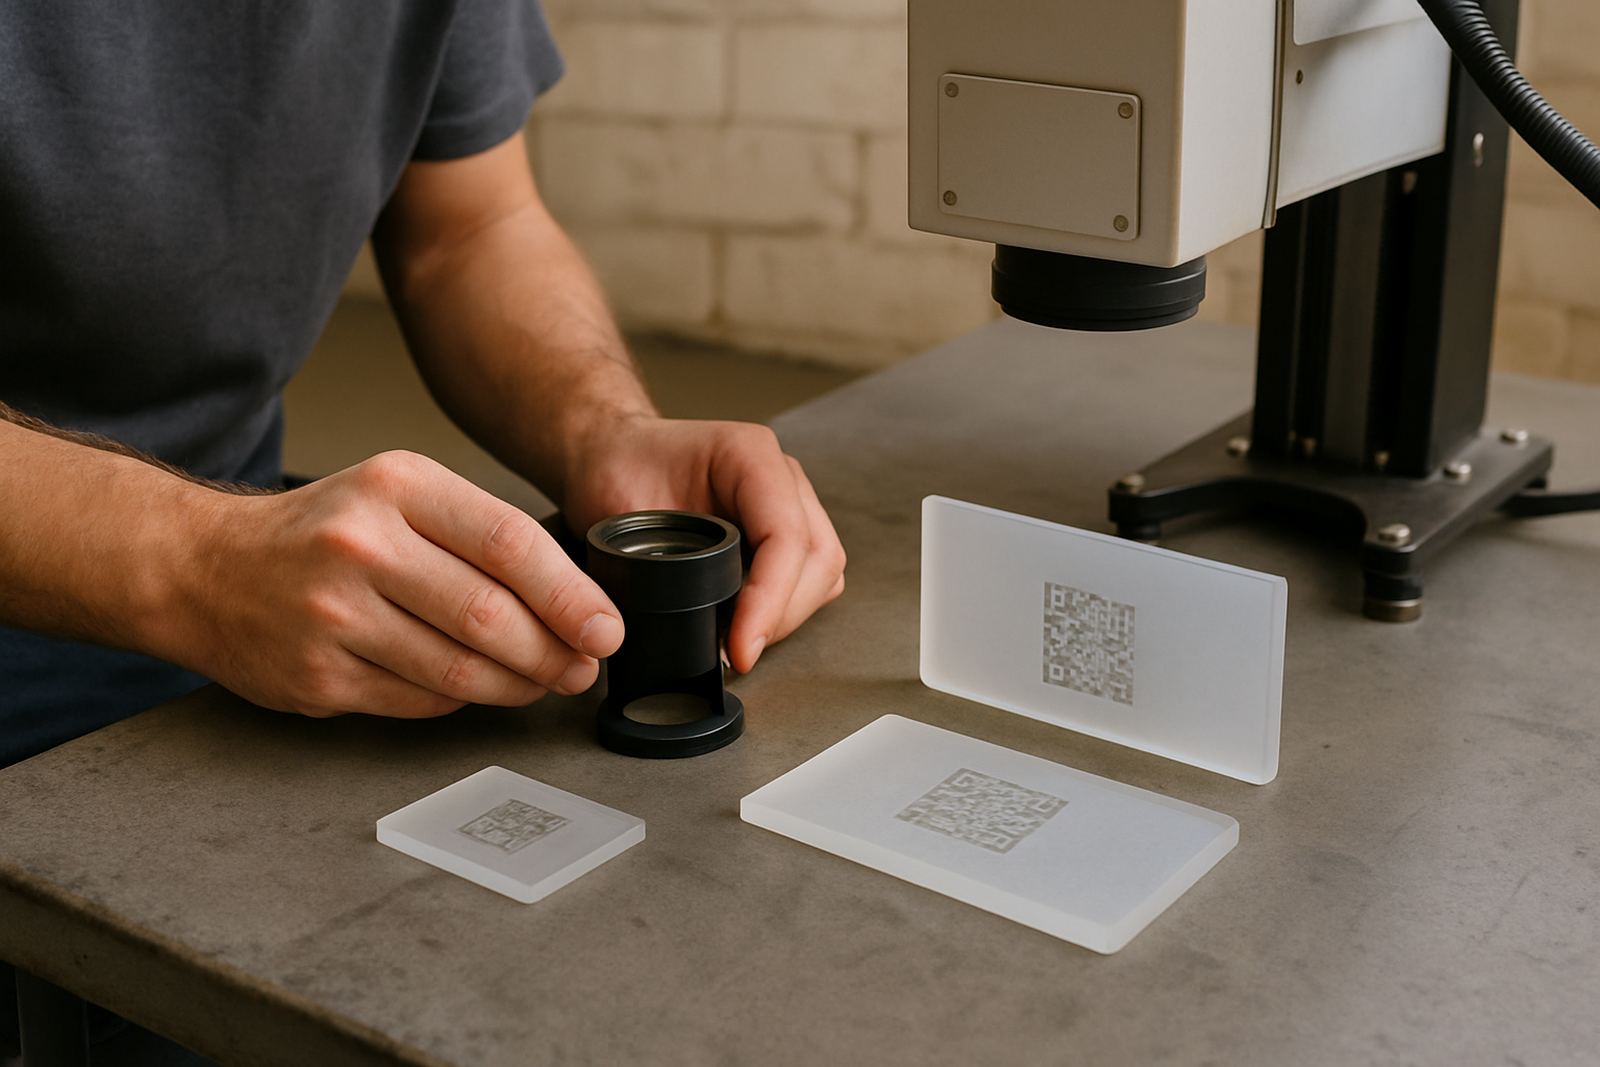
Not every marking requirement can be solved from a spec sheet. A site demo or sample test gives your team real evidence before you commit to a workflow. It is especially useful when the part surface is glossy, curved or sensitive to heat.
Use a demo when you need to check:
- mark clarity on the exact glass or plastic part
- cycle time against your current throughput
- fixture access, part loading and operator reach
- how well the mark holds up under handling or cleaning
Many buyers also use sample testing to compare multiple marking positions on the same product. That makes it easier to choose the most readable location before line integration starts.
Maintenance, training and support after installation
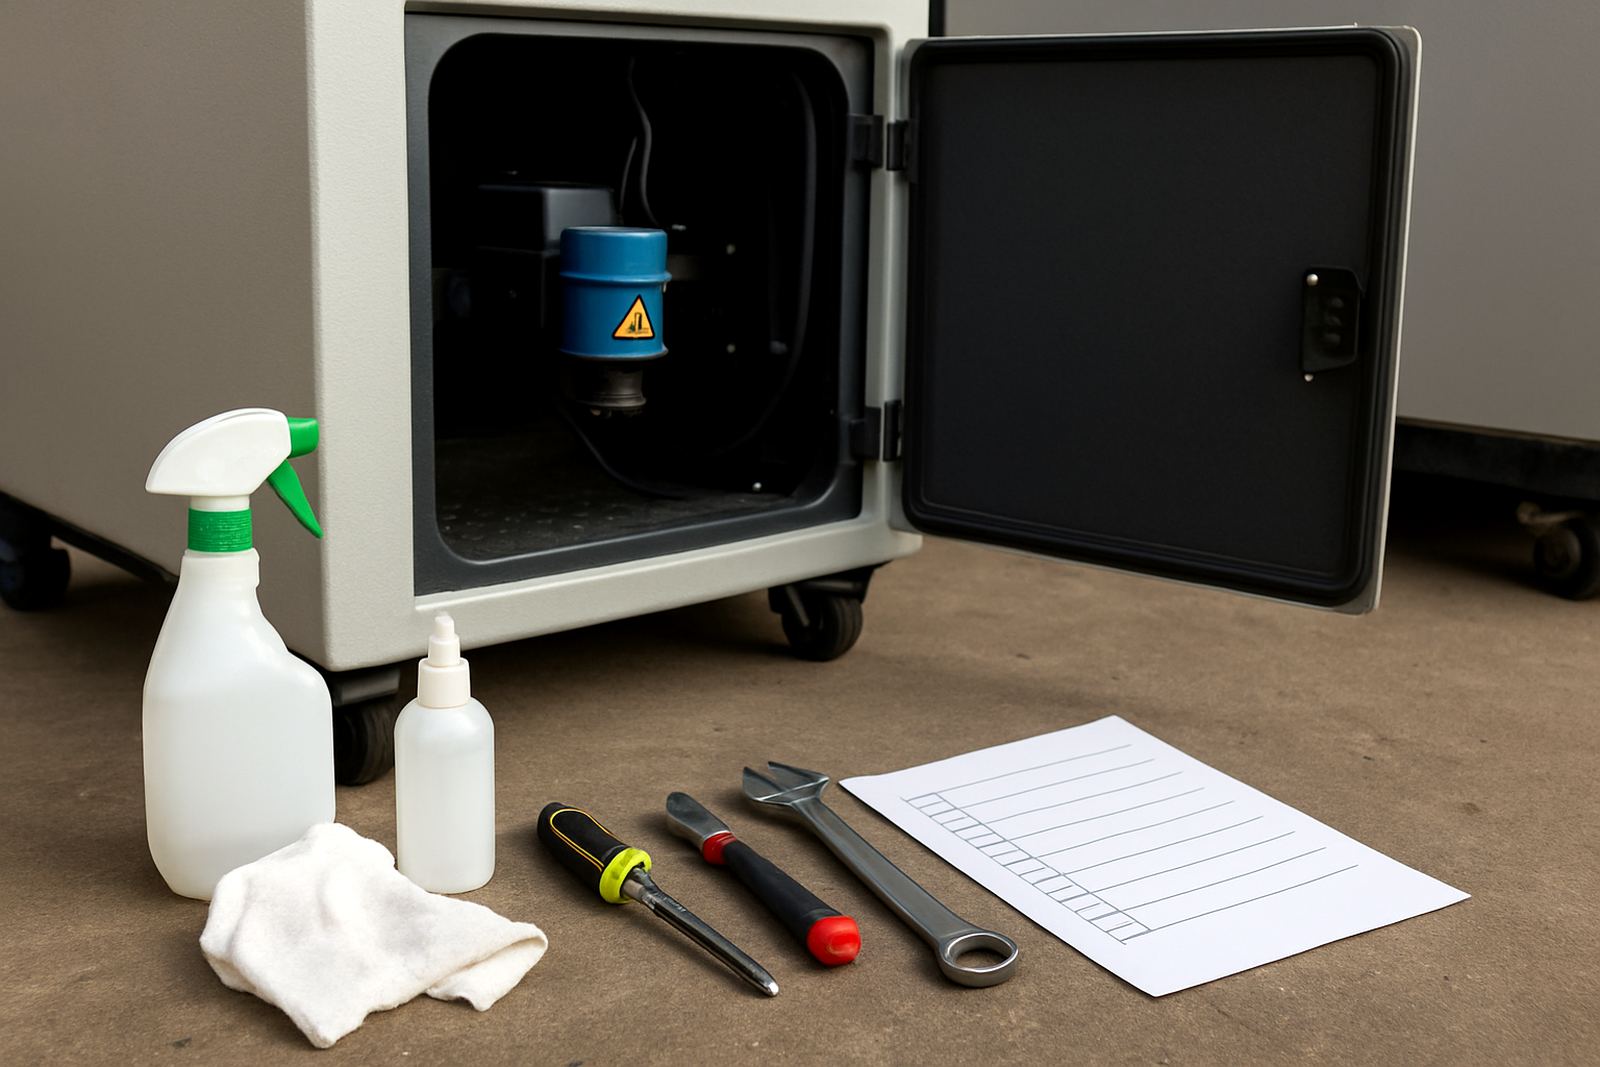
Good marking equipment is only part of the picture. Teams also need training, preventive maintenance and support when a line changes or a part design gets updated. A guide should explain what day-to-day checks are needed, which settings are likely to drift and when to call for a breakdown repair.
For operations working across Gauteng, Pretoria or further afield, nationwide support matters because travel, downtime and spares supply all affect output. A clear maintenance plan also helps in humid coastal areas, where storage conditions and dust can influence equipment performance over time.
Guides that include software setup, process optimisation and operator handover are usually the most useful because they show how the marking cell will work once it is in production, not only on the first day.
Use these guides to narrow your shortlist
The best way to use this hub is to match each guide to one question your team needs answered. Some guides will focus on application type, others on workflow, and others on expected finish or production speed. That helps buyers avoid guessing and makes comparisons much easier.
Whether you are marking packaging, technical parts or branded items, the right guide should leave you with a clear next step: test the sample, confirm the fixture, plan the install, or train the operator team. If you need help, the enquiry form on our contact page is the place to start.