Start With the Vial, Not the Laser Settings
With slim vials, the first step is to measure the actual part and not the sample drawing. A vial that looks simple on paper may have a slight taper, an uneven base, or a coating that changes how the mark appears. That matters when the marking area is only a few millimetres wide.
For glass, the main concern is cracking, chipping or a frosted mark that is too strong. For plastics, the concern is heat build-up, whitening or surface distortion. The safest setup starts by checking material type, wall thickness, diameter and the exact spot where the mark must sit. If the vial is filled, sealed or pre-sterilised, those steps also affect handling and positioning.
- Measure the usable marking zone on the body and shoulder.
- Check if the vial rolls, slips or wobbles in the fixture.
- Confirm whether the mark must face one side only or wrap around the body.
- Test a few samples from the same batch, not just one item.
Keep the Vial Stable and Round on the Fixture
Narrow cylindrical items need proper support. If the vial turns even slightly during marking, the result can look uneven or partly doubled. A stable fixture keeps each vial in the same position and protects the batch from small variations that show up later in packing or labelling.
Good fixture design is especially important when the containers are small, light or made from slippery plastic. In some cases a simple cradle works well. In others, the fixture needs guides, V-block support or a nest that holds the neck and base without pressing the marked surface. For high volumes, the loading method should be fast enough for the operator but still precise.
In Jet Park and nearby Boksburg, we often see customers running mixed packs of slim vials for cosmetics, medical samples or speciality liquids. If the line changes over through the day, the fixture should allow quick adjustment without forcing the operator to re-learn the setup each time. That saves time and reduces scrap, especially when load-shedding has already disrupted the schedule.
- Avoid squeezing the vial too hard, especially on thin plastic.
- Use alignment stops so the mark lands in the same place every time.
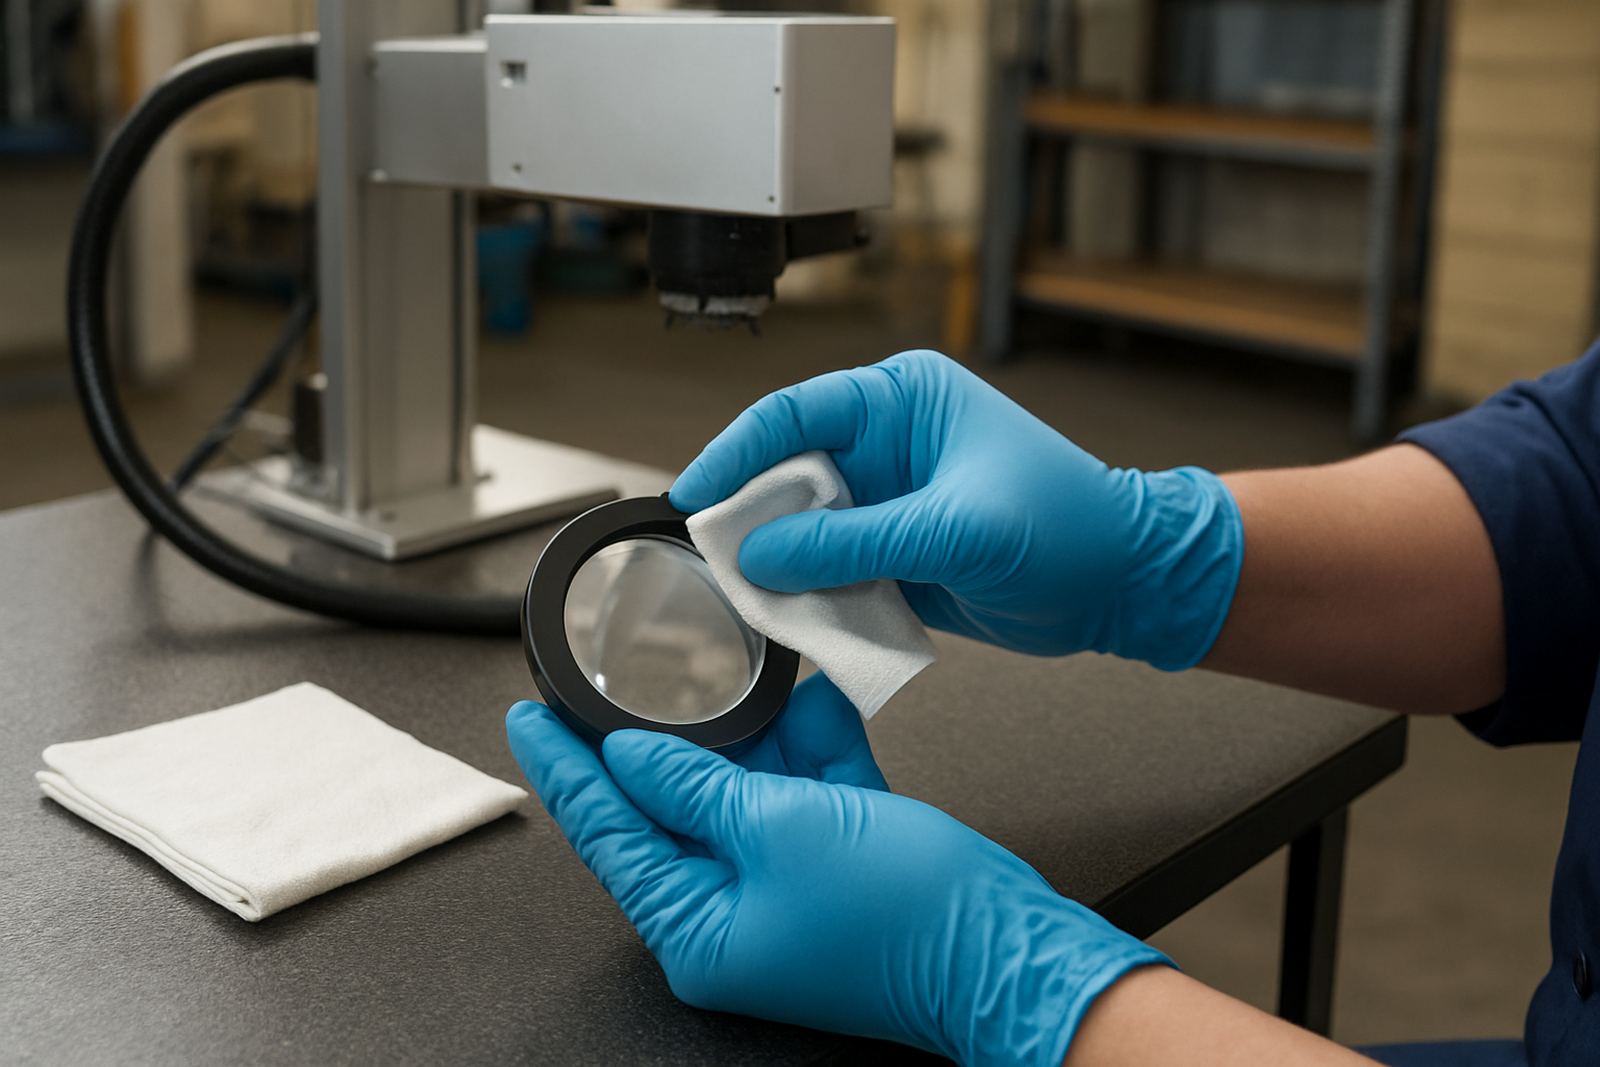
- Allow for easy cleaning if powder, dust or label residue builds up.
Choose Mark Size and Position for Real-World Reading
The best mark is not always the biggest one. On a small vial, a crowded logo or long code can wrap badly and become hard to read. Keep the message short and place it where the eye expects to find it, usually on the straightest part of the body. If the vial has a shoulder curve, avoid placing fine text too close to that transition.
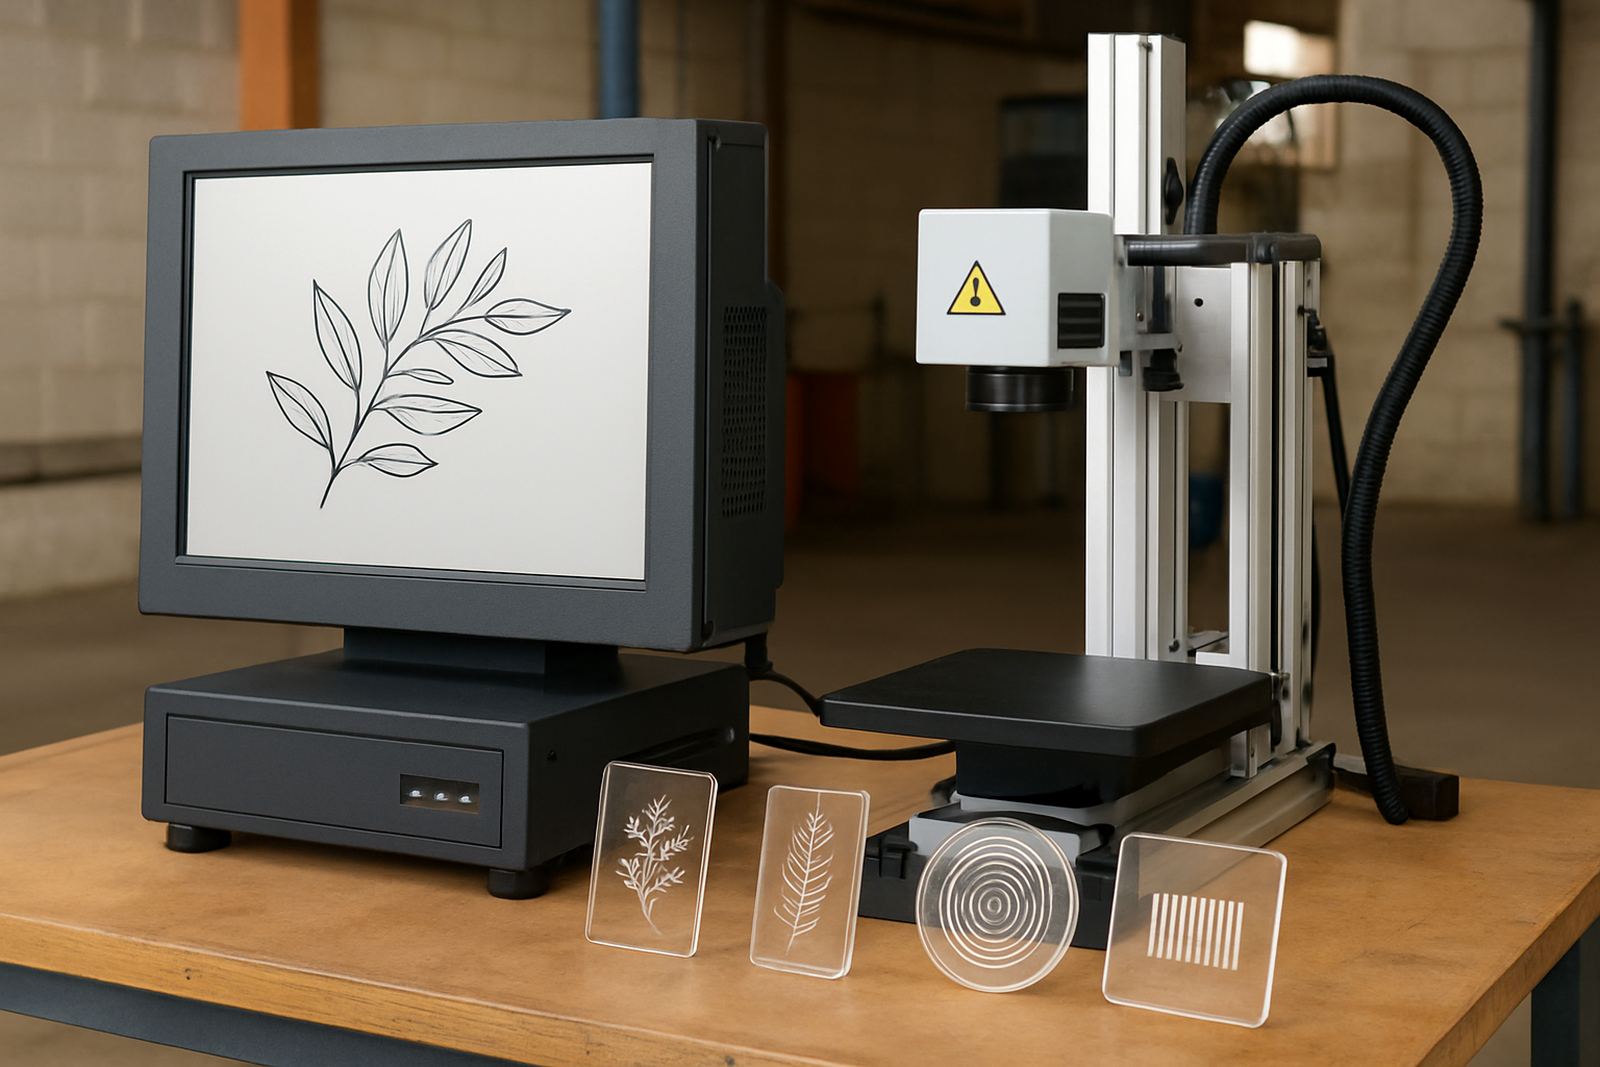
Legibility matters for batch codes, ingredient references and traceability marks. A clear code that survives handling, condensation and storage is more useful than a large mark that fades into the background. On glass, a controlled mark can give a clean contrast without damaging the finish. On plastic, the aim is often a crisp, permanent mark with minimal surface change.
- Use simple fonts for small text and serials.
- Keep line spacing open enough for scanning and visual checks.
- Test readability under warehouse light, not only under workshop lighting.
- Check the mark after wiping, packing and cold storage if relevant.
Set the Process for Glass and Plastic Separately
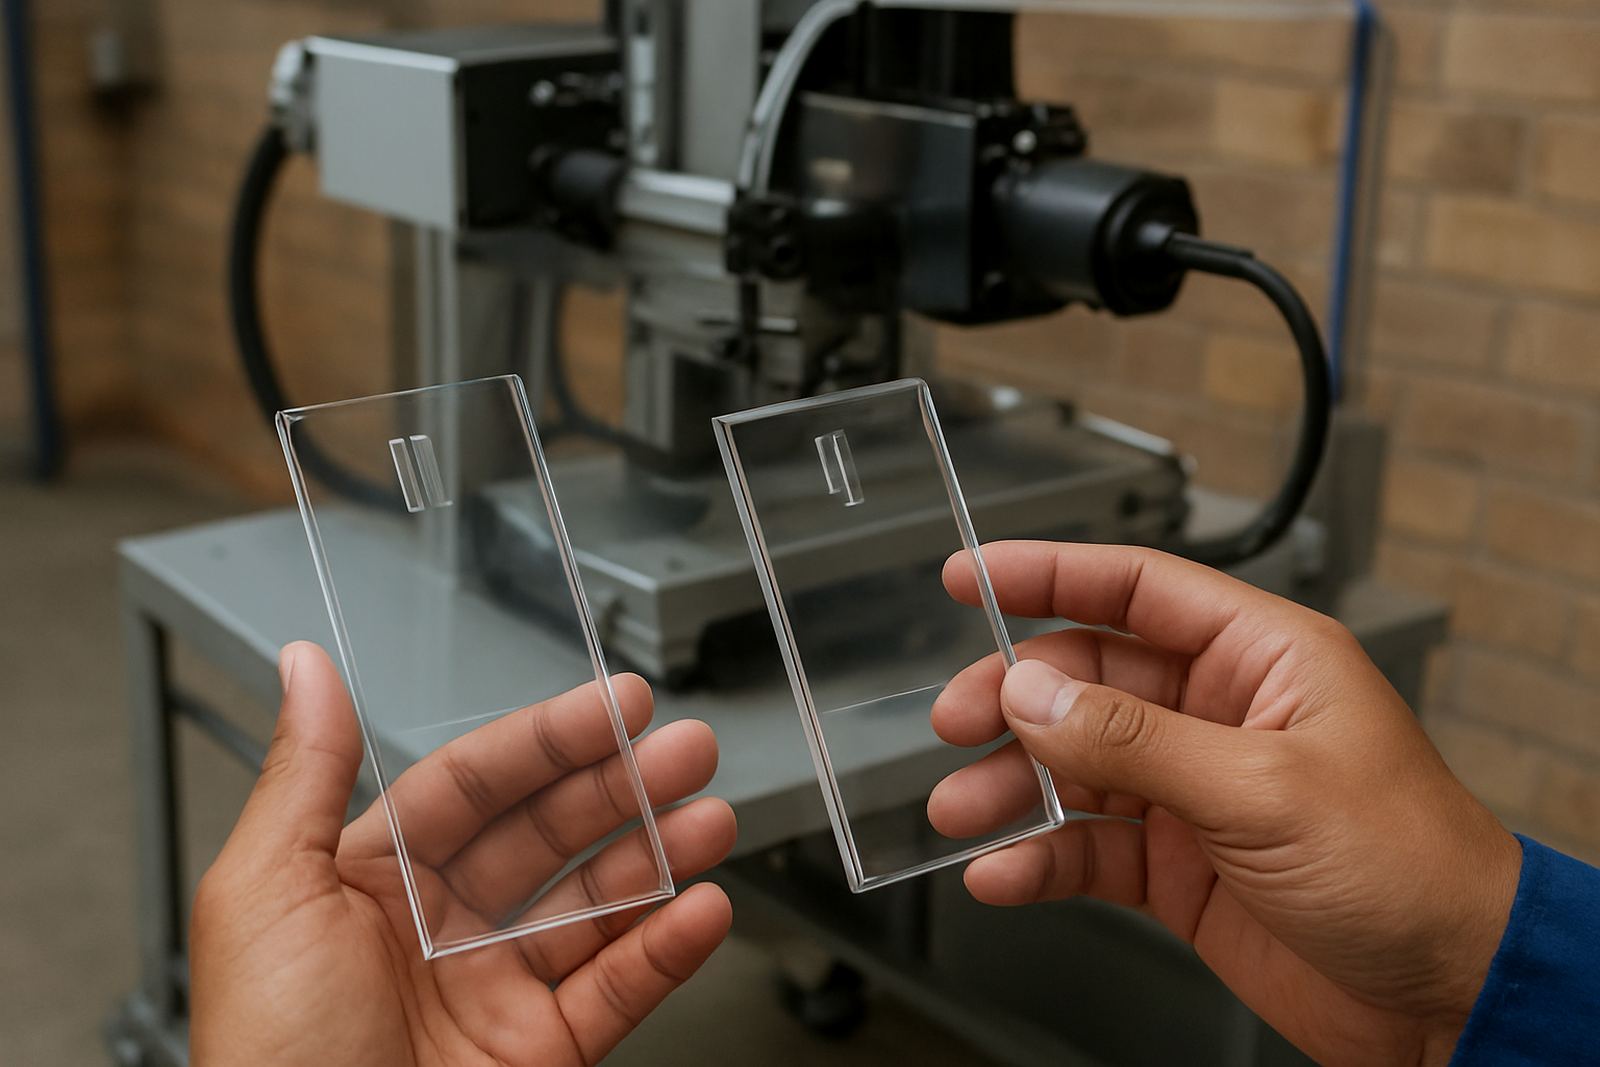
Glass and plastic respond very differently, even when the vial shape is the same. Glass usually needs careful control of energy so the surface is marked without causing chips or stress marks. Plastic often needs a different balance to avoid whitening, warping or a weak mark that rubs off too easily.
That is why one setting should never be treated as a universal answer. A process that works on amber glass sample vials may fail completely on clear polypropylene. The better method is to run small trials, check the finish under normal light, then inspect the marks after handling and transport. If the vial is used in a chilled or humid environment, the mark should still hold up after condensation or repeated wiping.
For plants in Germiston, Kempton Park or Benoni, where production often runs alongside packaging and dispatch in the same shift, a stable setting is worth more than a fast one. A few extra minutes spent on sample testing can prevent a full day of rework.
Plan for Line Speed, Operators and Changeovers
Once the marking quality is right, the next question is how the process fits the line. A slow, awkward setup can interrupt packing, while a poorly trained operator can undo an otherwise good system. Vial marking should be repeatable enough that the result stays consistent from one shift to the next.
Training should cover loading, basic cleaning, inspection and what to do when a vial slips or the code appears faint. It helps to keep the steps simple and visual. If the line handles more than one vial size, the changeover points should be clearly marked so operators do not guess.
- Set a standard loading method for every shift.
- Keep spare fixtures and wear parts on hand for busy periods.
- Record the preferred settings for each vial type.
- Build in a quick quality check at the start of every batch.
When schedules are tight, especially before dispatch runs to Pretoria or Midrand, small delays turn into bigger ones if the marking station is not organised. A tidy setup and clear procedure help keep the line moving without confusion.
A Practical Example From a Boksburg Production Line
A local packaging line in Boksburg wanted to mark slim glass vials used for a regulated product. The team needed a code that would stay readable after cold storage, handling and final cartoning. The first trials looked uneven because the vials were moving slightly in the fixture and the mark was placed too close to the shoulder.
After the support team adjusted the cradle, shifted the mark onto the straight section and reduced the marking area to a simpler code, the result became much cleaner. The operator could load the vials faster, the rejects dropped, and the client had a stable process for daily production. It was not a complicated fix, but it showed how much difference good setup makes on narrow containers.
That same logic applies whether the run is for cosmetics, laboratory consumables or small industrial samples. On slim vials, the details matter: part geometry, fixture control, mark position and a setting that suits the actual material, not just the sample in hand.