Start With the Final Mark, Not a Rough Idea
Before you send artwork, decide exactly what must appear on the part. Is it a logo, serial number, batch code, care symbol, QR code, or a small product name? The artwork should match the final use, because a mark that looks fine on screen can fail once it is reduced to 8 mm on a bottle cap or moved onto a curved glass panel.
For UV laser marking, simplicity helps. Fine serif fonts, thin strokes, and crowded details can disappear on clear plastics or frosting on glass. If your brand mark has multiple lines, ask which parts are essential and which can be removed for the marking area. That saves time during sample testing and reduces the need for repeat runs.
Use Clean Vector Files Wherever Possible
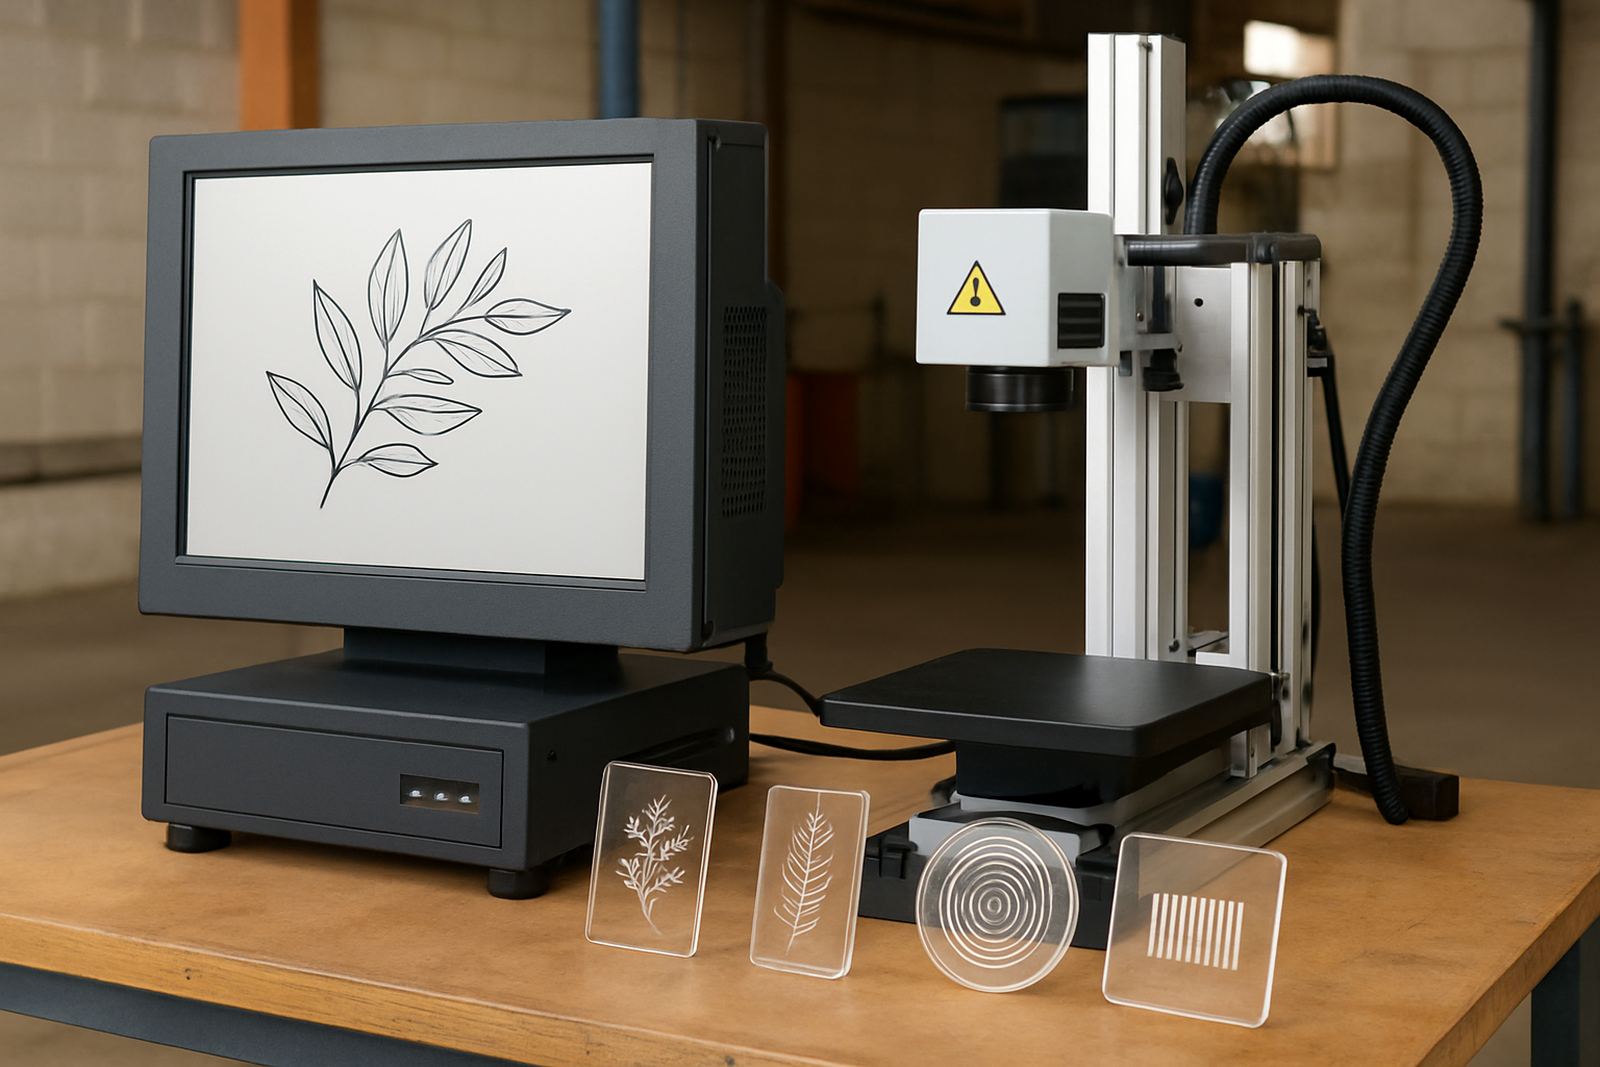
The best starting point is a vector file with crisp edges and editable text. This allows the marking team to scale the artwork without loss of detail. A flat image file can be used in some cases, but it often needs extra preparation if the edges are soft or the colours are built into the picture. For line work and logos, vector is usually the safer choice.
If you only have a raster file, make sure it is high resolution and not pulled from a social media image or a scanned label. Those files often carry compression marks, jagged lines or hidden backgrounds that show up during marking. The cleaner the source file, the less time is spent redrawing details before the first sample.
- Send editable vector files where possible, with text converted to outlines if requested.
- Keep logos, icons and text on separate layers for easy changes.
- Avoid screenshots, WhatsApp forwards and low quality scans.
- Remove background colour blocks unless they are part of the mark.
Set the Right Size, Placement and Surface Notes
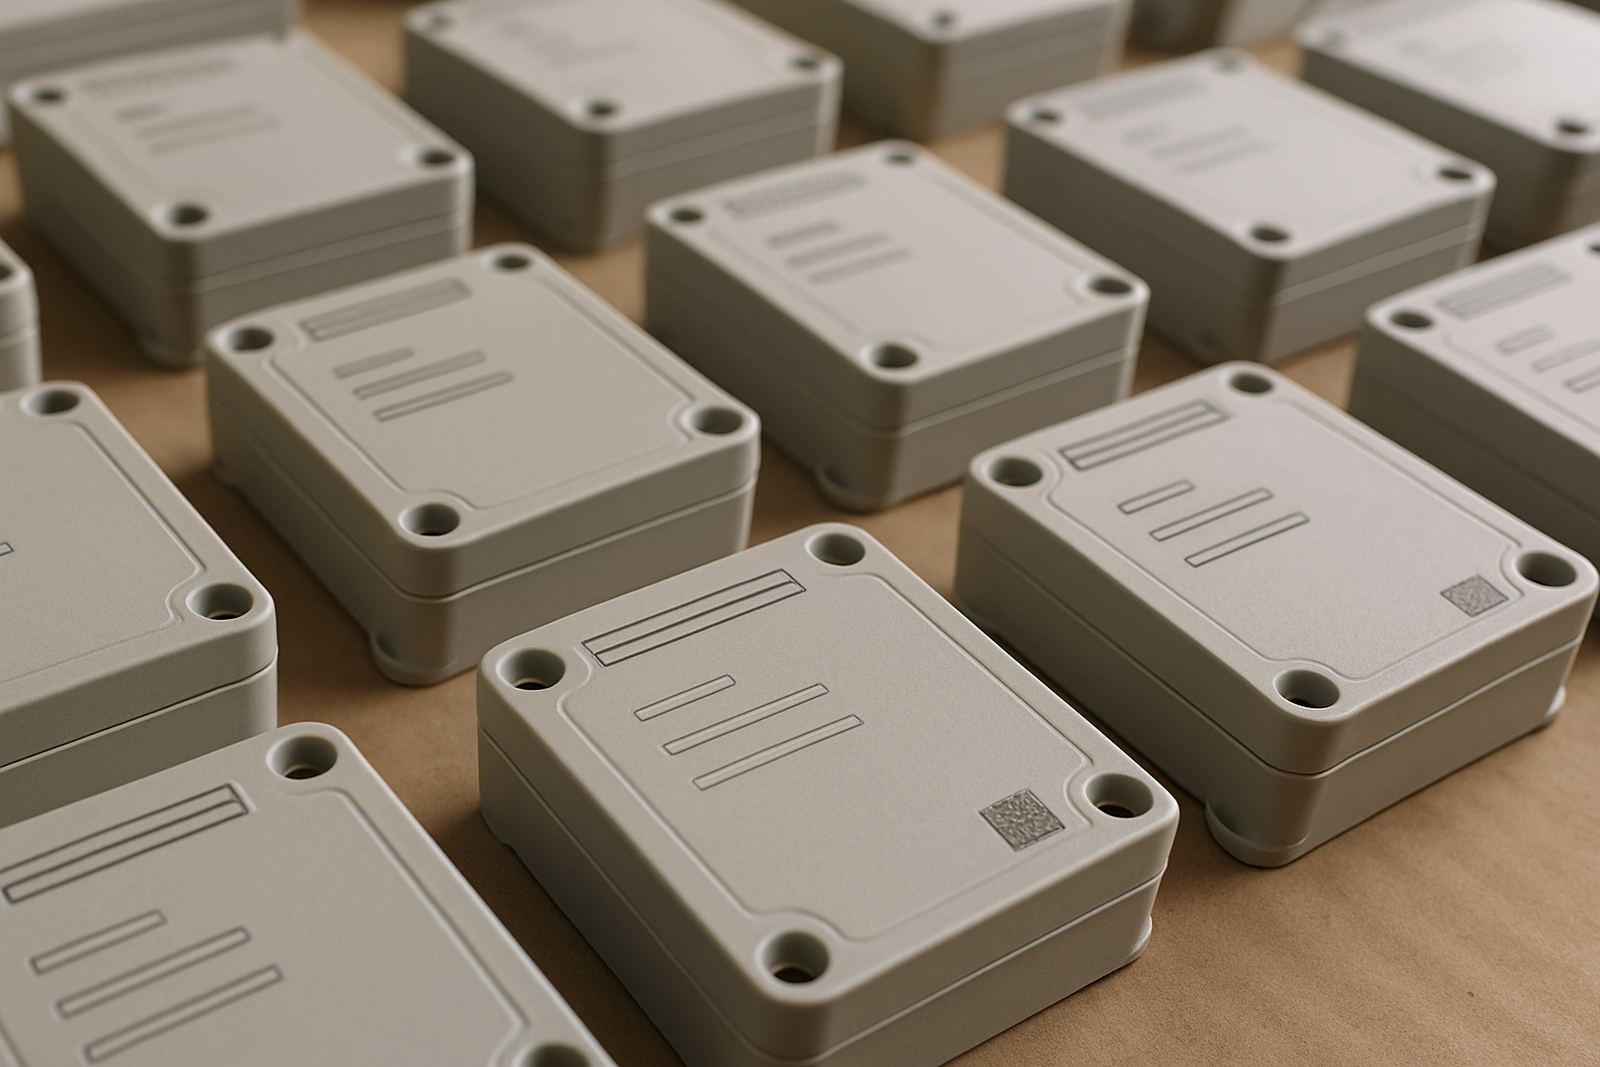
Artwork prep is not only about what the mark says. It is also about where it sits and how big it should be. A mark that fits on a flat sample may land too close to a curve, a seam or a mould line on the actual item. If you are marking glass jars, flasks, cosmetic bottles or plastic housings, include the exact print area and any no-go zones.
It helps to mark up the drawing with measurements in millimetres. If the item is curved, include the diameter if you have it. If the part is textured, glossy, tinted or clear, say so. In Ekurhuleni we often see customers bring a sample on a Monday, then discover the same item behaves differently on the production line because of a slight mould variation or a moulded ridge. A few notes on the artwork sheet can prevent that sort of delay.
- Give the part dimensions in millimetres, not only in general terms.
- Show the exact mark location with arrows or a simple layout sketch.
- Note whether the surface is flat, curved, polished, frosted or textured.
- Flag any legal text, traceability codes or label rules that must stay fixed.
Keep Line Weight and Text Size Practical
UV laser marking is precise, but every material has limits. Very fine lines may look sharp in the file and still break up on the part, especially on transparent plastics where contrast is lower. Thin text can also become hard to read after handling, cleaning or exposure to sunlight. That is why artwork should be reviewed with the final material in mind, not just the brand guideline.
As a rule, bolder lines and slightly larger text give better results than delicate artwork for tiny marks. If your design includes a small symbol, test it at the true size. In some jobs, a slight simplification is better than a full redraw. The aim is clarity and durability, not squeezing every detail into a space that is too tight.
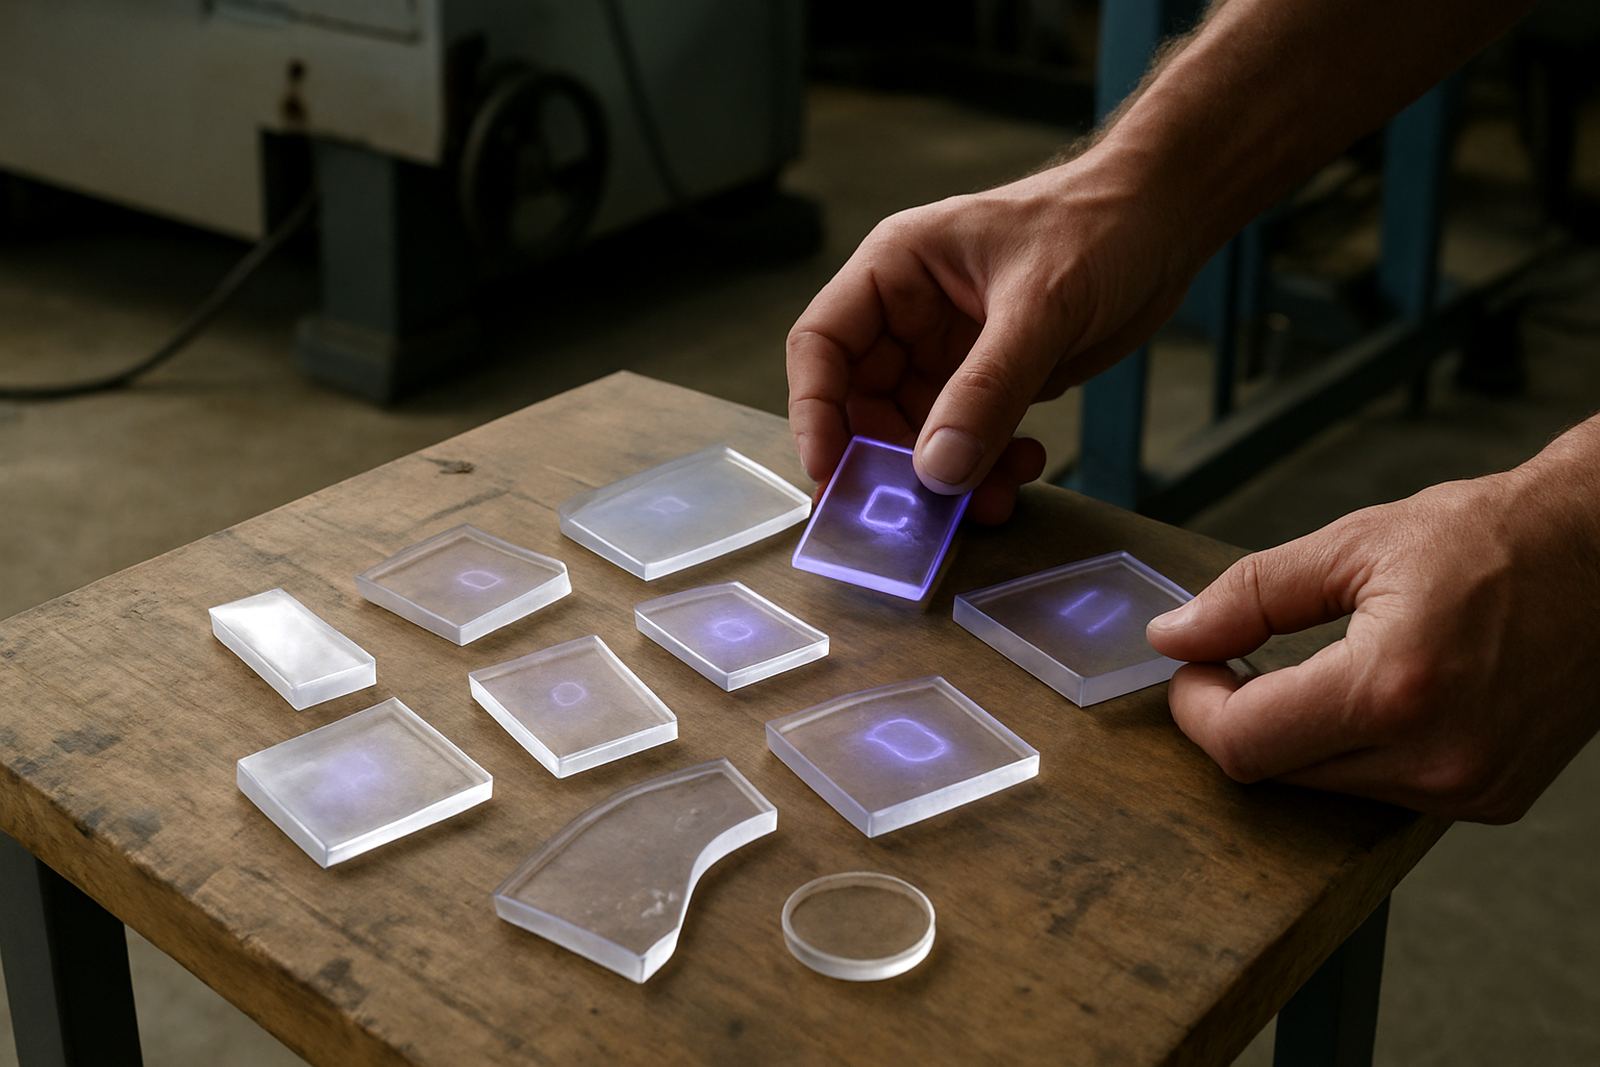
Where fine detail matters, ask for a sample on the actual substrate. A logo that works on one plastic can behave differently on another, and glass can show contrast in a very different way. That is why sample testing is part of the job, not a box to tick after the fact.
Prepare Variable Data the Right Way
If your mark includes serial numbers, dates, batch codes or customer-specific data, separate the static artwork from the changing fields. This makes setup easier and reduces errors when the line starts moving. It also helps during training because operators can see which part stays fixed and which part changes from unit to unit.
Before implementation, confirm the format you want. For example, do you need DD/MM/YYYY or YYYY-MM-DD? Should the serial number reset each shift, each order, or each day? If the text needs to fit inside a small label area, test the longest version first so there are no surprises when a larger number comes through. A little planning here saves a lot of stoppages later on.
- Confirm date format, serial format and increment rules before production.
- Provide a clear sample of the longest expected text string.
- Separate fixed brand text from live production data.
- Check whether counters need to reset after power cuts or shift changes.
Plan for Testing, Training and Production Use
Once the artwork is ready, think beyond the sample. The same file may need to work during site demos, sample approval, operator training and full production. If the file changes every time someone opens it, the risk of mistakes goes up. Keep one agreed master version and make sure everyone uses the same naming system.
For manufacturers in Jet Park, Boksburg, Germiston or Kempton Park, this matters when a line is under pressure and the team is also dealing with load-shedding, shift changes and tight dispatch times. A clean artwork pack means the technician can set up faster, the operator can understand what to load, and the quality check can focus on the mark itself rather than fixing file issues. It sounds simple, but it often decides whether a job runs smoothly or ends up in the redo pile.
If you are preparing artwork for a new product in plastics or glass, treat the file like part of the production process. Good prep lowers the risk of delays, helps the sample pass faster and gives the implementation team a cleaner start.