Why overmarking happens on glass and plastics
Overmarking usually starts with good intentions. An operator wants a darker mark, a clearer logo or a more visible batch code, so the machine is given more power or another pass. On delicate parts, that extra energy can do the opposite and leave a frosted patch, heat tint, warping or tiny surface fractures.
Glass and plastics do not behave the same way, and that is where many problems begin. Some materials absorb energy quickly, while others reflect it or carry heat across the surface. A setting that looks fine on one bottle, syringe component or appliance panel can overcook the next one if the wall thickness, tint or finish changes.
In practice, overmarking is often less about the machine and more about process control. If the job was signed off in the afternoon and then run again at night by a different operator, the result can shift. That is why test marks, agreed settings and simple job records matter just as much as the laser itself.
Signs the mark is too aggressive
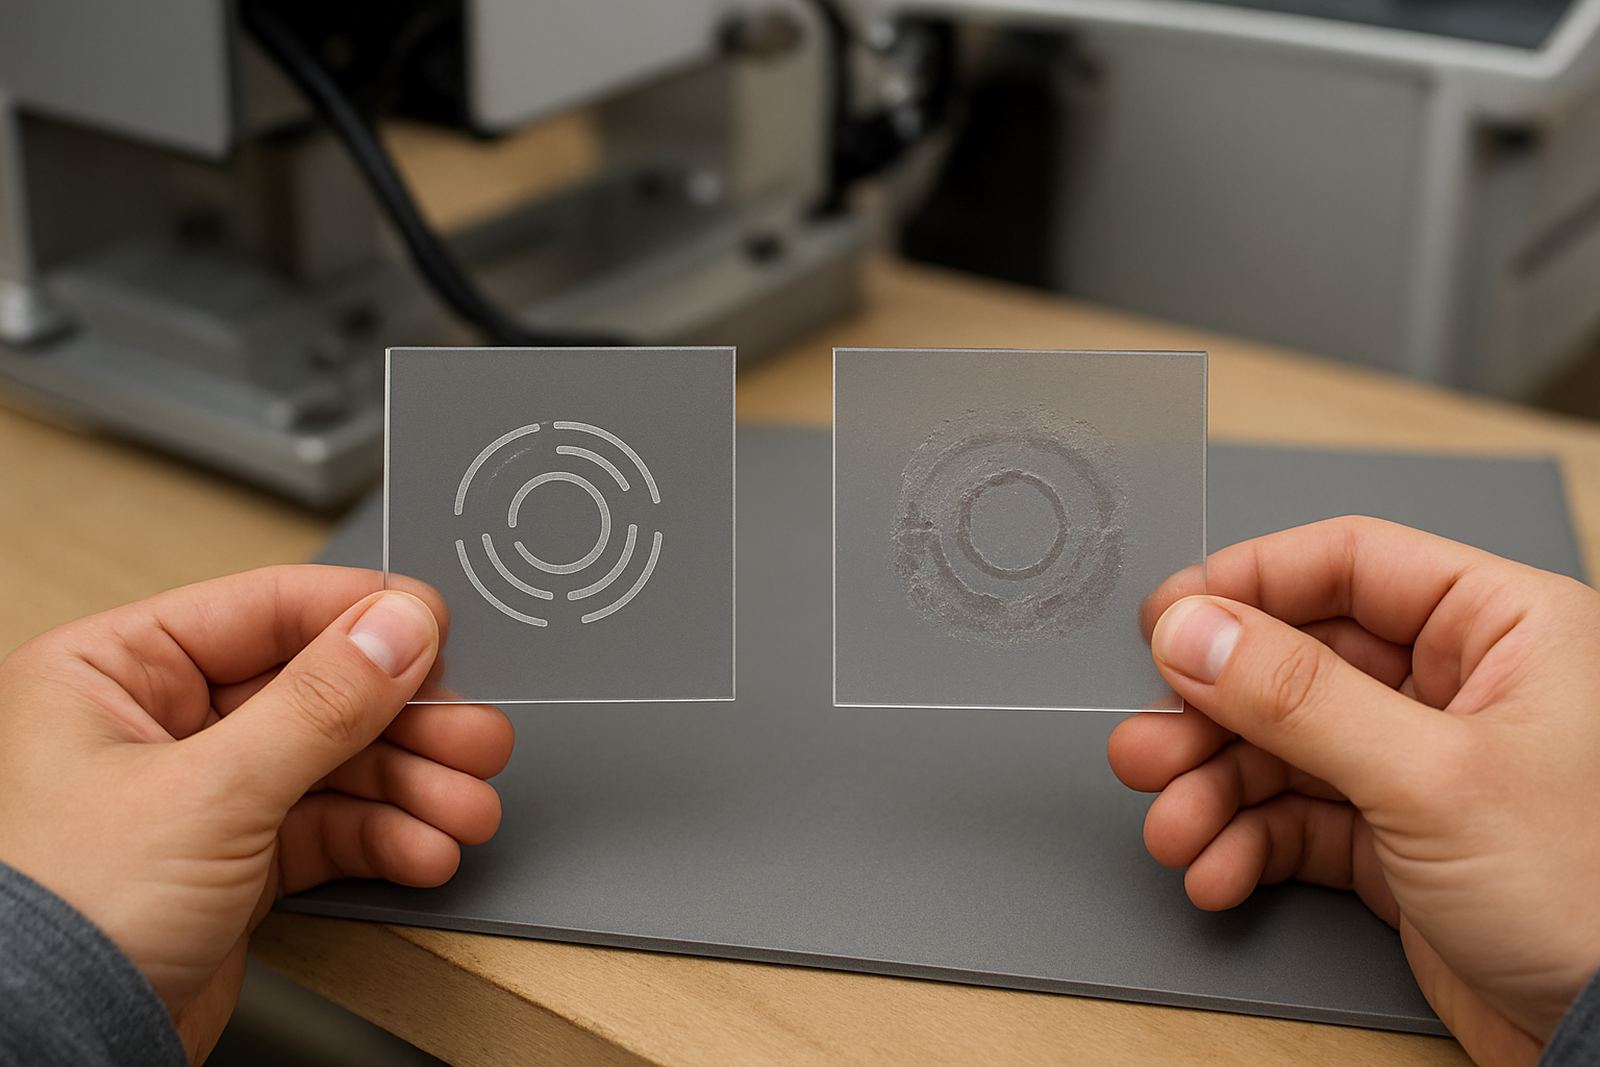
It helps to know the warning signs before the whole batch is affected. On glass, overmarking can show as a white haze, rough edges or a mark that feels etched rather than clean. On plastics, you may see browntinge, sink marks, shine changes or slight distortion around the logo or code.
If the part is meant for retail display, packaging or labelling where appearance matters, these signs can be costly. A crate label that still reads clearly but looks patchy may be rejected by a customer. A cosmetic jar with a rough mark may pass functionally but fail visually, and that means rework.
- Frosting wider than the intended mark area
- Raised edges or a rough feel around the code
- Colour shift outside the design boundary
- Cracks, chips or fine stress lines on glass
- Warping, sink marks or gloss loss on plastics
Set the lowest energy that still gives a clean result
The safest starting point is not maximum power. Begin with the lowest setting that gives a readable, permanent mark and work up only if needed. On many jobs, a slight adjustment in speed, focus or scan spacing gives a better result than adding more energy. That small change can protect the surface and still keep the mark sharp.
It is also worth matching the mark depth to the purpose. A branding mark on a glass bottle does not need the same aggression as an industrial code that must survive washing, handling and export. If the mark is only for identification, there is no benefit in trying to make it deeper than necessary.
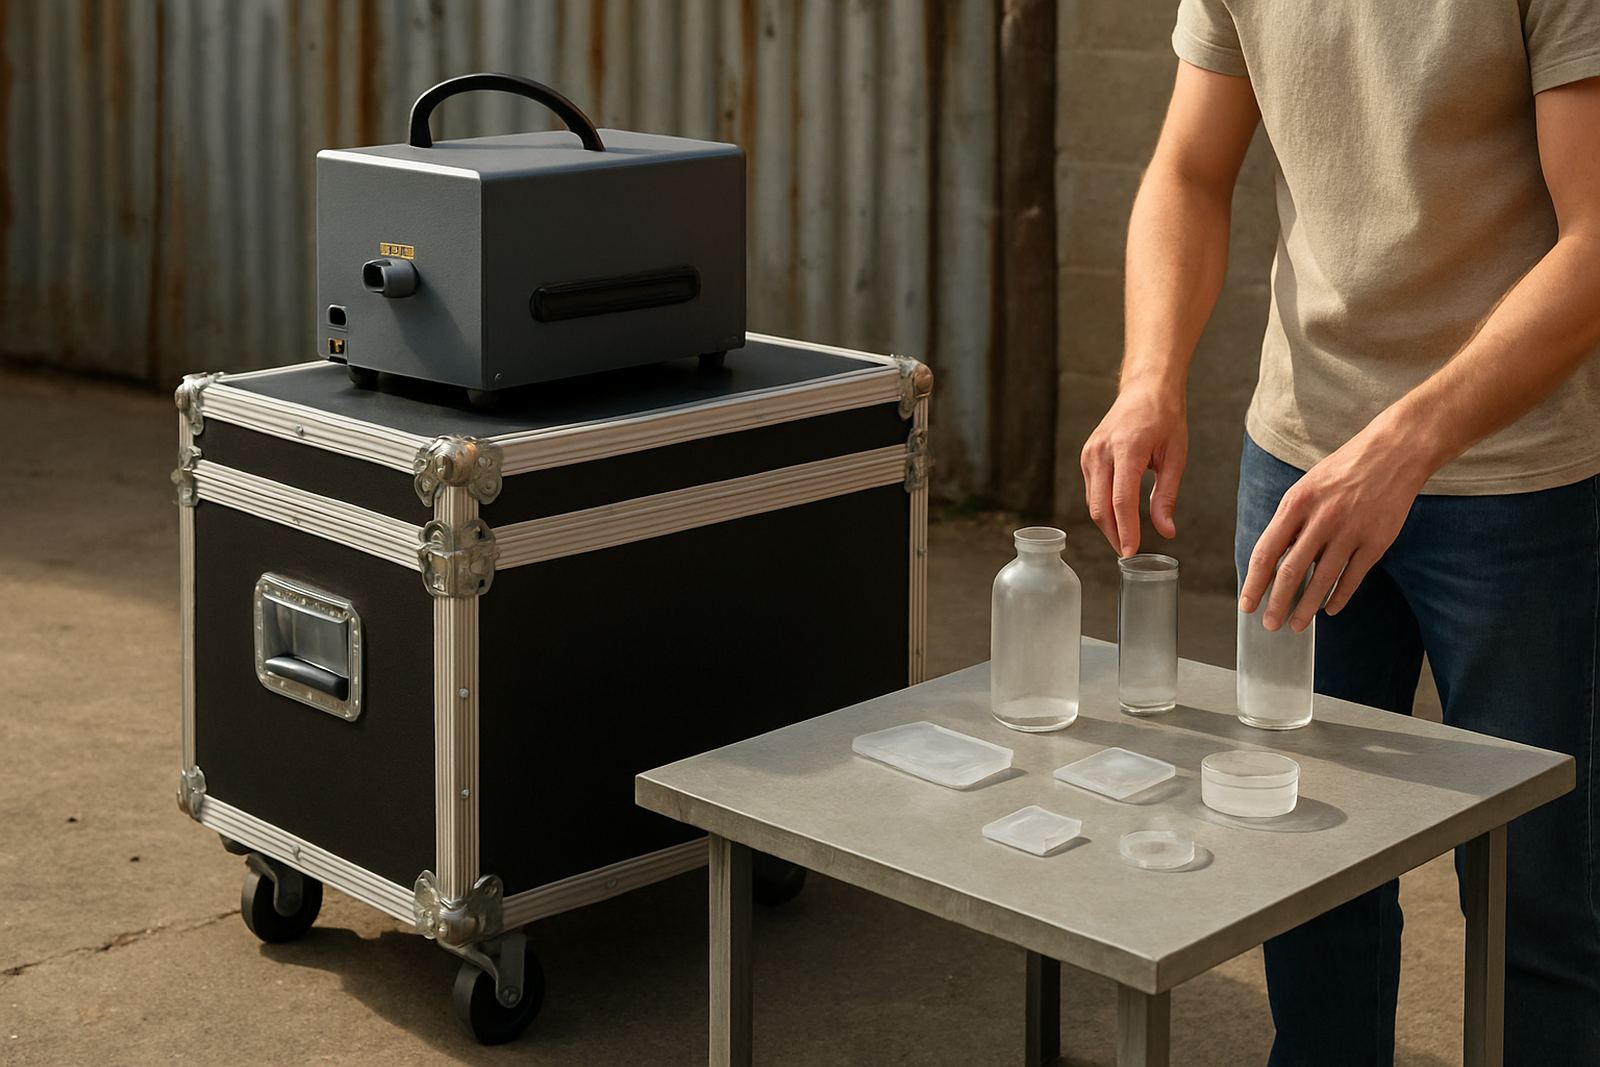
During testing, keep the material sample close to the production batch. Small changes in resin, wall thickness, coating or tint can alter the outcome. This is where sample testing saves money, because it shows what the part can handle before you commit to a full run.
Use fixturing and focus to control heat
Good fixturing does more than hold the part in place. It keeps the marking plane consistent, reduces movement and helps the beam stay where it should. If a bottle sits a few millimetres high or low, the focus shifts and the machine may compensate by working harder than needed.
For curved glass, flexible plastics or lightweight parts, a basic fixture can make a large difference. It prevents vibration and helps operators repeat the same result from one shift to the next. That matters in Jet Park and Germiston factories where line speed is tight and rework is expensive.
- Keep the mark area level and stable
- Use repeatable stops for the same part position
- Check focus after tool changes or line adjustments
- Allow airflow around parts where heat build-up is a concern
- Separate different part sizes so settings are not mixed up
Match the process to the part, not the other way round
Many overmarking problems come from forcing one setting onto many different products. A small plastic cap, a thick display panel and a tinted bottle should not be treated as the same job. If the line is producing varied parts, the marking recipe needs to reflect that. The better the setup, the less the operator has to guess.
Software setup can help here by locking in approved parameters for each item. That reduces the chance of someone adding extra passes just to make the mark visible. It also makes handovers cleaner when another operator takes over after load-shedding or a shift change, which is common enough in South African plants.
Process optimisation is not only about speed. It is about using the least aggressive setting that still delivers permanence, clarity and consistency. On packaging lines, that balance protects both the product and the customer complaint rate.
A practical Ekurhuleni example
At a Jet Park packaging site, a customer needed batch codes on clear plastic lids and decorative marks on glass containers. The first trials looked readable, but the marks on the lids were turning slightly cloudy and the glass showed a wider frosted halo than expected. The team was tempted to add another pass, yet that would have made the finish worse.
Instead, the solution was to reduce energy, tighten focus and redesign the fixture so the lids sat flatter. After a short round of sample testing, the mark came out cleaner and the cycle time improved as well. No extra pass was needed, and the operator had a setting that could be reused on the next production run.
That kind of result is common when the process is matched properly to the material. It is also why demos, installation support and operator training are useful together rather than as separate steps.
How to keep marks clear without damaging the surface
Once the setting is right, the next step is discipline. Operators should know what a good mark looks like, when to stop a test run and when to ask for an adjustment. Preventive maintenance also helps because a dirty lens, misaligned head or loose fixture can tempt the team to compensate with more power. That is usually the wrong fix.
A simple control routine can prevent most overmarking issues:
- Run a sample on the actual part before full production
- Record the approved setting for each product code
- Inspect the first few pieces after each changeover
- Recheck focus after cleaning or maintenance
- Train staff to spot haze, burn lines and distortion early
For businesses in Benoni, Pretoria, Alberton and across the country, the goal is the same: clean permanent marks without wasting parts. When the setup is right, the mark is clear, the surface stays intact and the job runs with fewer surprises.
If your marks are looking harsh or inconsistent, it is usually worth checking the process before blaming the material. A small change in energy, focus or fixturing can make the difference between a usable part and a scrap bin. Riaan Pretorius and the UV Laser team work with customers on sample testing, installation, training and after-sales support so the marking process stays under control, even on delicate work.