1. Confirm the job brief before the first mark
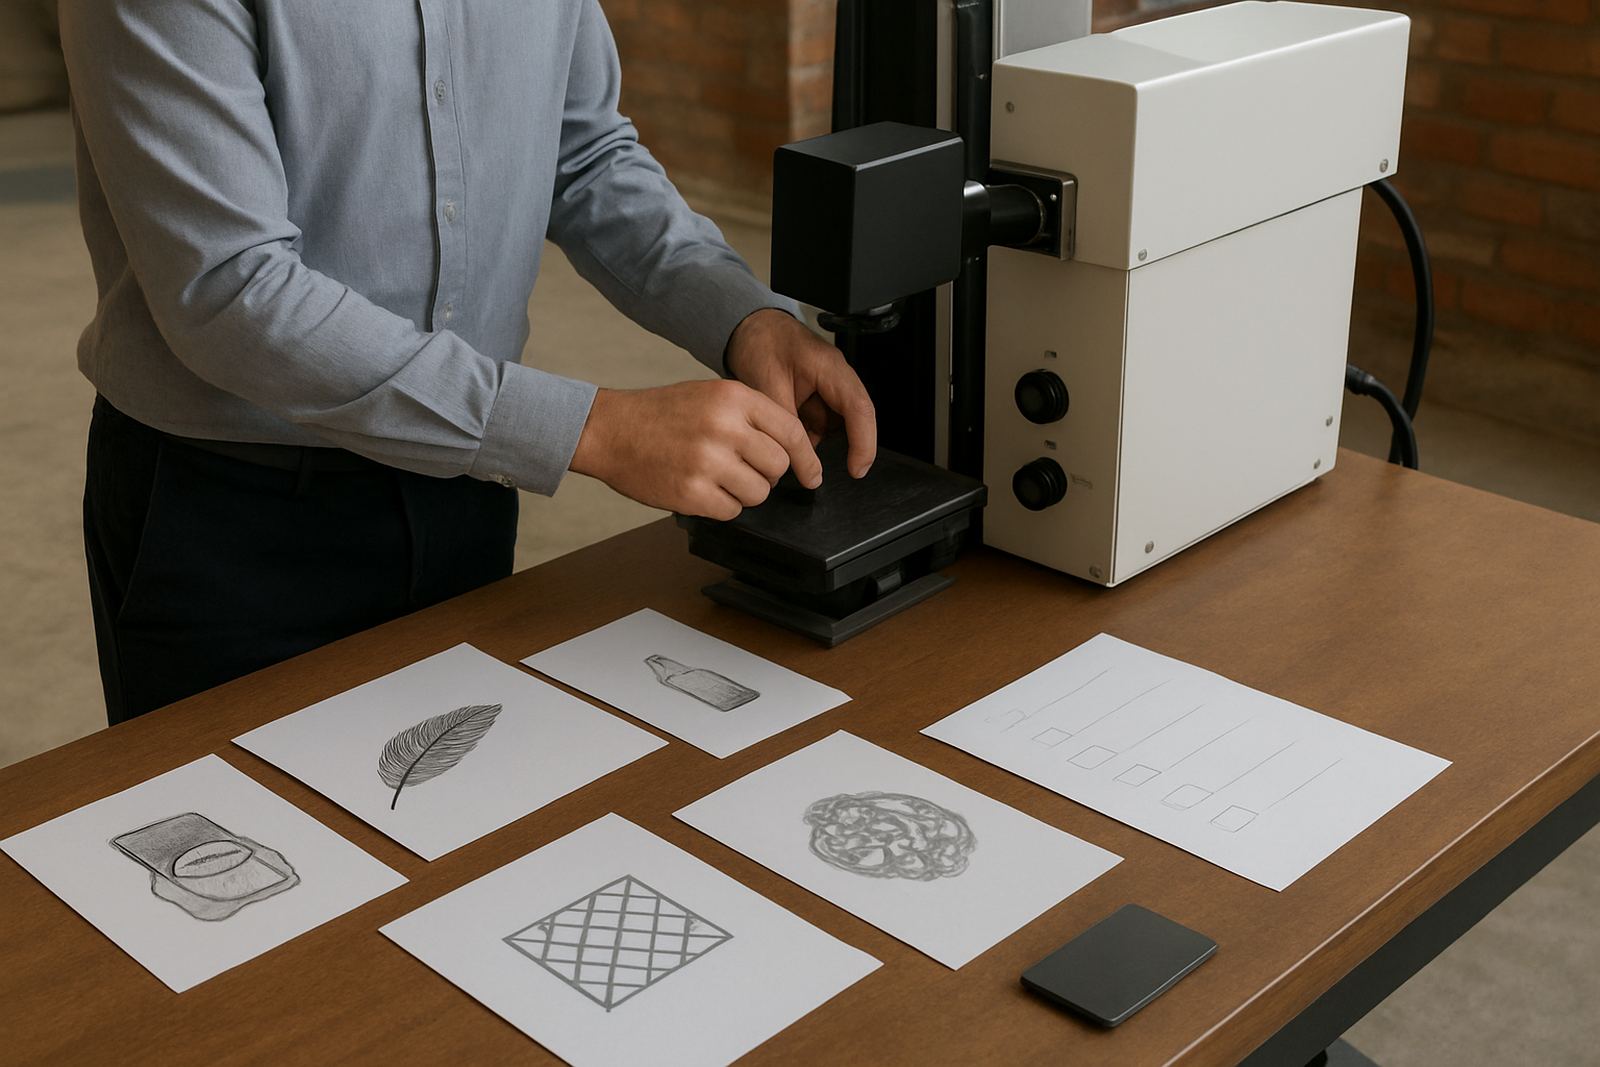
Before any sample is marked, lock down the job brief. A good sample starts with clear information on the item, the material, the finish and the purpose of the mark. For glass and plastic, small differences in coating, colour and wall thickness can change the final result. If the part is going into retail, food packaging or industrial use, note the legal or customer rule that the mark must meet.
Write down what must appear on the item, where it must sit and how it will be used after marking. If the mark needs to hold up in a damp coastal area, under repeated washing or in a busy factory, say so upfront. That way the sample can be judged against real conditions not just against the look on the day.
- Material type and grade
- Item size and surface shape
- Text, logo, code or pattern required
- Target position and orientation
- Any legal, traceability or branding requirement
2. Check the sample for the right surface match
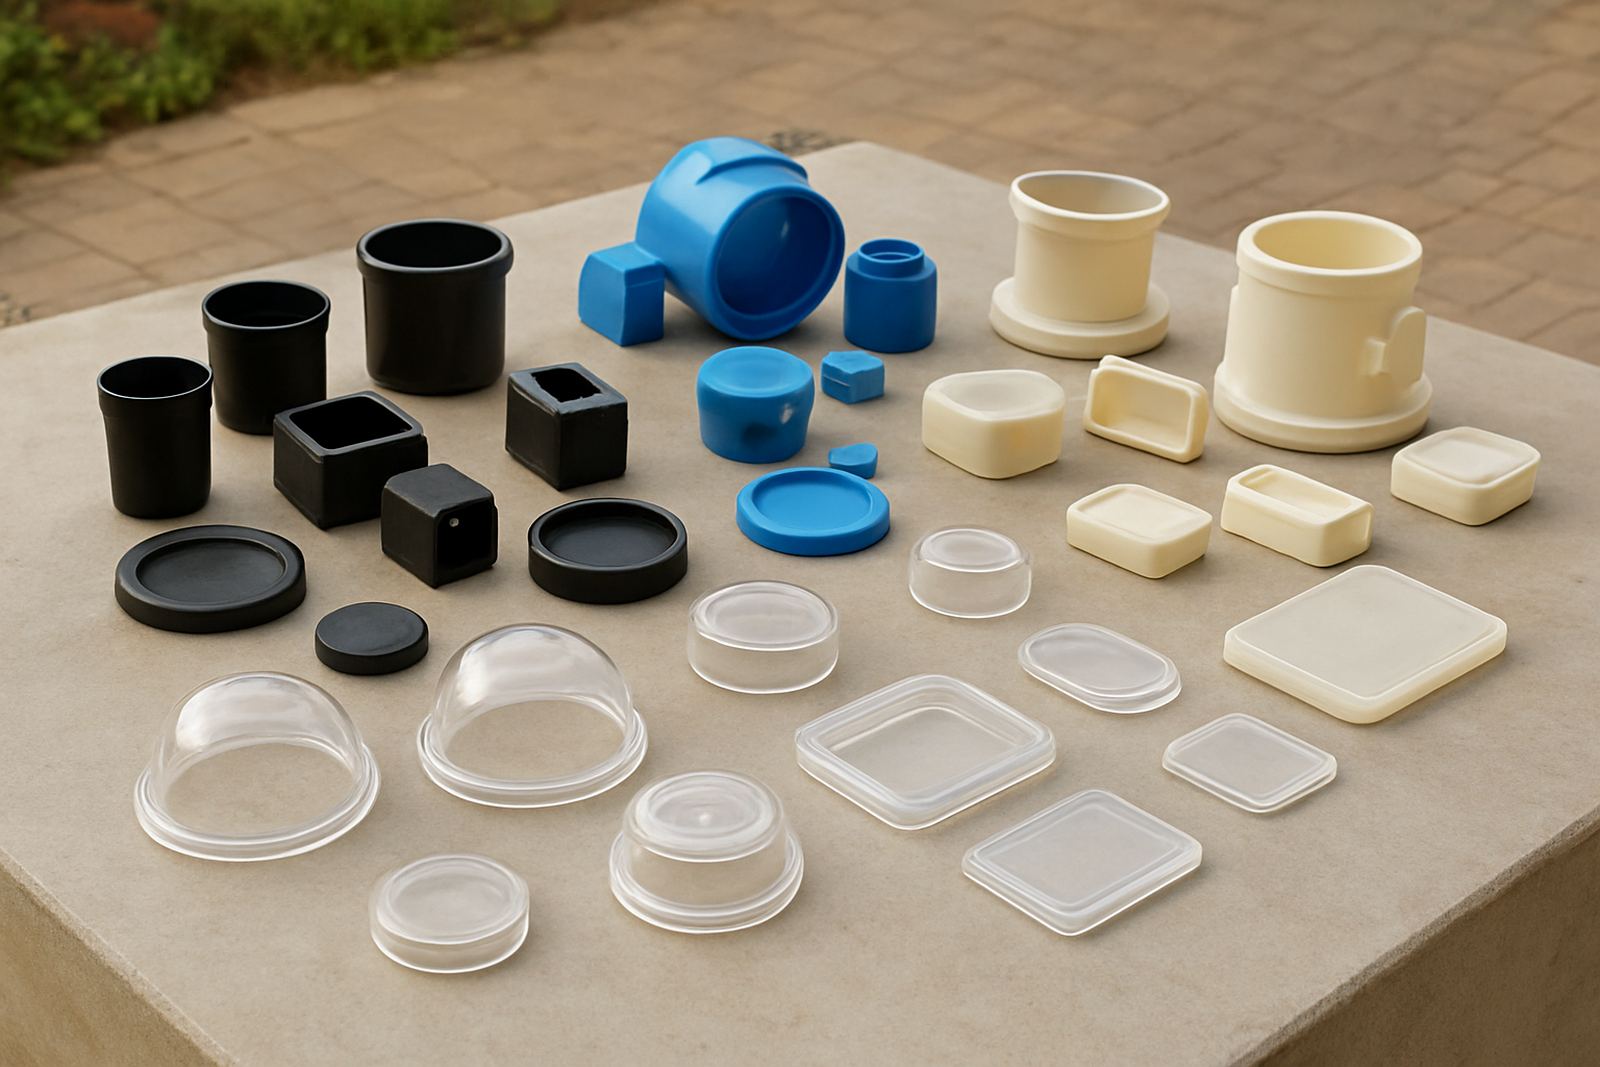
The sample should be made on the same material and finish that will be used in production. A mark on clear glass may look different on frosted glass, just as a gloss plastic can behave differently from matt or textured plastic. If the final item has a curved wall, ribbed section or moulded edge, the sample should reflect that shape as closely as possible.
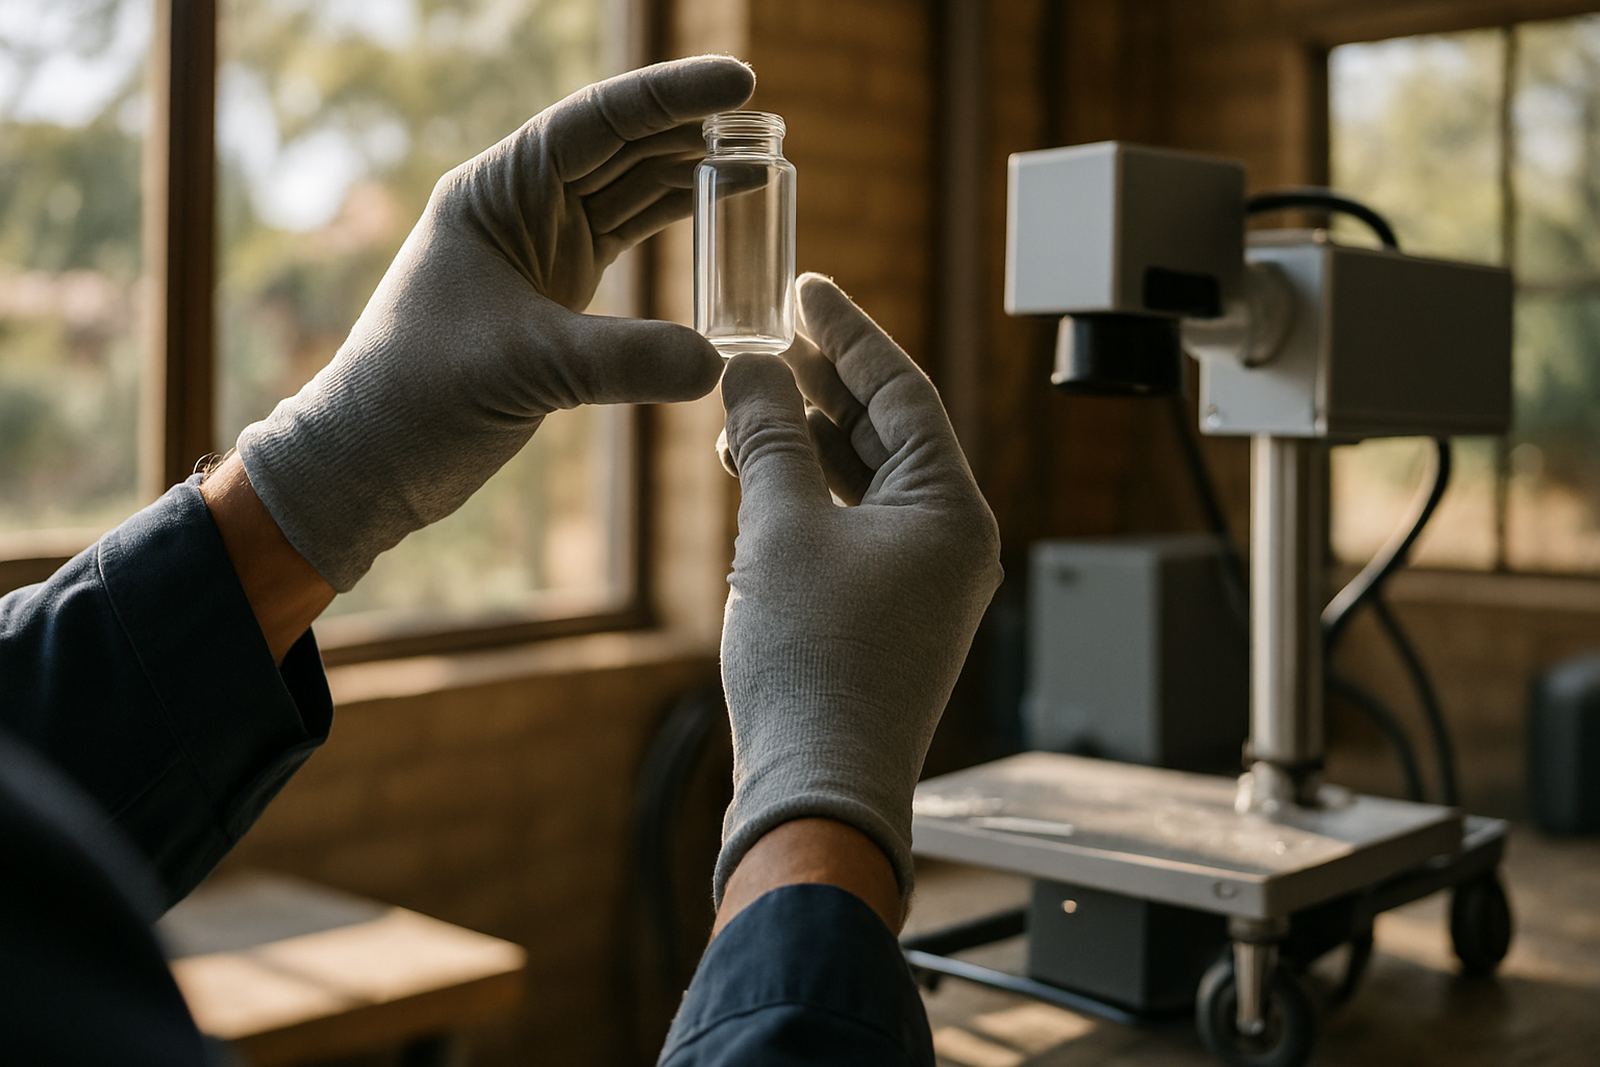
Check for surface contamination too. Dust, mould release, fingerprints and moisture can affect the result. On plastics, even a small change in pigment can alter how the laser behaves. If your production runs through load shedding, make sure the machine settings and environmental conditions are still stable when power is restored, because heat and waiting time can change the outcome.
- Use the correct substrate and thickness
- Match gloss, matt, frosted or tinted finish
- Check for curves, ribs and edges
- Clean the part before marking
- Repeat the sample if the material batch changes
3. Judge mark quality under normal working conditions
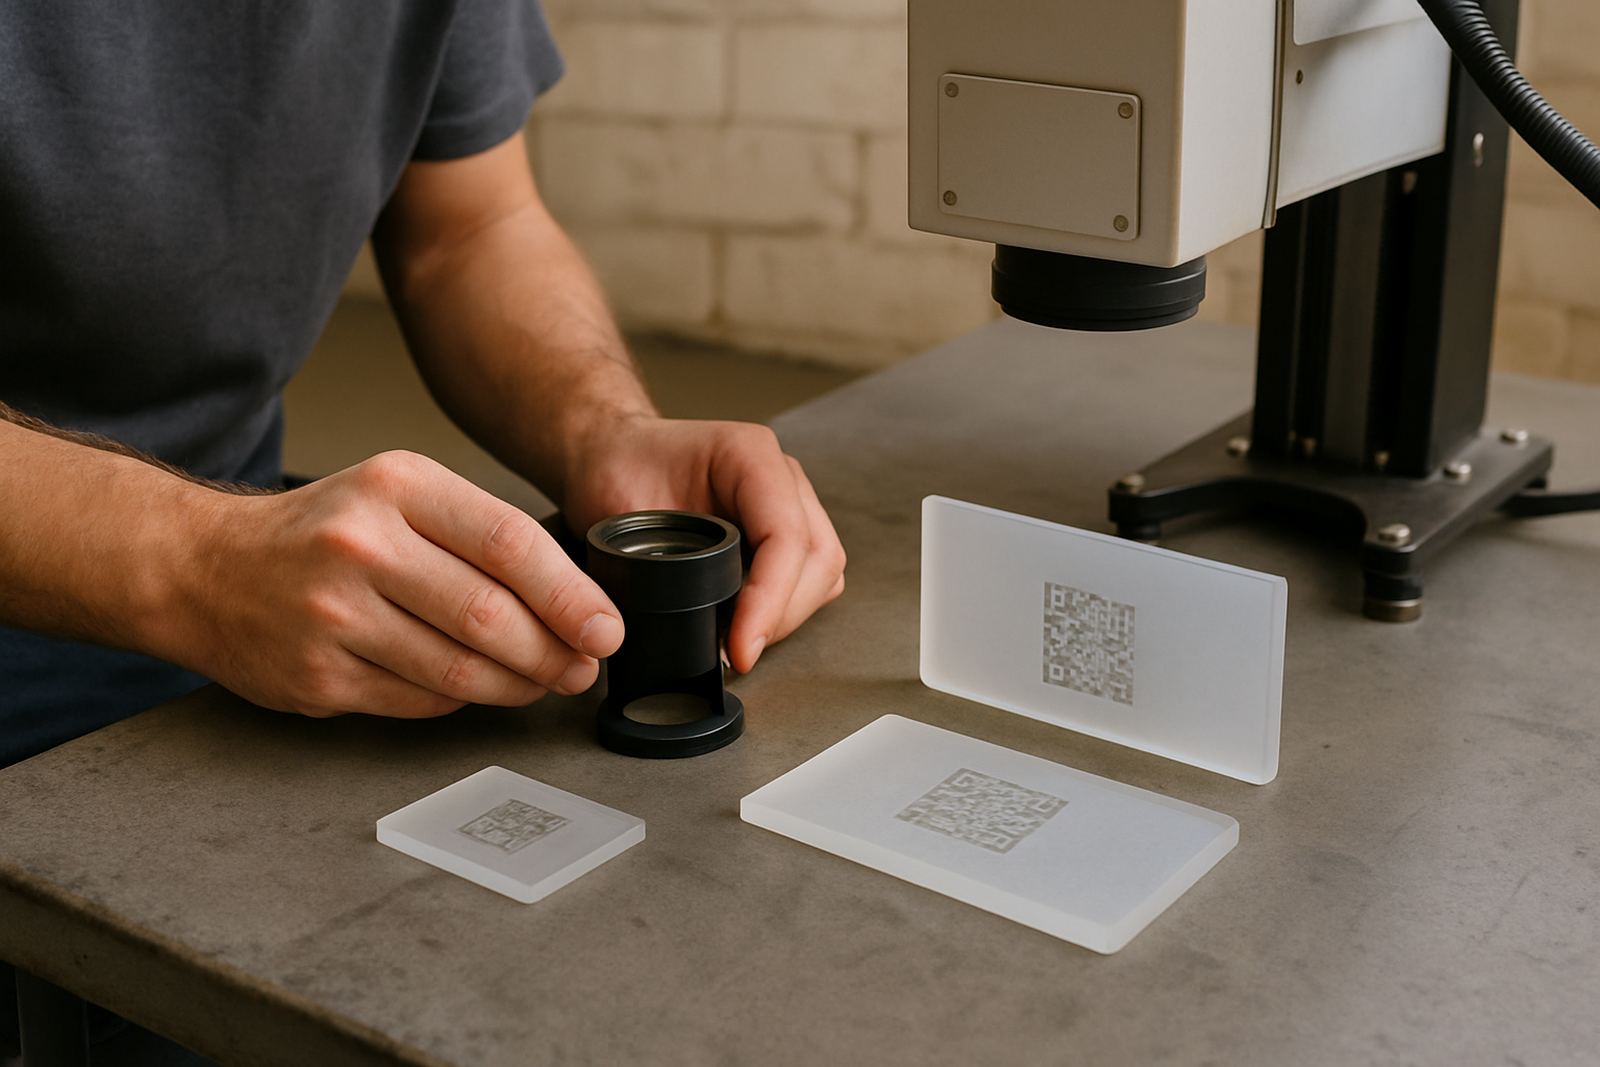
Once the sample is marked, inspect it in the same kind of light and handling it will face in real use. A mark that looks fine under direct workshop light may not read well in a store, warehouse or on a production line. For legibility, check size, contrast, sharpness and consistency. If the mark is a code, verify that every character scans or reads correctly.
Look closely at the edges of the mark. There should be no spreading, ghosting, unwanted haze or burn marks around the area. On glass, the mark should be clean and permanent without cracks or stress around the point of contact. On plastic, there should be no warping, melting or whitening unless that effect is part of the approved result.
- Is the text easy to read at arm’s length?
- Does the logo keep its shape and detail?
- Are all codes clear and correct?
- Is the mark placed evenly on the part?
- Is the finish acceptable for the end use?
4. Test placement, repeatability and fixture fit
Placement is just as important as the mark itself. A sample should show that the item can be loaded in the same spot every time, with no need for guesswork. If the part needs a fixture, jig or holder, test that setup before sign-off. The aim is to get the same result on the first item and the fiftieth item, not only on one carefully handled sample.
Check the start and end position, the spacing from edges and the orientation of the artwork. If the job has multiple marks on one item, make sure the spacing between them stays exact. In a busy plant in Germiston or Kempton Park, even small positioning errors can cause rejected batches and extra handling. A proper sample should prove the process can be repeated with confidence.
- Does the part load correctly every time?
- Is the mark centred or aligned as required?
- Are multi-mark positions consistent?
- Can the operator fit the part without strain?
- Will the fixture hold up in daily use?
5. Run a durability check before approving the batch
A sample is not approved until it has been tested for the way the product will be handled. Depending on the job, that may include wiping, washing, stacking, packaging or exposure to moisture. On products used near the coast or in warm areas with humidity, the mark must stay readable after real-world treatment. If the item is for industrial use, check whether the mark survives light abrasion and routine cleaning.
Do a simple test plan before sign-off. Wipe the mark, expose it to moisture, then inspect it again after drying. If the customer expects a permanent result, the sample should stay visible with no fading, lifting or change in contrast. If a sample fails this stage, adjust the process and try again rather than pushing an unsafe approval through.
- Wipe test with a dry or damp cloth
- Check after washing or rinsing if relevant
- Inspect after drying and handling
- Confirm the mark does not lift or fade
- Repeat the test if the material batch changes
6. Sign off with a clear record for production
Once the sample passes, keep a written record of what was approved. Include the material, settings, fixture used, mark position and any notes about finish or inspection. This helps the team repeat the same result later, even if staff change or the job returns months later. A clear approval record also reduces confusion when a customer asks for a re-run or a slight adjustment.
Before final sign-off, make sure the approved sample is labelled and stored safely. If the job involves more than one version, keep each sample separate and mark which one is the master reference. That way there is no mix-up when production starts or when a customer wants to compare a new batch against the original.
- Record settings, material and fixture details
- Keep one approved reference sample
- Note who approved the job and when
- Store samples out of sun and dust
- Recheck if the artwork or substrate changes