1. Confirm the process, product and marking sample
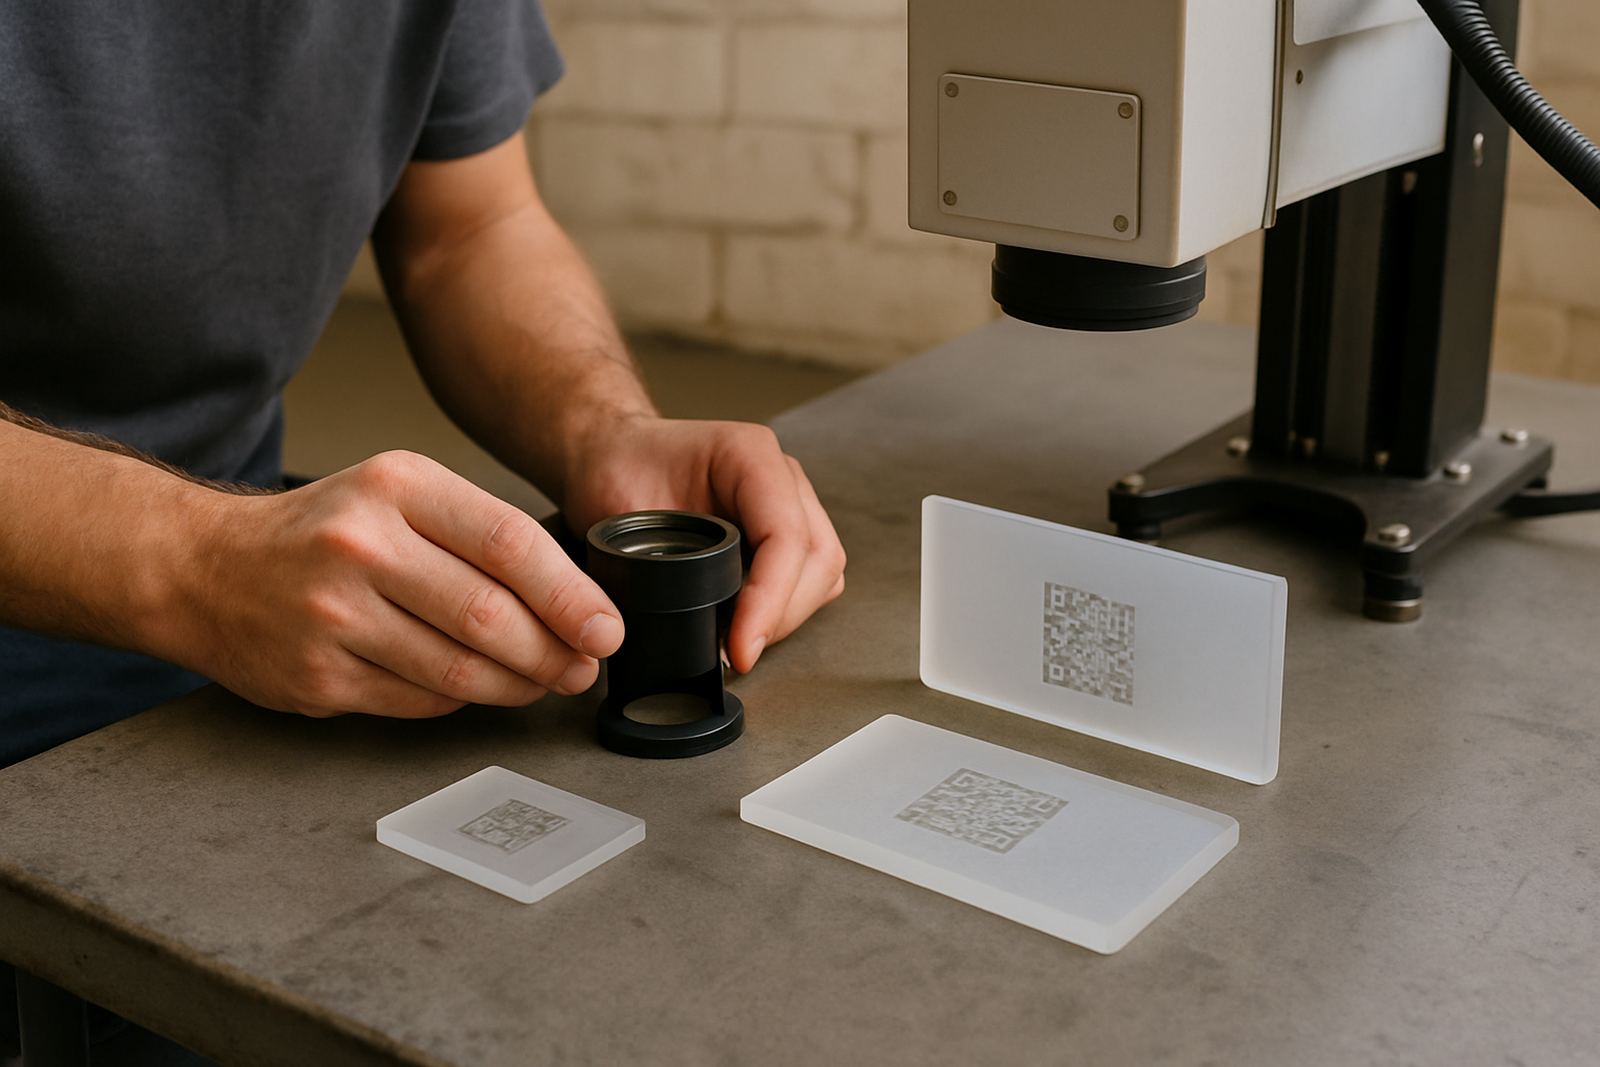
Start with the parts you want to mark and the finish you need. Glass, clear plastics, tinted plastics and coated items each react a little differently, so it helps to have actual samples on site before delivery day. If the machine will mark bottles, cosmetic jars, instrument parts or packaging components, gather a few sample pieces from the normal production run, not the best offcuts from a special order. That gives a more honest result.
Set aside time for sample testing with your team, especially if the marking must stay crisp after washing, handling or exposure to sunlight. If you need batch codes, logos, barcodes or fine text, decide what matters most. Small details can be read well, but they need the right focus and fixturing. Refilwe, our Senior Applications Technician, often sees sites that only prepare one sample and then wonder why the final setup takes longer than expected.
- Bring 3 to 5 sample pieces from normal stock
- List the exact marking content: logo, code, text, date or serial number
- Note the required mark size in millimetres
- Confirm whether the mark must be visible, subtle or both
- Check if the product will be flat, curved or irregular
2. Check power supply and load shedding backup
Power is one of the first things to sort out. A UV laser marking system needs a stable electrical supply, and the site should know exactly which plug point or isolator will feed the machine. If your plant has frequent load-shedding, voltage dips or generator switchover, mention that before installation. It is easier to plan now than to troubleshoot after the unit is already on the floor.
Have a qualified person confirm the available supply, breaker size and earthing. If the area already runs other equipment, check whether the new load will share a circuit with compressors, conveyors or heaters. In many factories around Jet Park, Boksburg, Germiston and Kempton Park, the issue is not only available power but also clean power. A machine may switch on, but unstable supply can affect performance and cause nuisance trips. If you use a backup power system, tell us what it is and when it kicks in.
- Confirm the socket or isolator position before delivery
- Check supply rating and breaker capacity
- Verify earthing and cable condition
- Identify any generator or inverter changeover delay
- Keep the machine on a circuit that is not overloaded
3. Measure the floor space and access route
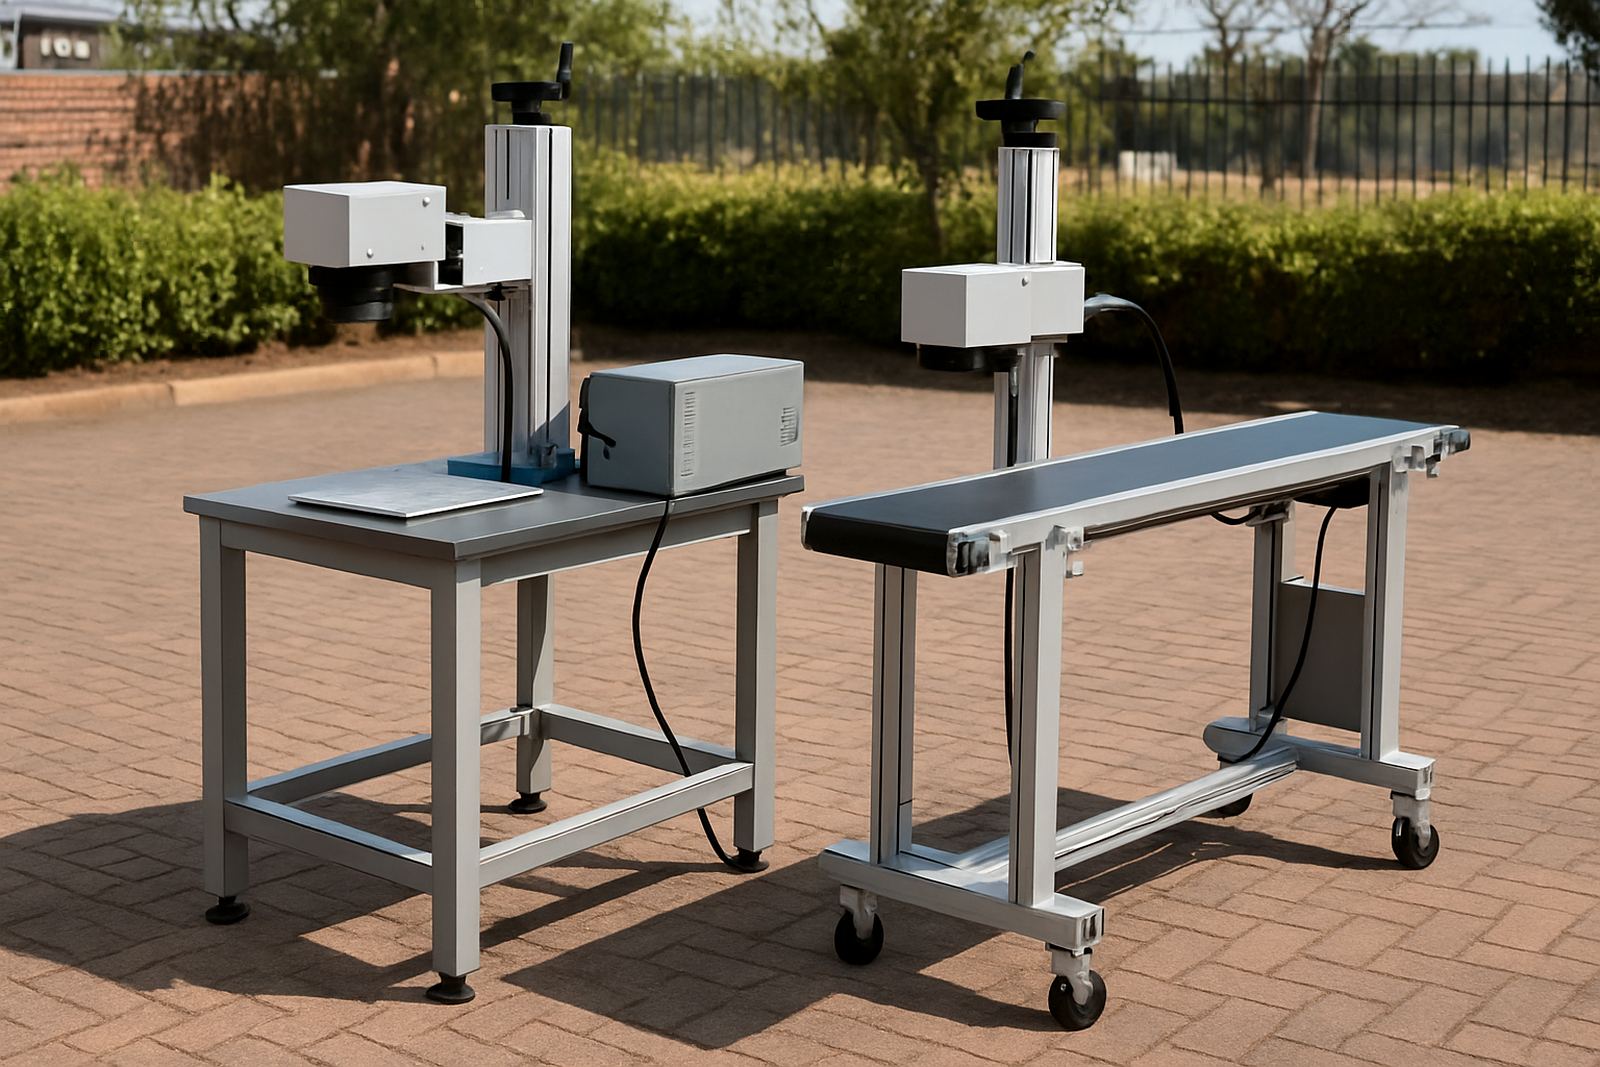
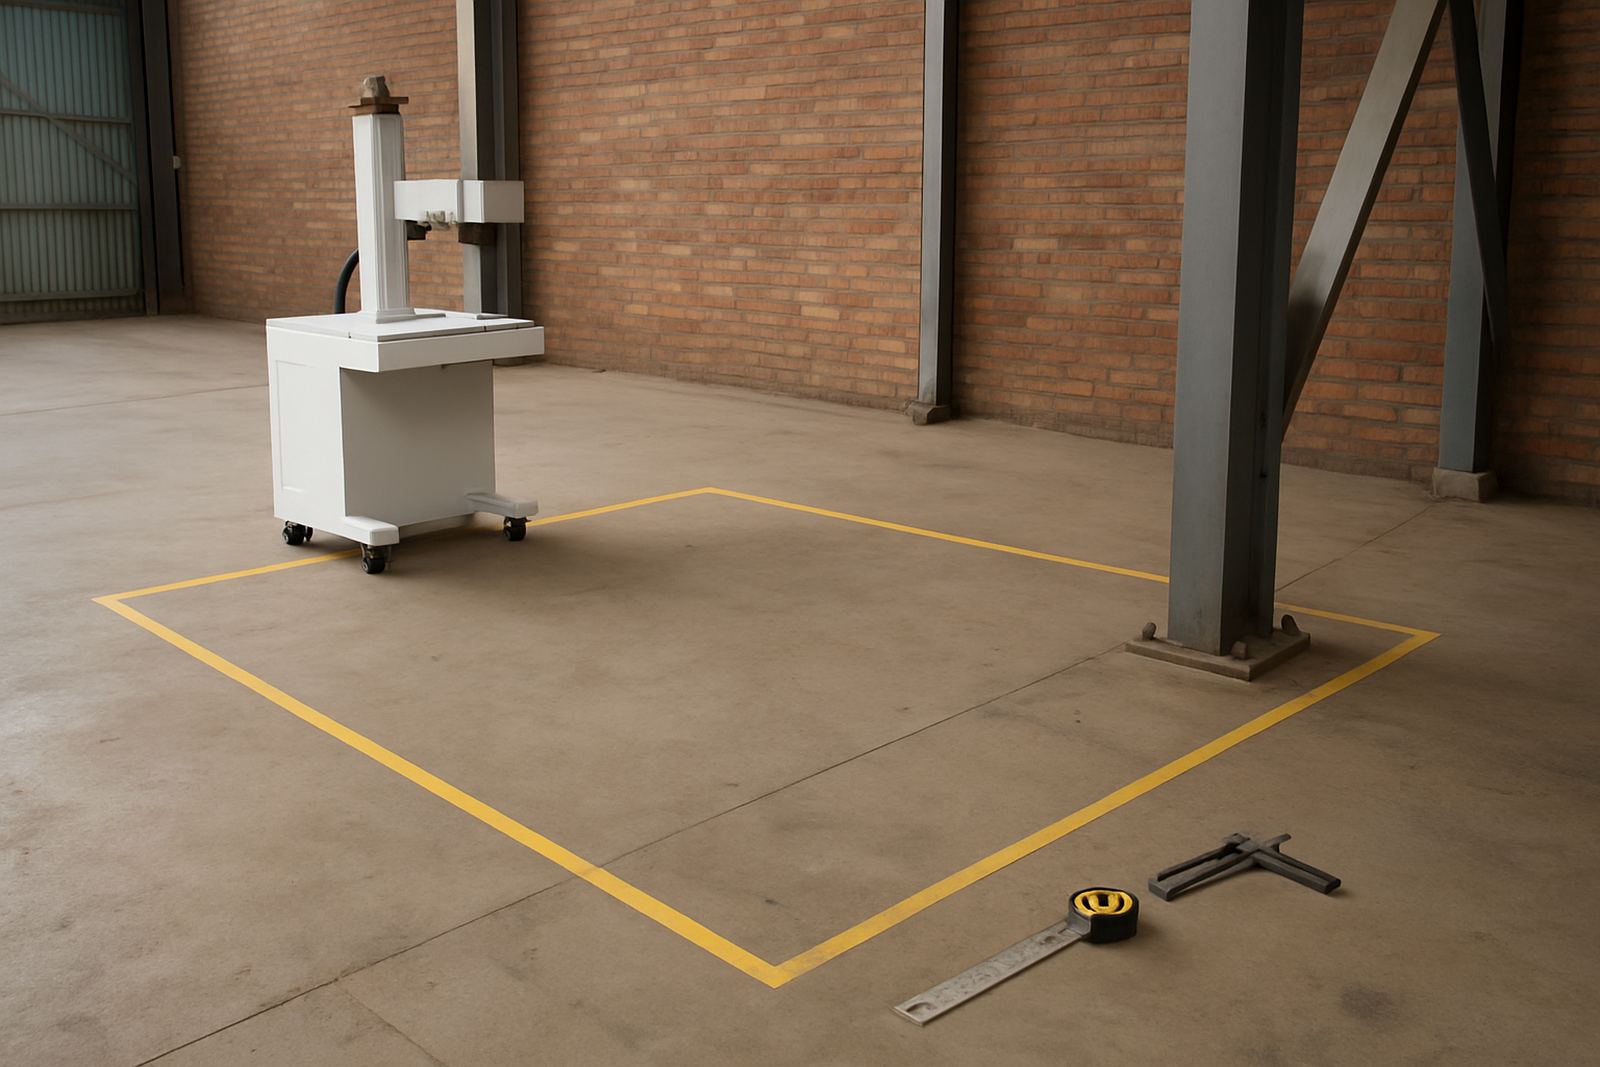
The machine must fit where it will work, not only where it can be unpacked. Measure the area for the main unit, any control components, the marking table or line position, and space for the operator to stand and load product. Leave room for maintenance access too. If the unit has to sit near a production line, check the conveyor height, product transfer path and the position of guards or sensors.
Do not forget access from the truck to the installation point. Narrow doors, tight corners, low beams and stairways can slow things down. In some factories, the machine can go straight through a roller shutter into a clean area. In others, it has to move around racks, pallets or a mezzanine. Priya in our office will often ask for a quick site photo and a few measurements before dispatch, which saves everyone time. A few minutes of prep can prevent a full day lost to moving things around.
- Measure the intended footprint in metres
- Check door widths, passageways and turns
- Confirm ceiling height and overhead obstructions
- Clear the installation route of pallets and loose stock
- Mark the final position on the floor if needed
4. Prepare product handling and fixturing
Good marking depends on repeatable product positioning. If the item sits a little differently each time, the mark can drift, look uneven or miss the intended spot. Decide how the product will be loaded and held in place. For many glass and plastic items, a simple fixture or locating guide makes a big difference. If the product is round, fragile or has a slippery surface, that needs extra attention.
Tell us whether the items will be handled by hand, on a tray or on a line. If the product is light and can move during marking, the fixture should stop that movement. If the item is very delicate, plan for a soft contact surface that will not scratch or mark the material. Thabo, our Field Installation Specialist, often checks the loading side first because a machine can be perfectly set up but still slow if the handling step is awkward. Good fixtures make the process quicker and steadier.
- Decide how each item will be located for marking
- Identify whether a fixture, jig or guide is needed
- Keep sample trays, spacers and packaging materials nearby
- Test how the item sits when loaded by the operator
- Check if the product needs cleaning before marking
5. Line up operators, supervisors and safety controls
Training goes better when the right people are present. The operators who will use the machine daily should attend setup and training, not only the supervisor. If the line runs on shift, try to include each shift leader so that the same method is followed across the plant. That way, one person does not learn a shortcut that the next person never sees.
Make sure the team understands the safety rules for the marking area. Keep the space clear, plan the correct signage and decide who is allowed to change settings. If the machine forms part of a larger line, the person responsible for production should also know how the marking step affects the rest of the process. Anele, our Training Coordinator, often finds that the best training sessions are the ones where the team already has the right sample and a clean work space ready. It keeps the session practical and focused.
- Nominate the main operator and a backup operator
- Have supervisors present for the first training session
- Prepare any site safety rules or permit requirements
- Keep the marking area clear of unrelated tasks
- Plan who may adjust settings and who may not
6. Final 24-hour check before delivery and install
The day before delivery should be a quiet one. Clear the receiving area, confirm access with security and have the product samples ready. If the site is in Benoni, Alberton, Midrand or Pretoria, check traffic timing so the handover does not clash with shift change or deliveries. If your factory has gate control or visitor procedures, let the team know who is coming and where the vehicle should report.
Do one final walk-through of the work area. Power on, floor clear, samples ready, operators available and fixtures on hand. If anything is still missing, say so before the truck arrives. A short delay is better than rushing and making mistakes. When the site is ready, the installation can move from unpacking to first test much faster, and the team can focus on getting the marking right first time.
- Clear the receiving and installation area
- Keep sample parts, drawings and job details together
- Confirm operator attendance for the agreed time
- Check security, gate access and loading bay rules
- Have a contact person on site for decisions