Start with the real part you need marked
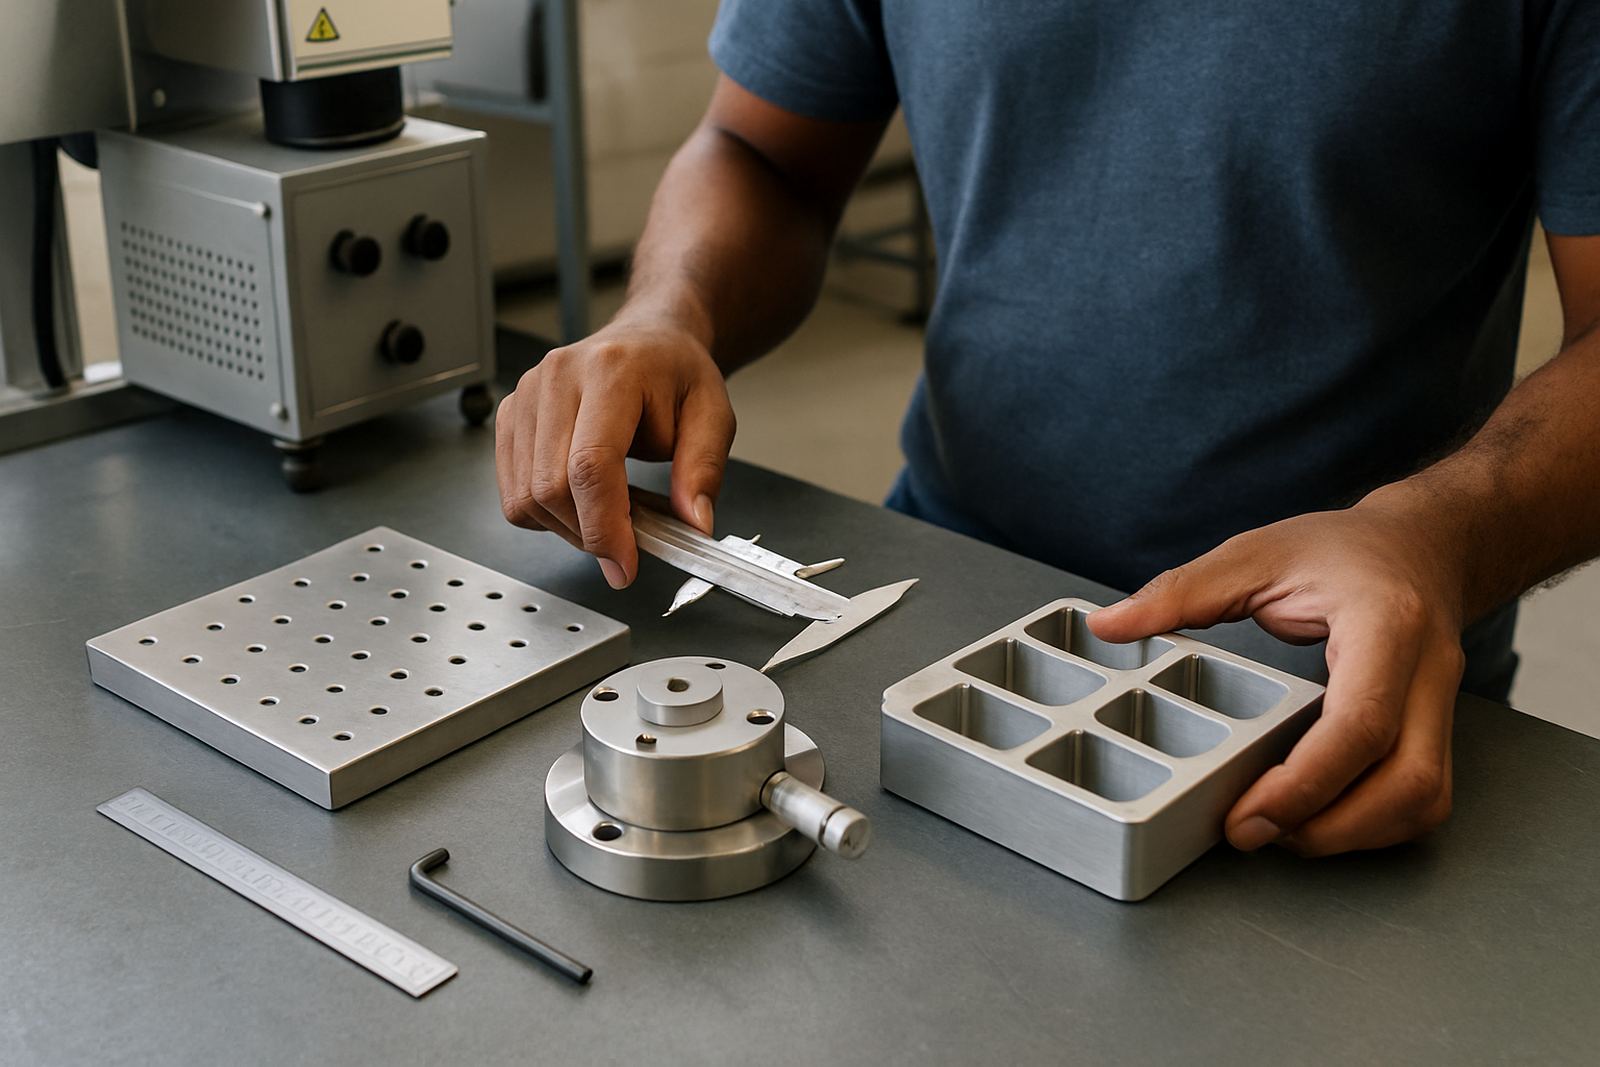
Bring the same type of item you want to mark in production, not a similar offcut. If the final job is on bottles, cosmetic jars, technical housings or packaging parts, the demo sample should match the actual thickness, finish and shape as closely as possible. A smooth lab glass tube will behave differently to a curved bottle, and a hard plastic enclosure marks differently to a soft moulded part.
We recommend sending a few extras as well. That gives room for trial settings, a second run and a spare if a sample chips, scratches or arrives with mould marks. In Ekurhuleni we often see customers bring parts from Jet Park, Boksburg, Germiston and Kempton Park for same day testing, and that makes it easier to compare the result side by side.
- Bring at least 3 to 5 sample parts if you can
- Use the same material grade and colour as production stock
- Include curved, flat or textured samples if those are part of the job
- Mark any fragile parts clearly so they are handled carefully
Prepare artwork that can be tested properly
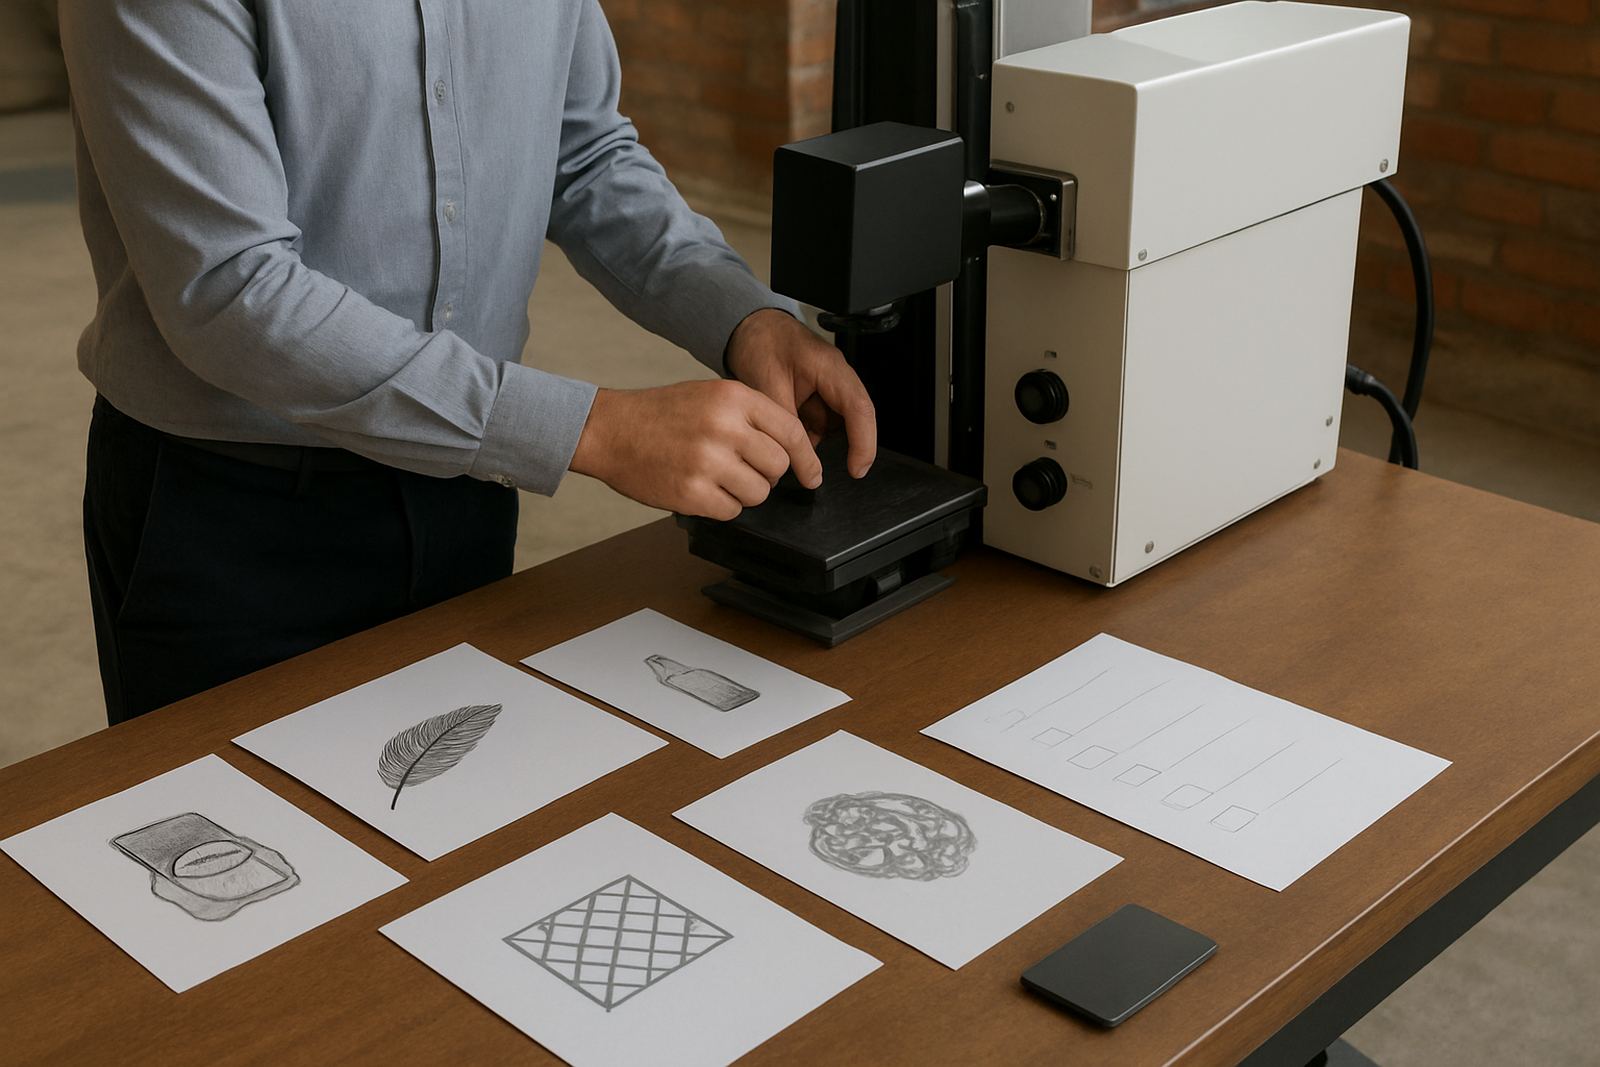
The marking outcome depends on more than the machine. It also depends on the file quality, the size of the mark and how much detail the artwork contains. For a clean demo, send the logo, serial number format, barcode, QR code or text layout you actually want to use. If the final label needs to fit a small panel or bottle shoulder, say so upfront.
Vector artwork is best where possible, because it gives a crisp result and makes scaling easier. If you only have a photo or low resolution file, bring that too and we can show what needs cleaning up before production. It is also helpful to note whether the mark must be white, frosted, blackened or subtle. On glass and many plastics the finish can change with material colour, wall thickness and the exact laser settings.
- Send editable artwork if available
- State the exact size of the mark in millimetres
- Include text spelling, serial rules and variable data examples
- Tell us if the mark must be readable by scanner or inspection camera
Decide what the demo must prove
Not every demo has the same purpose. Some customers want to confirm that the mark is permanent and neat. Others need cycle time, legibility, contrast or repeatability checked before they commit to installation. If you know the main decision you need to make, the demonstration can be set up around that goal.
For example, a packaging team may need to know whether a code stays legible after washing, handling or exposure to moisture. A plastics manufacturer may want to see if the mark remains clear on darker material. A laboratory or medical supplier may be more concerned with fine detail and traceability. Tell us what matters most, and we can focus the test on that point instead of spending time on features you do not need.
- Permanent mark quality
- Speed per part or per batch
- Readability of small text, barcodes or QR codes
- Consistency across multiple samples
Ask the practical questions before you arrive
A useful demo should leave you with clear answers, not guesswork. Bring a list of questions from production, maintenance and quality control so everyone gets what they need in one visit. If you are comparing this with another marking method, ask what changes in setup, consumables, power use and operator handling. In many plants, those details matter just as much as the mark itself, especially where load-shedding planning and shift timing affect output.
If you are in Pretoria, Midrand or Alberton and cannot send a full production sample in advance, a quick call through the enquiry form on our contact page can help you confirm what to bring. It is better to ask early than to arrive with parts that are too small, too soft or not representative of the real job.
- How long does setup take for a new part?
- What fixturing or alignment is needed?
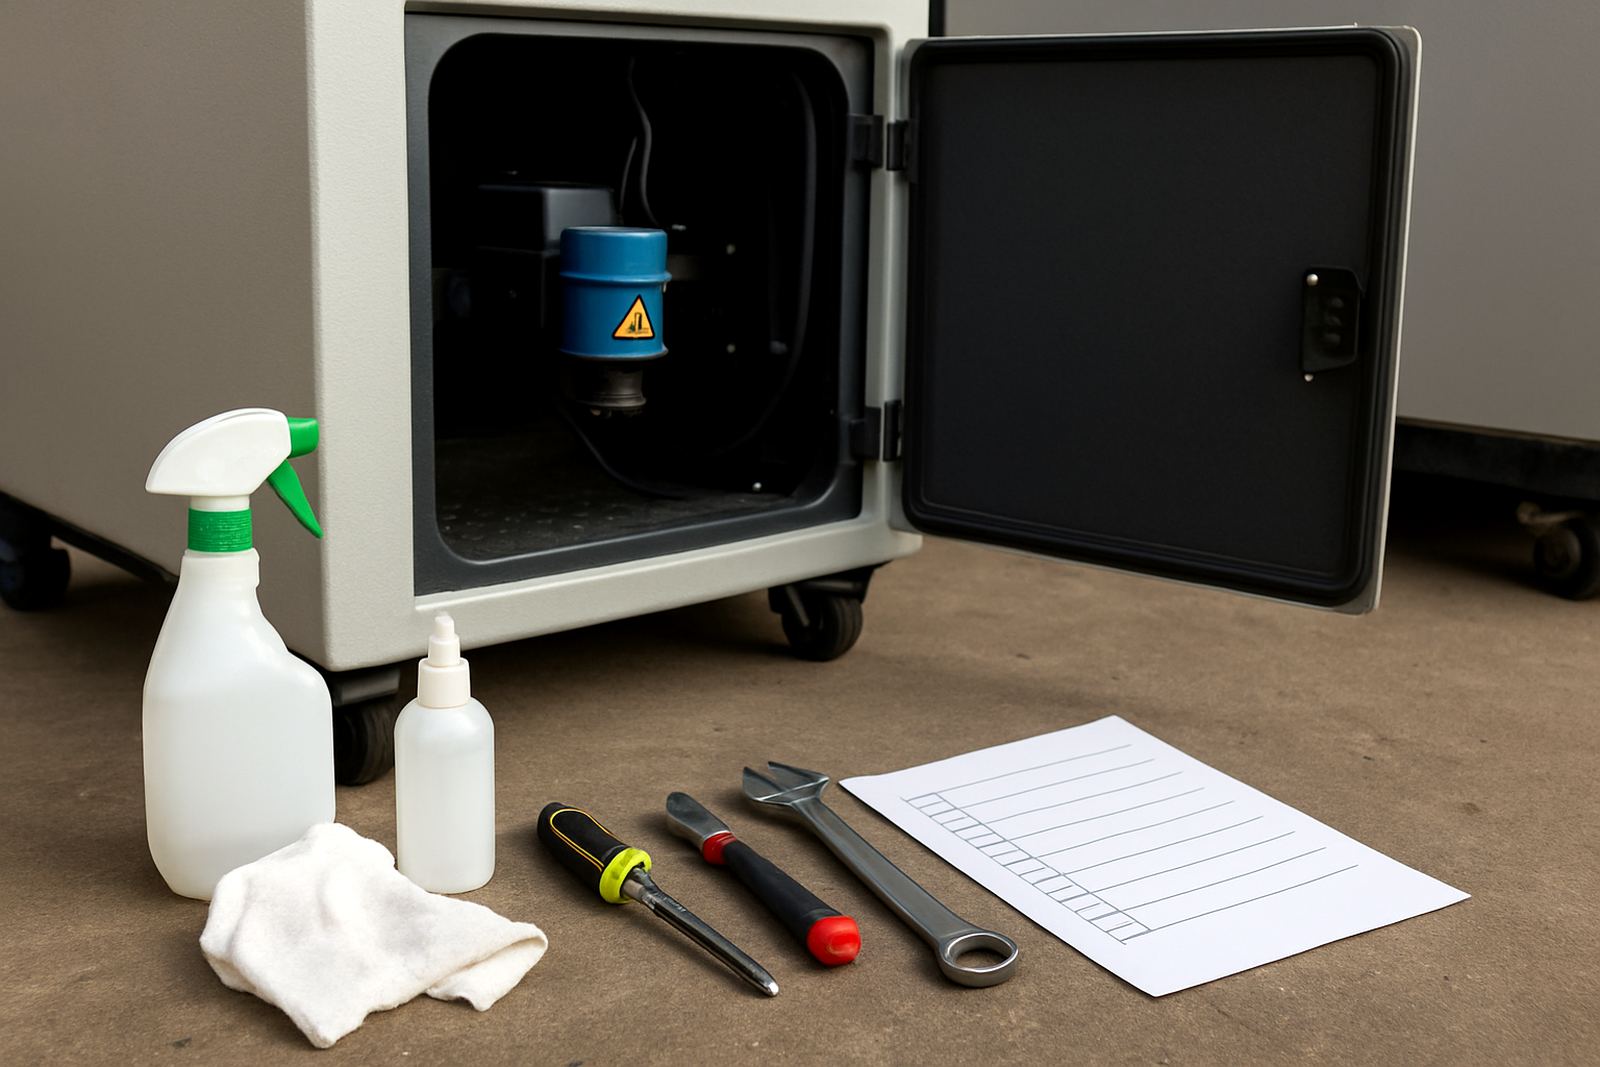
- How often will the machine need routine checks?
- Can the process fit into our current line layout?
Plan the testing conditions around your production line
A demo is only useful if the test conditions are close to real working conditions. If your parts run warm, are slightly dusty, or arrive after washing, say so. The same goes for handling marks, mould release residue, static or moisture. Coastal humidity and workshop dust can affect how a part sits in a fixture and how consistently the mark appears, so the closer the demo matches your floor conditions the better.
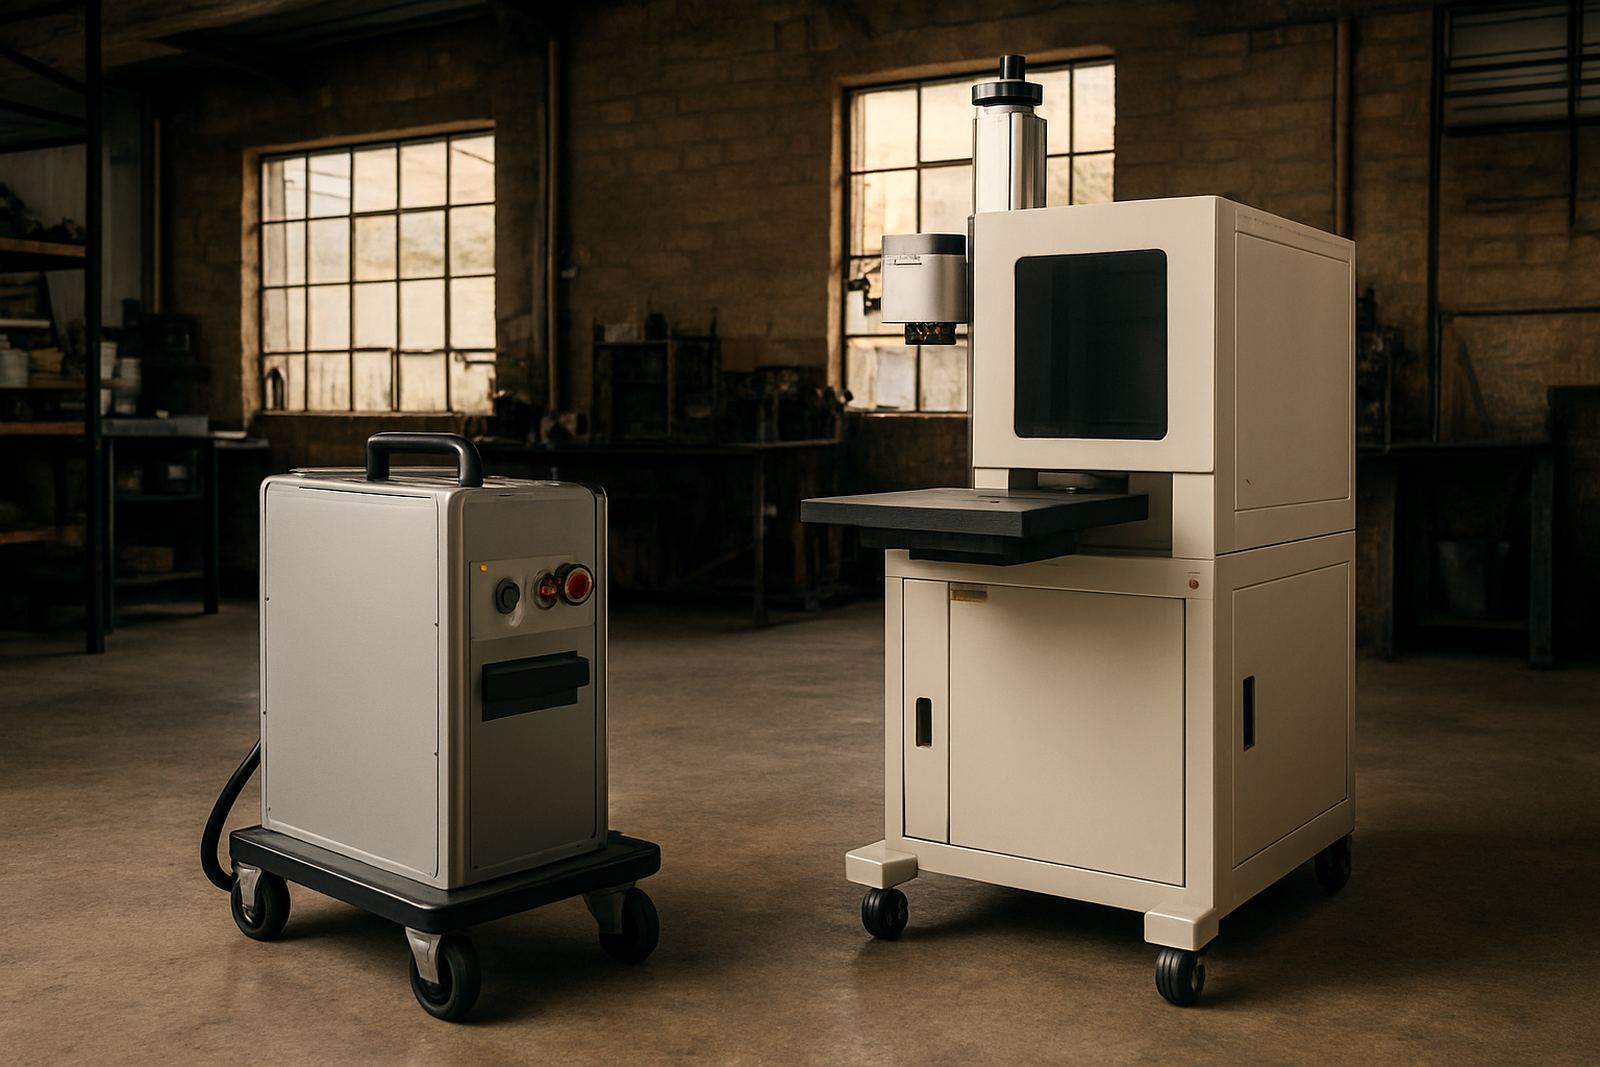
If the job will happen on a conveyor, on a bench or in a dedicated cell, mention the space available. We also need to know if there are height limits, safety requirements, extraction needs or access restrictions. For sites in Boksburg, Benoni or Germiston, it is common for floor space to be tight, so it helps to measure the working area and bring those numbers with you.
- Measure the available footprint and working height
- Note any conveyor speed or batch size requirements
- List power and air requirements if relevant to your setup
- Tell us about temperature, dust or humidity on site
What happens on the day of the demonstration
On the day, we normally start by checking the sample, confirming the artwork and agreeing on the test order. Then we run one or more marks, review the result and make changes if needed. That may include adjusting contrast, position, speed or mark depth depending on the part and material. If the demo is about line integration, we can also talk through feed direction, operator access and how the machine will fit into the current process.
Keep a quality sample, a rejected sample and a photographed result if you want to compare changes later. It also helps to bring the people who will use the system day to day. Operators, supervisors and maintenance staff often spot different issues, and that saves time later when the machine is installed or trained into service.
Use the demo to plan the next step
Once the marking result is approved, the next step is usually installation planning, fixture design, software setup or operator training. If the demo highlights a material issue, sample handling problem or line bottleneck, that can be addressed before final sign-off. The goal is to leave with a clear path forward, not just a nice looking sample.
UV Laser works from Jet Park, Boksburg and supports customers nationwide with demos, installs and training. Since 2009 we have helped local teams test their parts properly before they commit, and that usually leads to fewer surprises on site. If you are preparing for a demo, gather your samples, artwork and questions early, and we can work through the rest with you.