What the Camera Alignment Marker does on the line
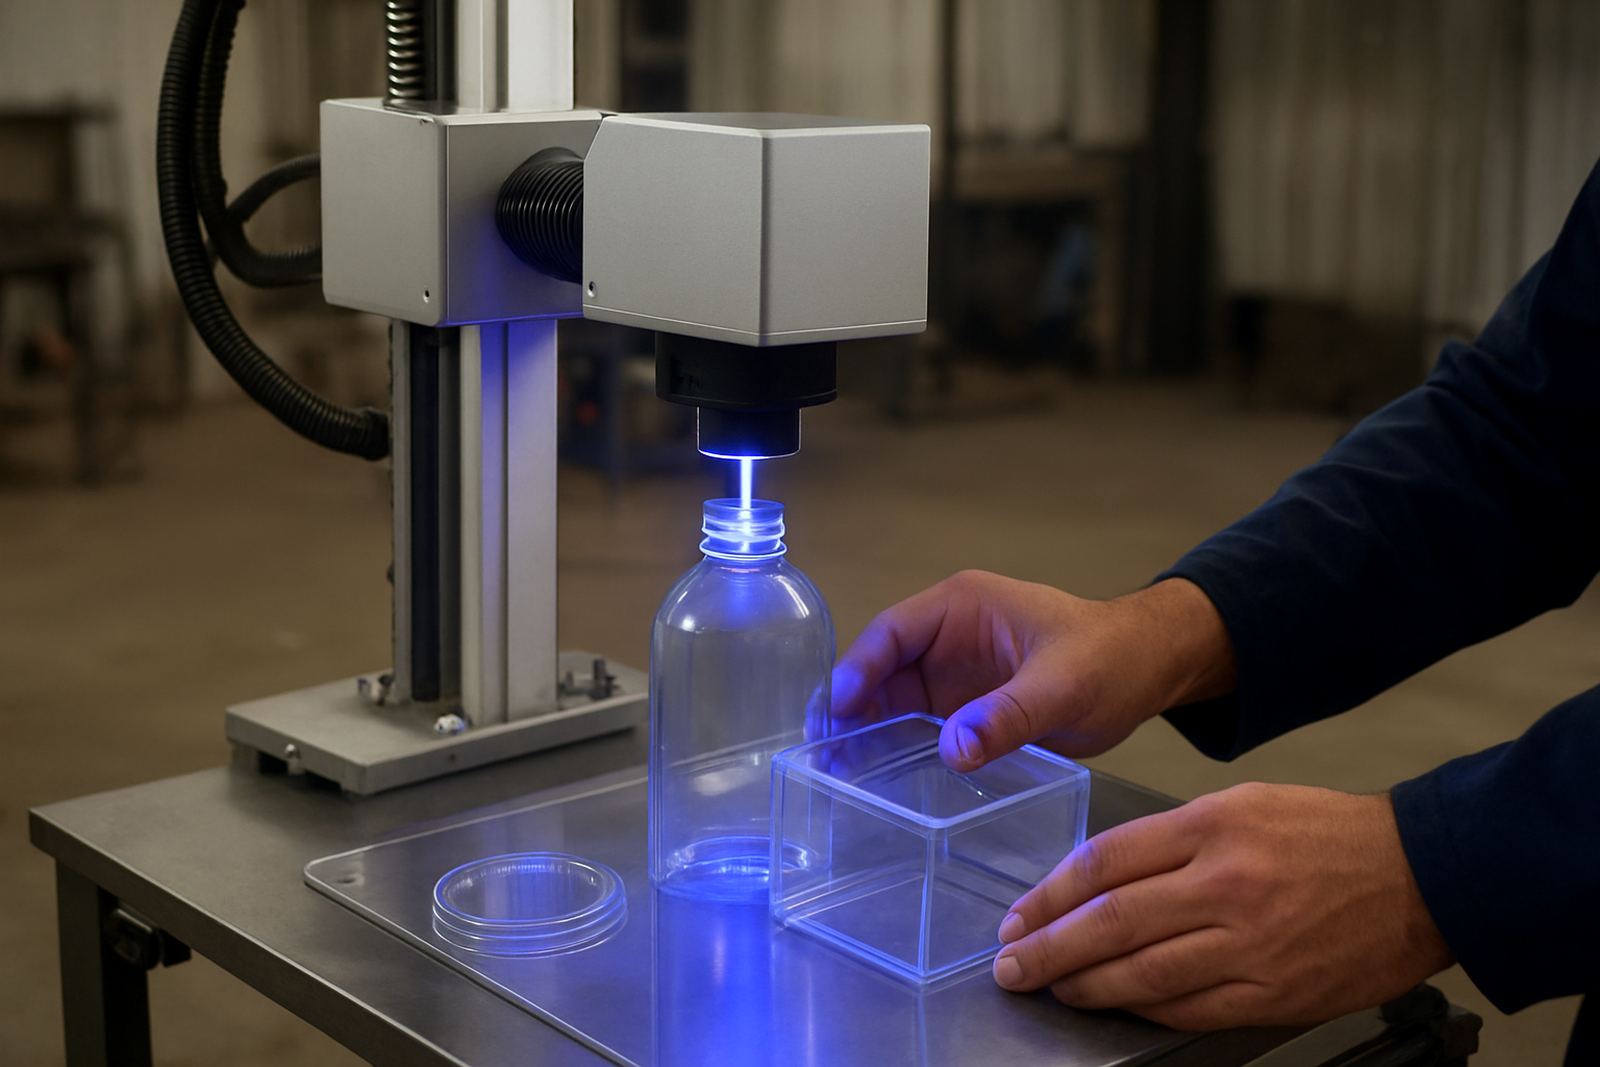
The Camera Alignment Marker is a vision-assisted marking aid used with UV laser systems to position marks accurately on glass and plastic components. It is useful where the part is not perfectly centred, where moulded shapes vary slightly, or where the marking area is small and a few millimetres off can spoil the result. The camera reads the part features, then guides the marking position so the laser fires in the correct place. That means less rework, fewer rejected parts, and better consistency on batches that run throughout the day.
It is commonly used for logos, serial numbers, date codes, batch references, warning marks and fine detail that must stay sharp after handling, cleaning or packing. Because UV laser marking changes the material surface without inks or stickers, the result is clean and permanent. On glass, the mark stays clear without flaking. On plastics, the mark holds up well where the correct material is used and the settings are matched properly to the part.
- Vision support for part location and mark placement
- Suitable for pre-formed, curved or irregular parts
- Permanent marking for branding and traceability
- Helpful where manual placement causes variation
Typical sizes, formats and setup options
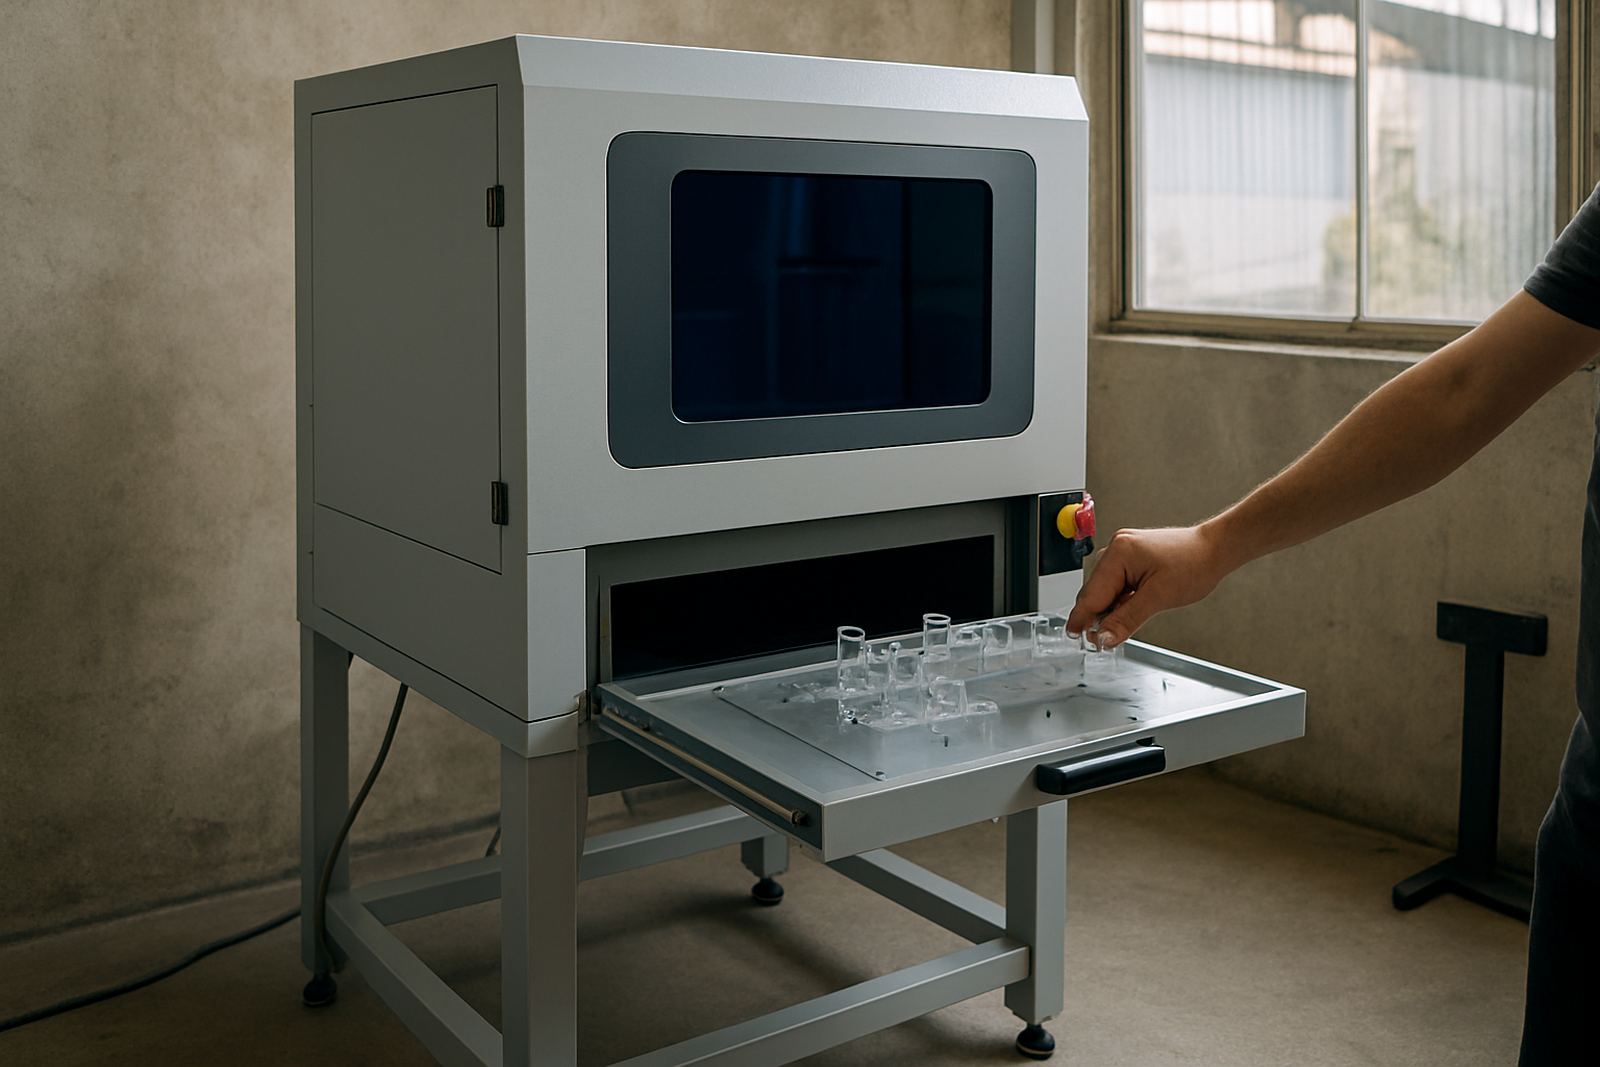
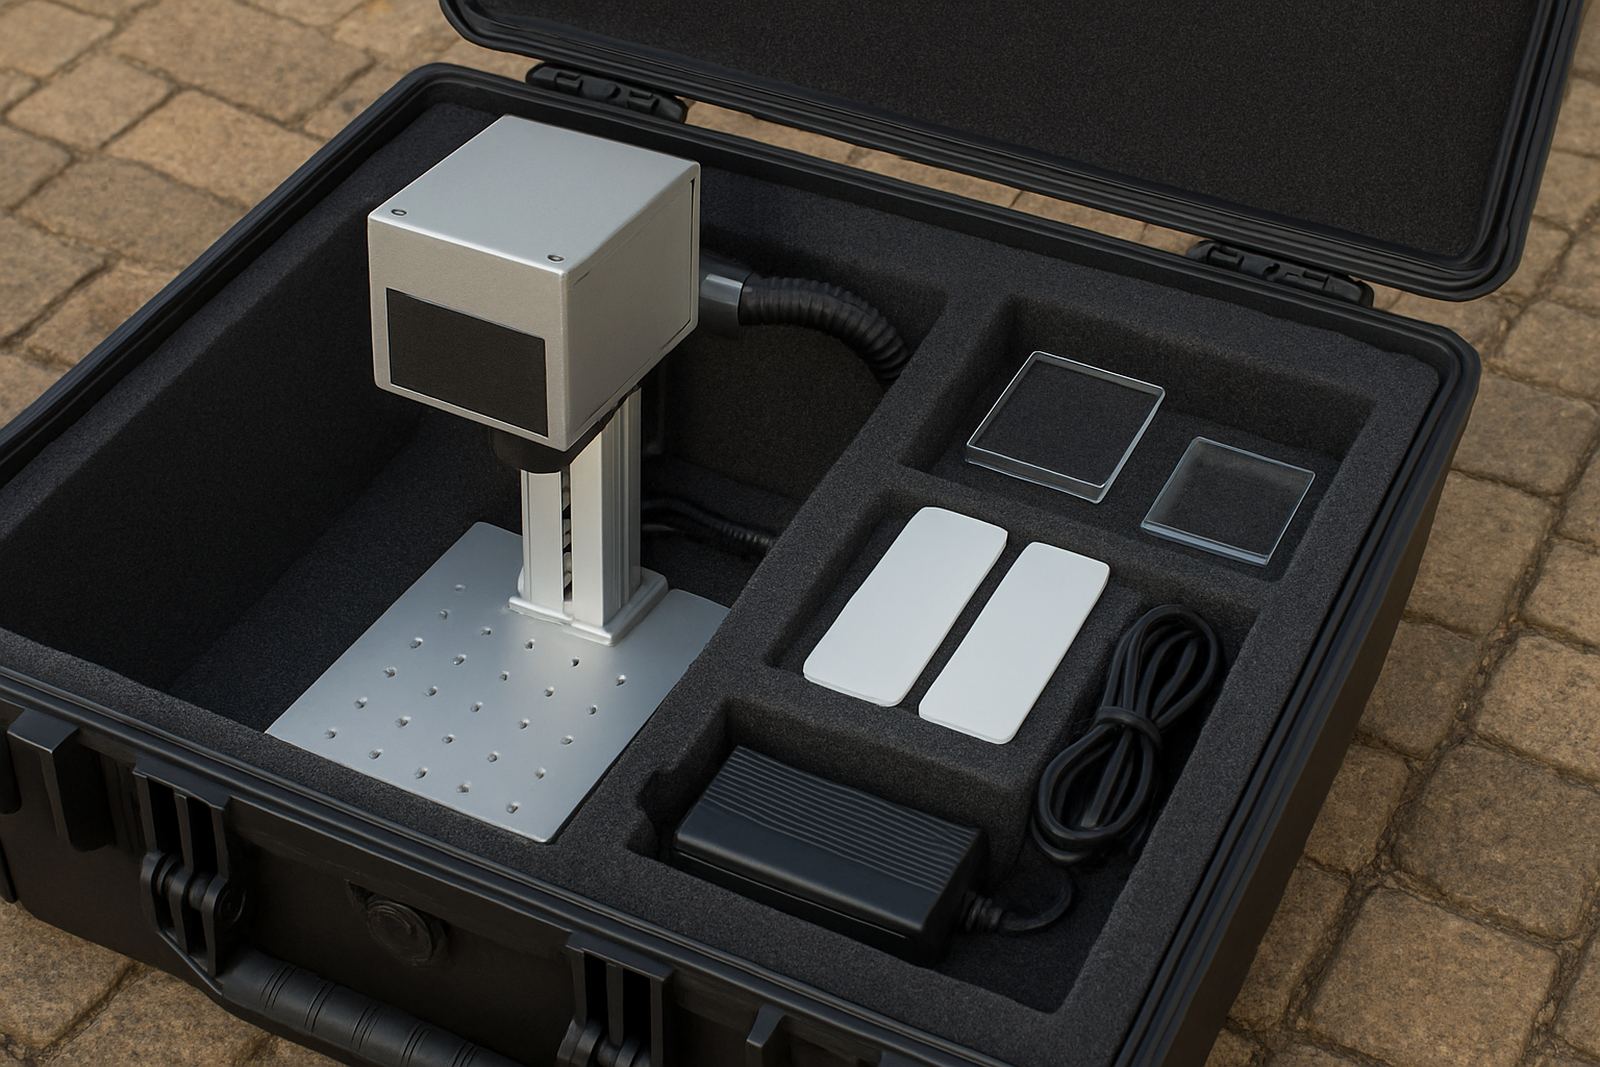
The Camera Alignment Marker is supplied as part of a UV laser marking setup and can be matched to the part size, line speed and marking field required. The camera support can be arranged for smaller precision parts or larger fixtures where the mark sits at a fixed station. In most production settings, the focus is on stable part holding and clear image capture rather than a one size fits all arrangement. The unit can be set up for bench use, semi-automatic loading, or integration into an existing production line.
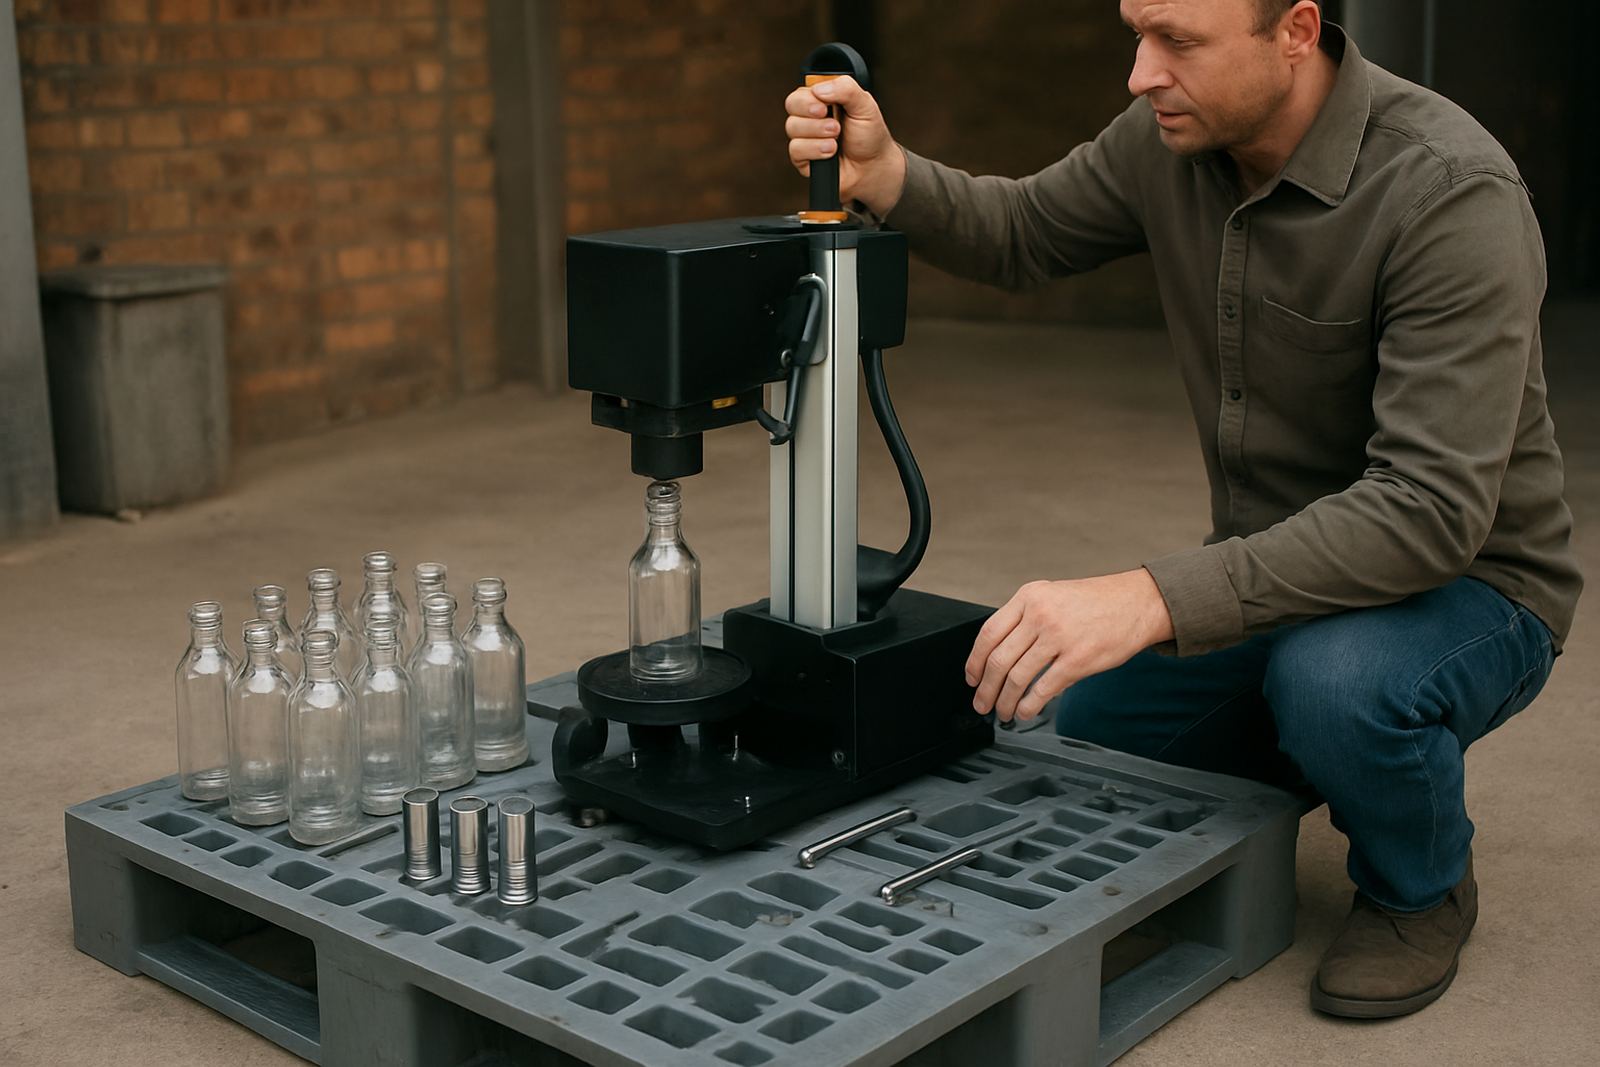
For South African factories working with mixed batches, it often helps to choose a fixture that can hold multiple part shapes securely. That reduces operator guesswork and keeps the camera reading consistent. Where there is dust, vibration or bright workshop lighting, the enclosure and viewing angle should be planned carefully. In humid coastal areas or warm inland sites, this also helps keep the optics and housing in good condition.
- Small, medium and larger marking fields available
- Fixture based or line integrated arrangements
- Manual, semi-automatic or automated loading options
- Can be configured for single part or batch processing
Where it suits best in South African production
This product suits businesses that need accurate, repeatable marks on parts that are not always positioned exactly the same way. That includes packaging components, medical and laboratory items, cosmetic packaging, automotive plastics, technical glass parts, and custom manufactured pieces. It is also useful where the mark must sit in relation to a mould line, edge, curve or embossed feature.
In Jet Park, Boksburg and the wider Ekurhuleni area, many manufacturers run mixed shifts and need equipment that can be trained quickly and kept running during load shedding with the right power arrangement. The Camera Alignment Marker supports that type of environment because it reduces operator dependence and helps standardise the mark position from one shift to the next. It is also practical for sites in Germiston, Kempton Park, Benoni, Alberton, Midrand and Pretoria where production teams need fast setup and steady output.
If the product changes often, or if customer artwork and codes change with each order, camera support can save time and cut down on setup mistakes. That makes it a good fit for short runs as well as repeat production.
- Glass and plastic parts with variable placement points
- Short runs, changing artwork and coded batches
- Plants needing consistent positioning across shifts
- Sites where traceability and presentation matter
Installation, power and compressed air needs
Installation is planned around the marking station, the fixture, the camera view and the operator workflow. For some sites the unit is supplied as a stand alone station, while others need it tied into a conveyor, index table or manual load point. During installation we check the working distance, lighting, cable routing and part presentation so the camera can see the reference points properly. If the product sits too high or too low, the mark can drift, so the physical setup matters as much as the software.
Power needs depend on the full UV laser marking system and the controls around it. Most sites require a stable single-phase or three-phase supply depending on the machine and line layout. In areas with frequent power interruptions, a proper power conditioning plan is worth discussing. Compressed air is not always needed for the marker itself, but it may be required for part handling, purge air, fixture clamps or a conveyor stop. If air is part of the installation, clean dry supply is preferred, especially in coastal humidity or dusty factory conditions.
- Bench, fixture or line mounted installation options
- Power planning for stable operation during interruptions
- Compressed air may be needed for handling or clamping
- Lighting and camera angle must be checked on site
Care, servicing and day to day use
Keeping the Camera Alignment Marker accurate is mostly about cleanliness, steady handling and regular checks. The camera lens and viewing window should be kept free of dust, fingerprint marks and residue from packaging or production. If the fixture loosens or the part location shifts even slightly, the mark will move with it. That is why routine inspection matters. Operators should also confirm that the part reference points are still visible and that the camera is reading them correctly before a full batch is released.
We recommend preventive maintenance rather than waiting for a fault. That includes checking the camera mount, cable condition, lighting, focal position and software settings. On busy lines, small changes from vibration or repeated use can build up over time. If a part starts showing misplaced marks, it is better to investigate the fixture and vision settings first before blaming the laser. With the right care, the system stays reliable and the marks remain sharp and consistent.
- Clean lens and window surfaces regularly
- Check fixture movement and part location often
- Keep a record of approved vision settings
- Schedule preventive maintenance before faults appear
What to confirm before placing an order
Before ordering, it helps to know the part material, size, shape and the exact position where the mark must sit. You should also confirm whether the part is flat, curved, moulded or irregular, and whether the surface is clear, tinted, textured or reflective. These details affect the camera view and the marking result. If the mark must align with a mould line, edge or printed feature, send that information too so the fixture and vision setup can be planned properly.
It is also important to confirm the mark size, font, artwork quality, coding format and daily throughput. If you need the system to link with existing production software or to work in a line with other machines, that should be shared early. For plant managers in Ekurhuleni and beyond, the right information upfront avoids delays, wasted samples and rework later on. Our team in Jet Park, Boksburg can review samples, run tests and advise on the most practical setup for the job.
- Part material, shape and surface condition
- Mark size, location and artwork or code type
- Required output per shift or per day
- Need for fixture design, line integration or software setup
Samples, training and support across South Africa
UV Laser provides site demos, sample testing, machine installation and operator training nationwide, with support from Jet Park, Boksburg into Germiston, Kempton Park, Benoni, Alberton, Midrand and Pretoria. Our team can assist with fixture design, process optimisation, spares supply and breakdown repairs where needed. If your marking process is still being refined, we can test on your actual parts and confirm whether the camera alignment method is the right fit before you commit.
The Camera Alignment Marker is a practical choice when precision matters and the part does not always sit exactly the same. It gives operators better control, supports reliable output and helps keep marks clear from one order to the next. For businesses that need accuracy without fuss, it is a sensible addition to a UV laser marking line. A well set system saves time, and it usually pays back quicker than expected.
Key facts
| Technology | UV laser marking with camera-based alignment support |
|---|---|
| Suitable materials | Glass and plastics, subject to sample testing |
| Mark types | Logos, serials, batch codes, date codes and fine detail |
| Placement | Pre-formed, curved, irregular or hard-to-centre parts |
| Installation | Bench, fixture or production line integration |
| Support | Nationwide demos, installs, training and maintenance from Jet Park, Boksburg |