Why electronic covers need permanent marking
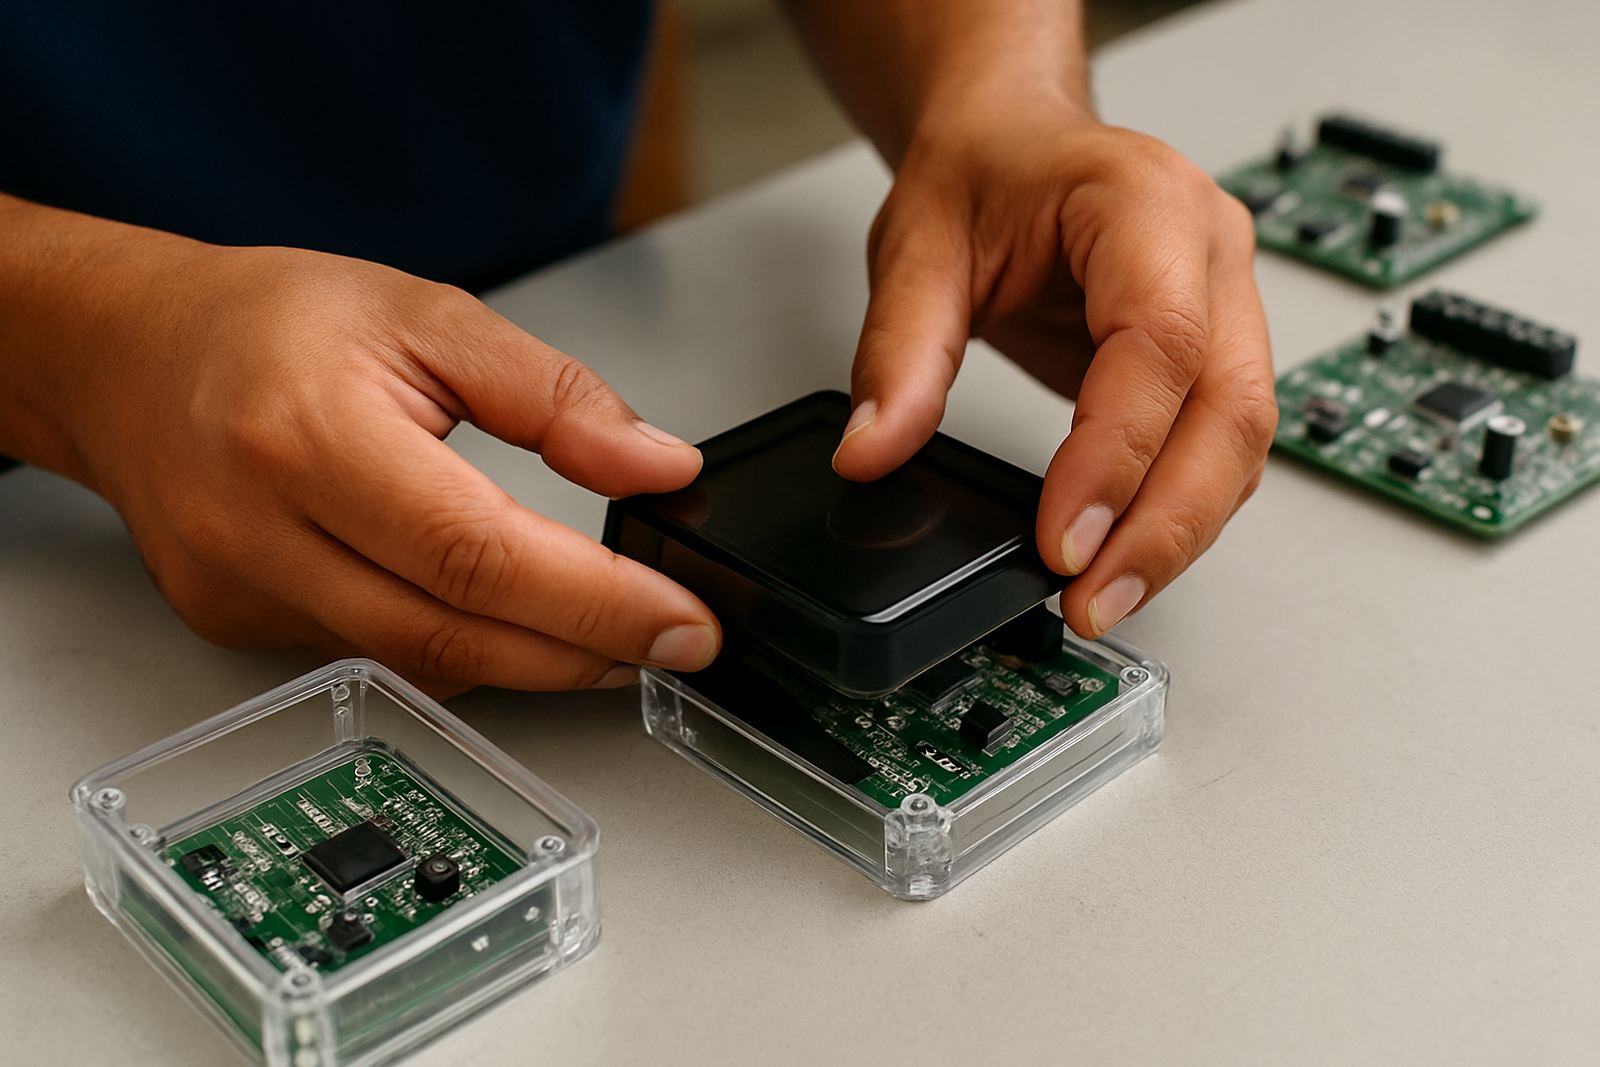
Plastic covers on control units, consumer devices, metre housings and protective casings often carry part numbers, polarity symbols, safety icons and batch codes. On these parts, printed labels can lift, rub off or fade when exposed to heat, oils, cleaners and daily handling. UV laser marking creates a permanent mark on the surface, so the information stays where it should be even after years in service.
For manufacturers in Ekurhuleni, Pretoria and Midrand, this matters when products move through assembly, dispatch, warranty returns and service checks. A neat mark also helps with compliance and reduces mix-ups on the line. When parts are produced in mixed colours or textured plastics, the marking process needs to be set up carefully so the result is clear without scarring the cover.
- Part numbers and serials for traceability
- Warning signs, icons and handling symbols
- Brand marks on visible front or side panels
- Revision codes for product control
Typical parts and materials we mark
Electronic covers come in many forms, from thin snap-fit lids to thicker protective shells. The right marking result depends on the plastic type, surface finish and the depth of the moulding. Smooth, light-coloured parts usually give the best contrast, while dark or gloss surfaces may need extra testing to keep the mark crisp without whitening the surrounding area too much. We often test samples before any full run so the marking position and contrast are confirmed first.
Common items include electrical enclosures, battery housings, switch covers, sensor shields, handheld device casings and transparent or tinted windows. Some jobs also involve small curved surfaces or recessed panels, which means the fixture must hold each part steady and at the same angle every time. That consistency is important for both the look and the legibility of the mark.
- ABS, polycarbonate and similar engineering plastics
- Clear, tinted and opaque covers
- Flat panels, curved shells and recessed faceplates
- Parts with moulded ribs, clips or screw bosses
Layout planning before the first mark
Good layout work saves time later. Before production starts, we look at the mark size, exact position, line speed if the part is moving on a conveyor and whether the operator needs a simple start-stop process or a more automated setup. A mark that sits too close to a clip or screw point can be hard to read and may wear faster, so placement should be chosen with the full assembly in mind. On larger covers, a small shift in location can make the difference between a tidy result and a wasted part.
We also check whether the customer needs one large mark or several small marks placed on the same cover. If the part has a glossy finish, the angle of the beam and the surrounding fixture colour can affect how the mark appears. For that reason, sample testing is not just a nice extra, it helps avoid costly rework later on. In some cases a simple jig is enough, while other parts need a dedicated fixture to keep the cover flat and stable.
- Confirm the mark size and the readable area on the cover
- Choose a position that survives handling and assembly
- Allow enough space for serials, logos and symbols
- Test one sample before approving the full production run
Equipment setups that suit cover marking
For electronic covers, the equipment set usually depends on part size, output volume and how much movement is allowed on the production floor. A bench-mounted unit suits short runs, samples and small batch work in Jet Park, Germiston or Alberton. Higher volumes may need a connected line setup with part sensing and a controlled loading point. If the marks need to stay consistent across different shifts, operator training and a clear setup file are just as important as the laser itself.
UV Laser supplies site demos, installation, software setup and operator training nationwide. That helps when a customer in Benoni or Kempton Park wants to see the marking on their own parts before committing. It also helps when the line has limited space or load-shedding interruptions need to be planned around. If a site has unstable power, the marking schedule and machine location should be considered early so the process does not become a daily headache.
- Bench unit for samples and smaller batches
- Fixture or jig for repeatable cover placement
- Line integration for continuous production
- Software setup for serials, batch data and revision control
Common mistakes that cause poor results
The most common problem is trying to mark a plastic cover without testing the actual material first. Two covers that look the same can react differently if one has more filler, a different pigment load or a slightly different mould finish. Another mistake is placing the mark too near a curved edge where the focus changes. That often gives a patchy result or a mark that looks light on one side and heavy on the other.
We also see issues when the fixture is not firm enough, or when the operator changes settings between jobs without saving a proper profile. On busy lines, that can lead to inconsistent serials and wasted stock. Dust on the surface and oil from handling can also affect the finish, so clean parts make a real difference. For outdoor or coastal work, especially around Durban, humidity and contamination can make process control even more important, and the same goes for plants where the covers are stored for long periods before marking.
- Skipping sample testing on the exact material
- Poor fixture support on curved or light parts
- Marking too close to corners, clips or mould lines
- Changing settings without saving a standard profile
Budget ranges and what to allow for
Budget depends on the cover size, the marking detail and whether you need a simple stand-alone setup or a more complete production solution. For small sample work and light batch production, customers often start with a lower setup cost. Once fixtures, integration and training are added, the project moves up in price. As a practical guide, many electronic cover marking projects in South Africa fall somewhere between R180 000 and R650 000, while more advanced lines with automation, custom fixtures and process control can go higher.
It is also worth allowing for sample testing, installation, training and the first set of spares. That avoids delays when production starts. Preventive maintenance and breakdown support should be part of the plan too, especially where production runs across multiple shifts. If your site is in Pretoria, Midrand or further afield, nationwide support can still be arranged, but the budget should include travel and commissioning time where needed.
- Entry-level sample and batch setup: from about R180 000
- Mid-range production setup: around R300 000 to R450 000
- Integrated or higher-output line: from about R500 000 upward
- Allow extra for fixtures, training and spares