Clear blister packs needed identification without spoiling the finish
The client was a packaging producer in Randburg supplying clear blister components for product identification on packed goods. Their main concern was simple: the mark had to stay permanent, read clearly under warehouse lighting, and not cloud the plastic or leave a raised feel that would affect sealing and presentation. They were also working to tighter traceability requirements from customers, so each pack needed a consistent code position and repeatable legibility.
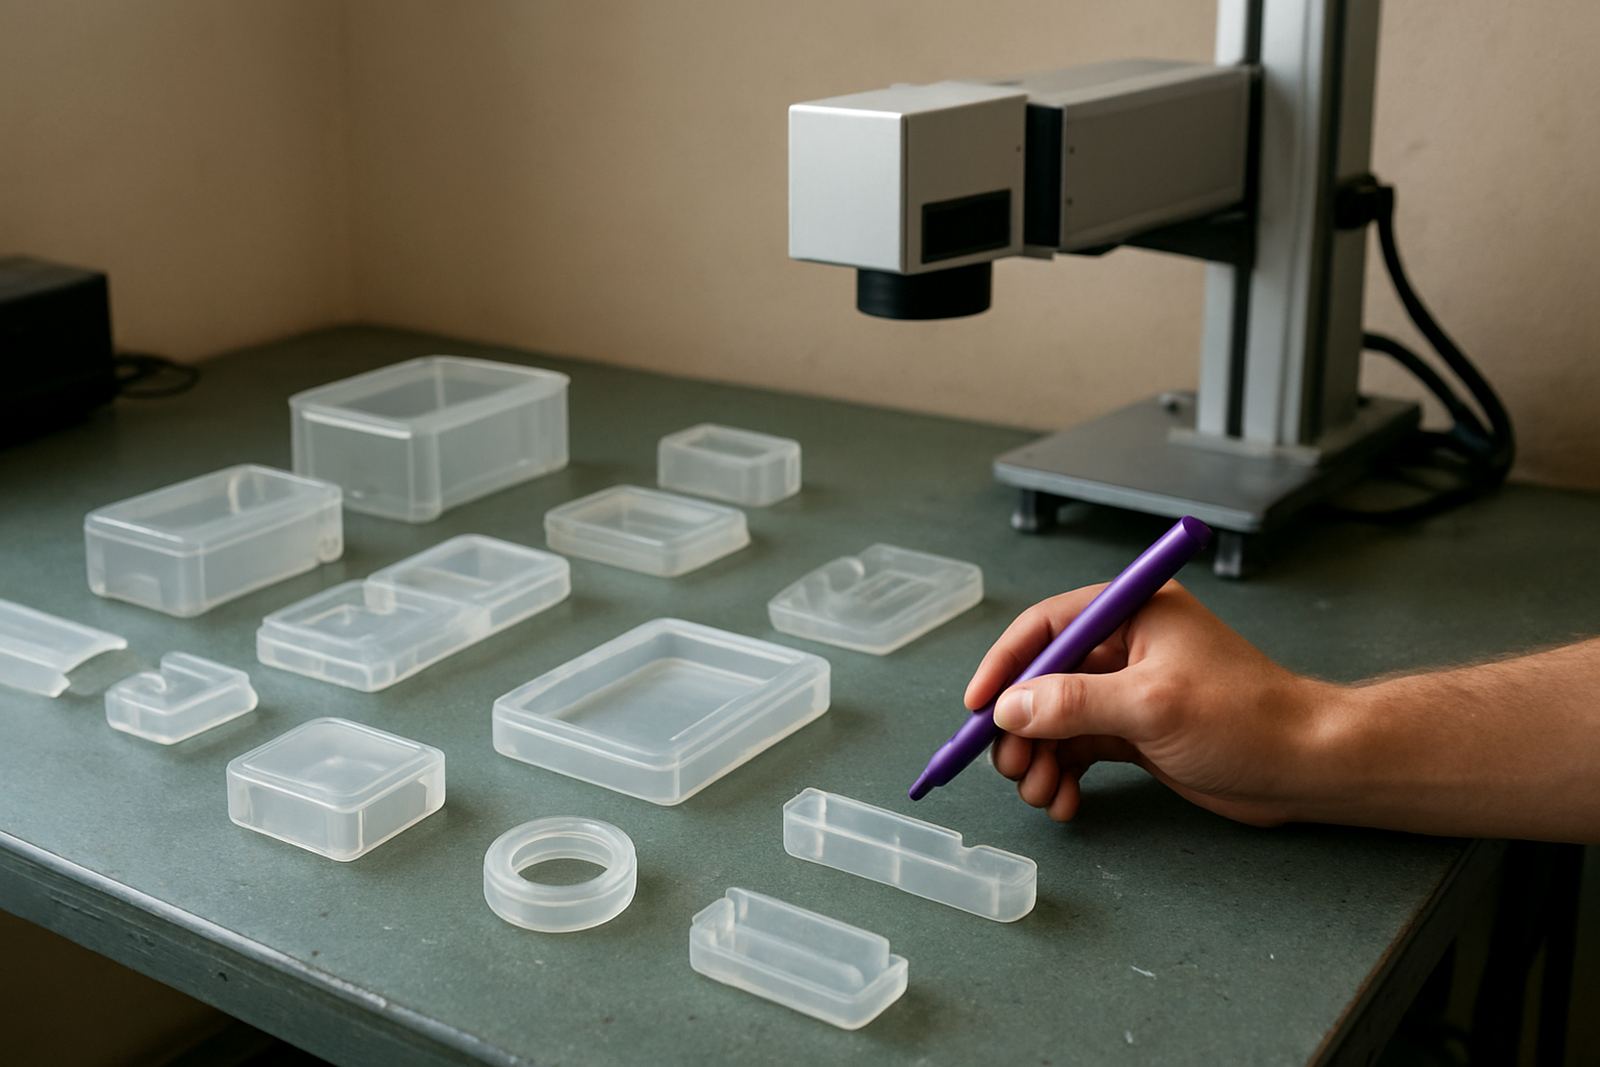
We started with a sample review at our Jet Park base and then moved to site testing. The blister material was a clear plastic format with varying surface tension, and the team needed a marking method that would work on a busy packing line. They did not want inks that could smear after handling, and they needed a process that could cope with ordinary South African production conditions, including dust, power interruptions and occasional temperature swings in the plant.
- Client type: packaging producer
- Town: Randburg
- Material: clear blister components
- Need: permanent product identification
The brief covered speed, clarity and low maintenance
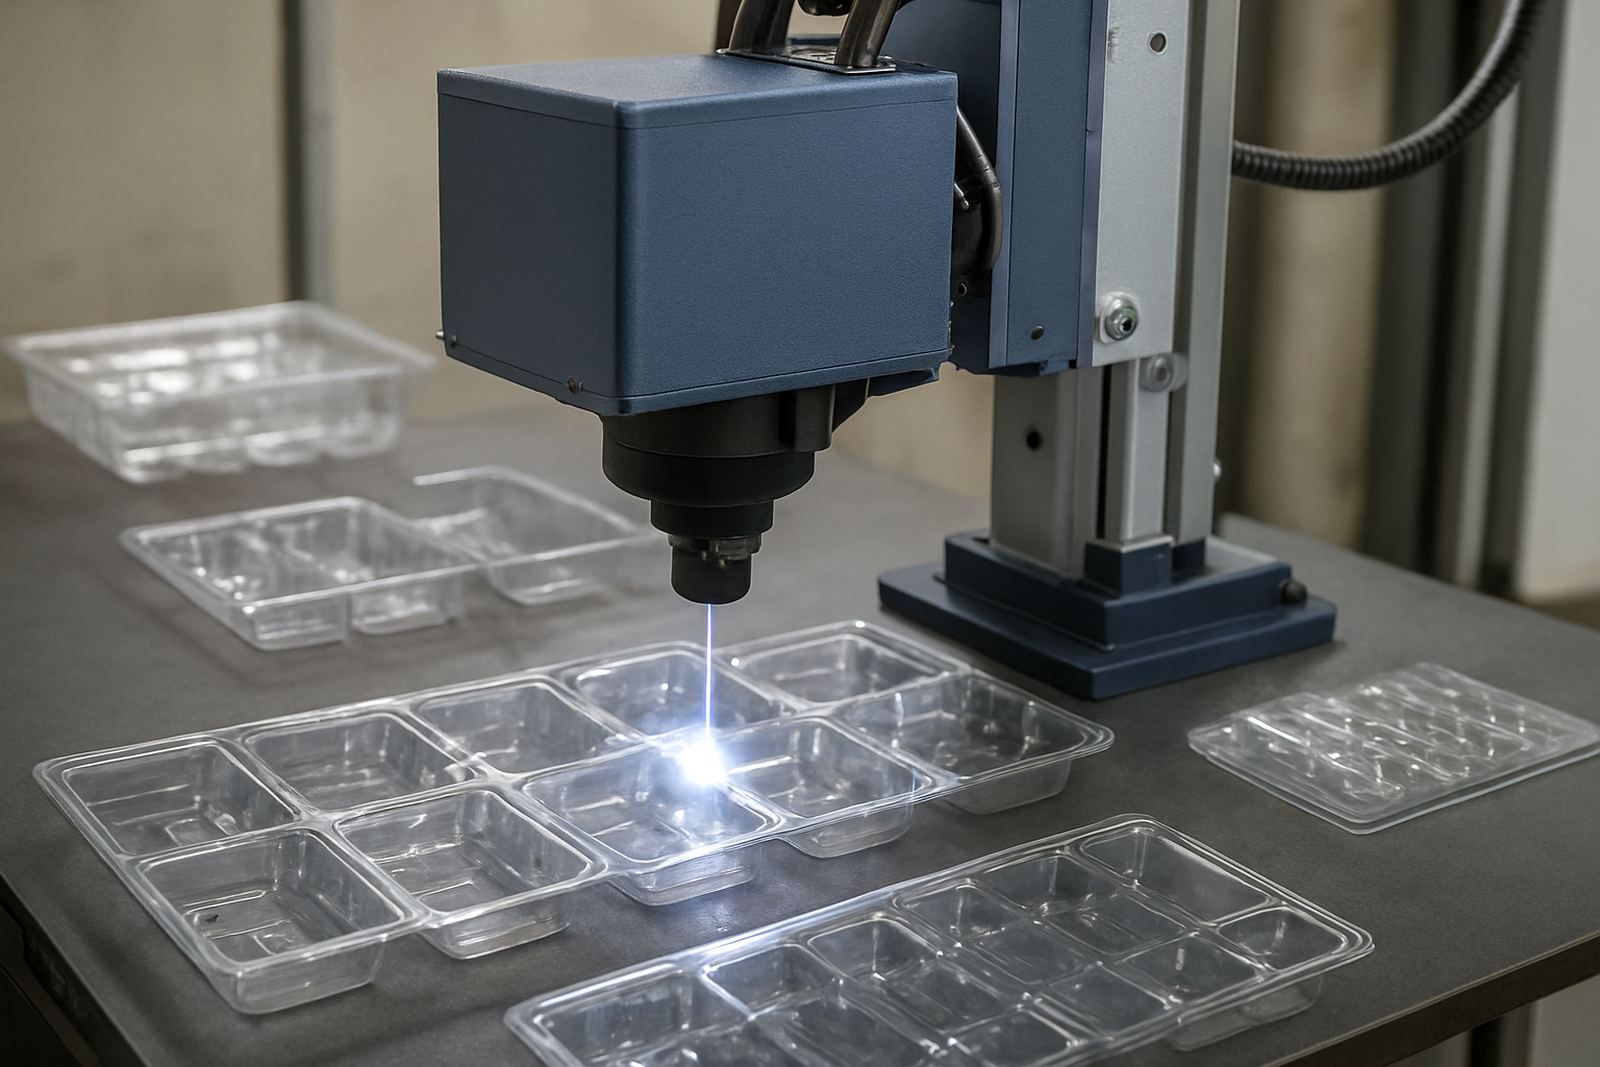
The brief was to trial UV laser marking on clear blister packs for batch numbers, date codes and small product identifiers. The client wanted a process that would fit into their existing packing flow without slowing output. They also needed the marked area to remain stable after handling, stacking and transport, especially in warm storage areas and on delivery routes around Gauteng.
Because the packs were clear, the mark had to be controlled carefully. Too much energy would risk bloom or surface marking, while too little would leave a faint code that operators could not check quickly. The team asked for guidance on mark depth, contrast and fixture positioning so the same result could be repeated shift after shift. They also wanted a plan for operator training and a practical maintenance routine, not a complicated setup that would sit idle when staff changed over.
From the start we kept the process focused on measurable outcomes: code clarity, cycle time, repeatability and ease of use. That made it easier for the client to sign off the trial and compare the result against their current identification method.
- Mark types: batch code, date code, short product ID
- Constraint: clear plastic with a smooth surface
- Operational need: quick verification by line staff
- Environment: warm packing area with dust control needs
What we supplied for the Randburg trial
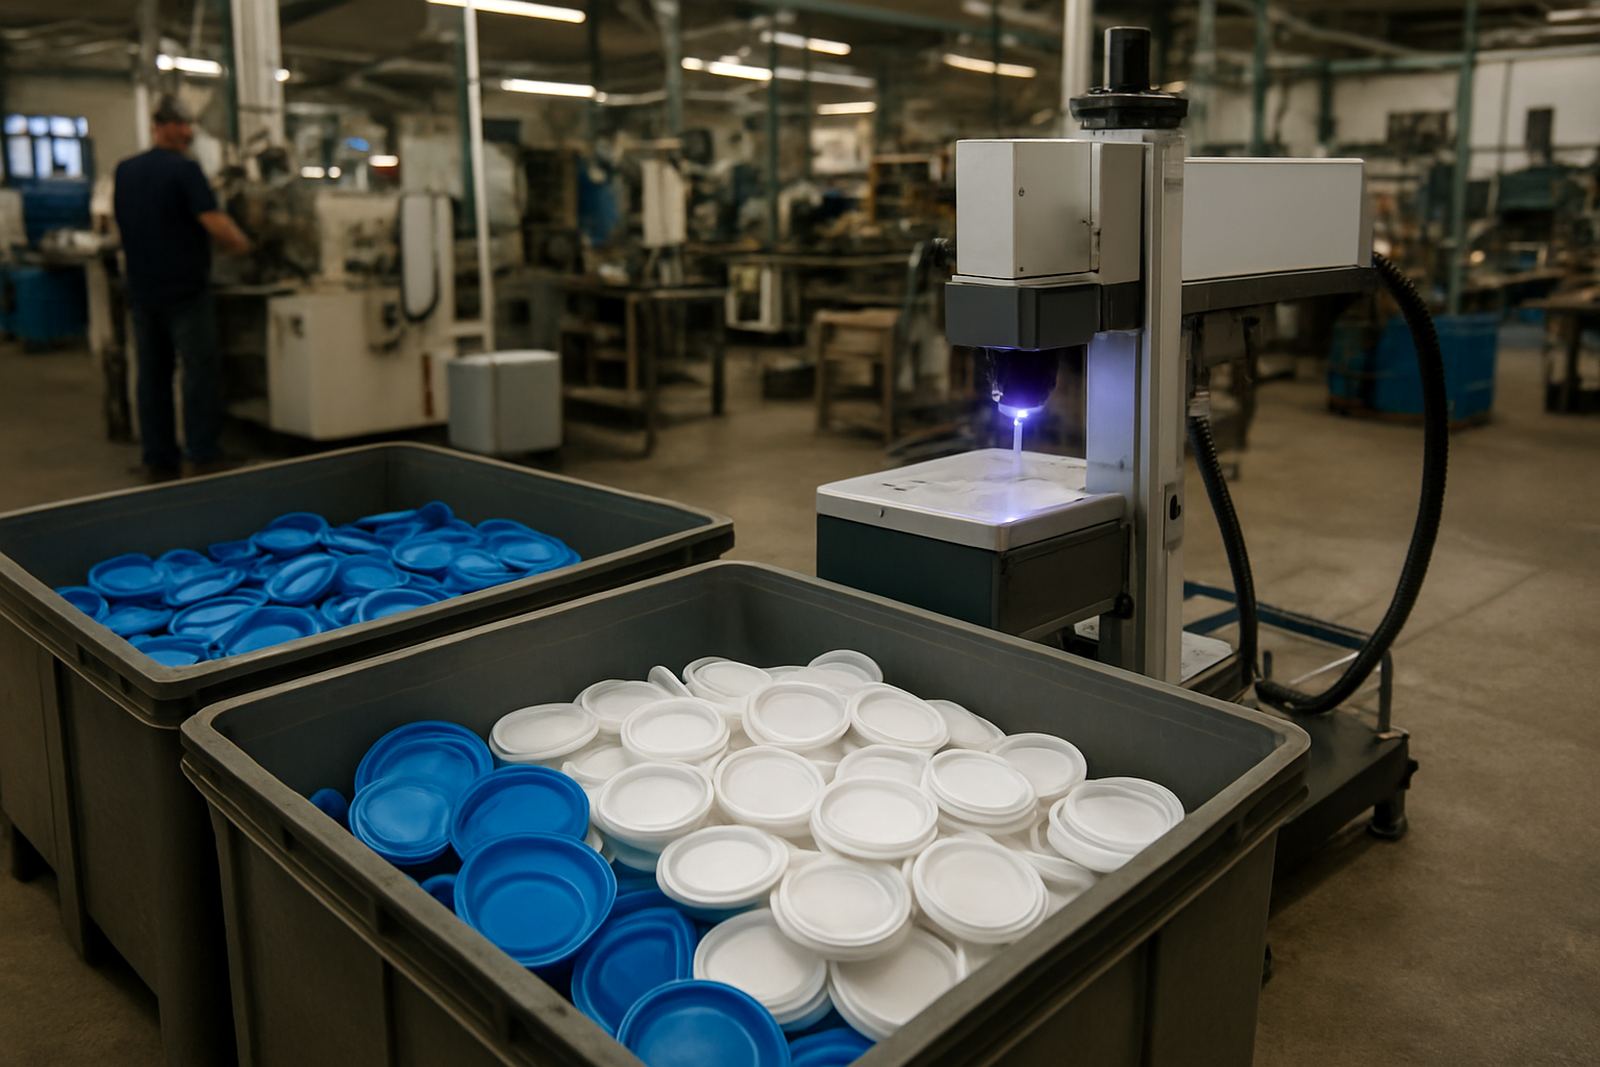
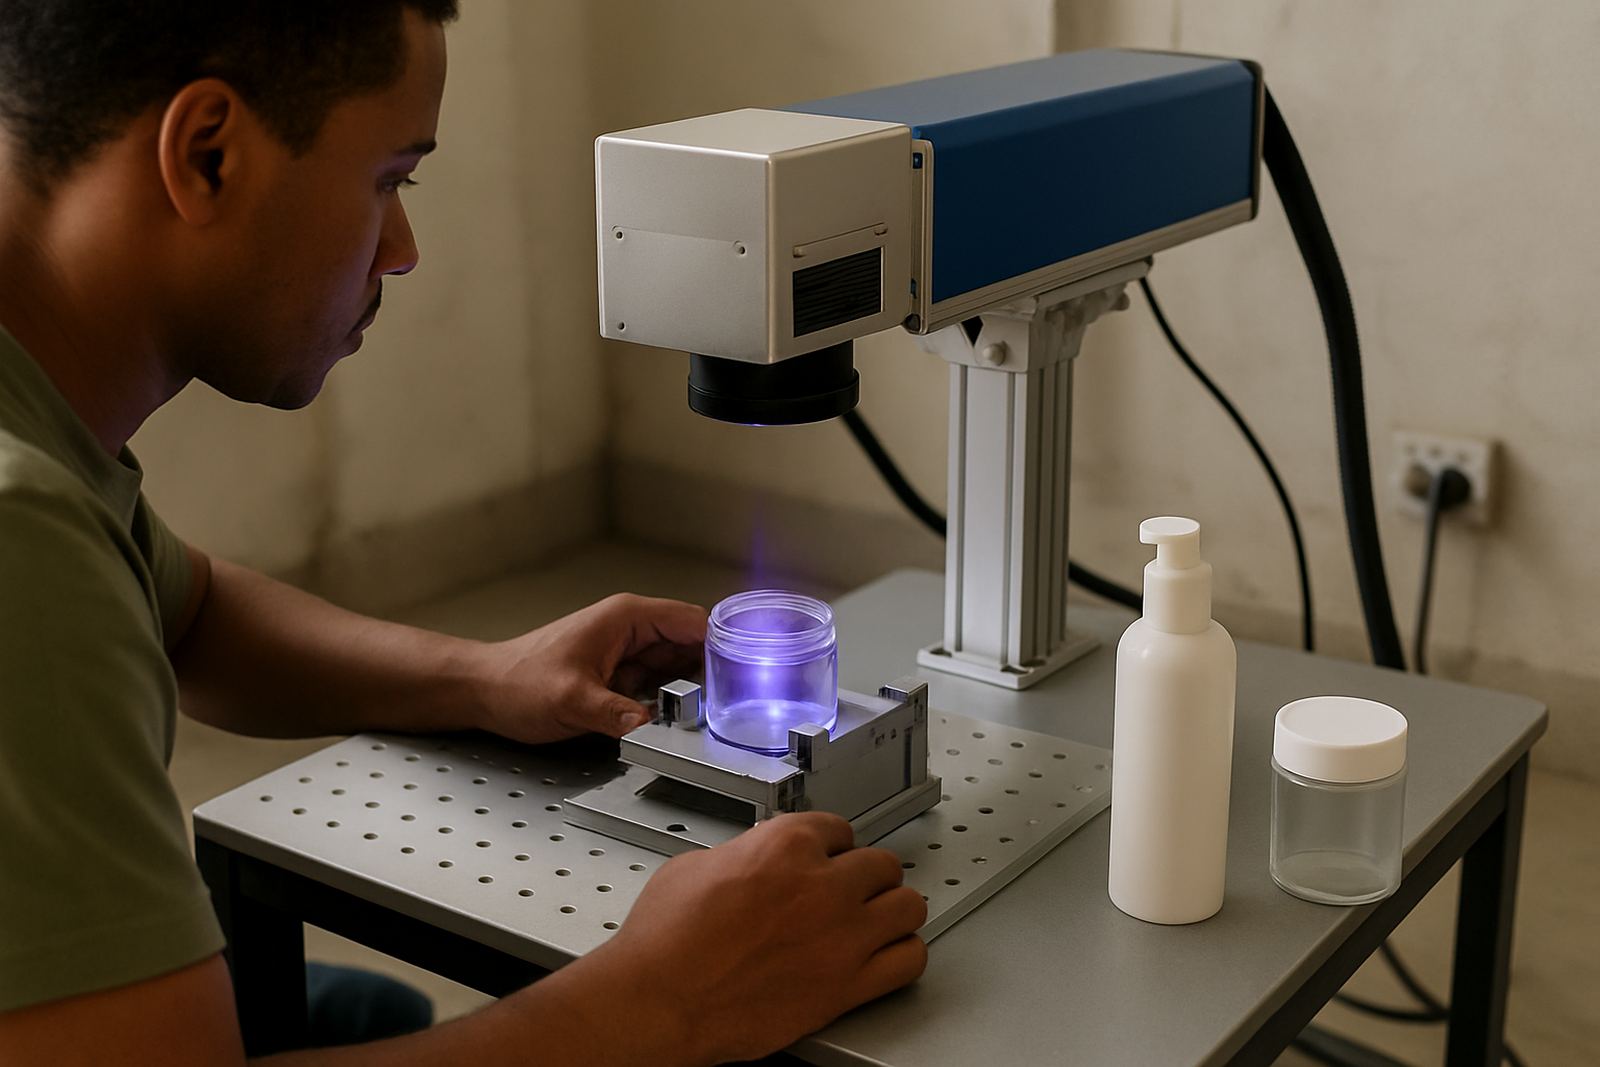
We supplied a UV laser marking setup suited to plastics, with a fine beam for small characters and controlled marking on clear material. The system was configured for a compact footprint so it could sit near the packing line without blocking movement. We also prepared the fixture approach for consistent part location, since even a small shift in placement can change code position on a blister component.
The trial package included sample testing, software setup, fixture design and line integration advice. Refilwe Mahlangu handled the applications side, while Thabo Khumalo supported the physical installation and alignment. Naledi Mokoena coordinated the schedule, Priya Naidoo handled the admin side of the job and Anele Dlamini arranged operator training once the settings were confirmed. Riaan Pretorius oversaw the project and final sign-off with the client.
- Laser source: UV marking system for plastics
- Focus: permanent marking on clear blister parts
- Control: software setup for repeatable code changes
- Support: fixture design and line integration guidance
Three weeks from sample test to approved line settings
Week one covered sample collection and mark testing at our side, where we checked how the clear plastic reacted to different settings. Week two was used for site testing in Randburg, where we confirmed the mark position, adjusted the beam settings and checked the codes under normal production lighting. By week three the client had approved the output and we completed operator training with the final settings saved for daily use.
The time line was short because we kept the process practical. Instead of chasing a perfect lab result, we tuned the mark to what the line actually needed. That meant readable codes, a stable process and minimal change to the packing rhythm. There were a few small adjustments along the way, mainly to mark location and contrast, but nothing that stopped production or required a full line rethink.
The client also appreciated that we worked around their shift pattern and did not ask them to shut down for long periods. For a production team balancing orders and supplier deliveries, that mattered more than fancy features.
- Week 1: sample testing and material review
- Week 2: site trial and setting adjustments
- Week 3: operator training and approval
- Result: ready for routine production use
Results on the packing line and in the store room
Once the approved settings were loaded, the codes held well on the clear blister components and remained legible after handling. The client reported cleaner product identification, easier batch tracking and fewer queries from the packing team about unreadable marks. The marking process also removed the need for added labels in this part of the workflow, which helped keep the blister surface neat and consistent.
For the store room and dispatch team, the benefit was traceability. Each pack could now be checked faster, and the code format was fixed so there was less room for human error. The client also liked that the mark did not rely on consumables in the same way as ink based systems, which helps keep running costs more predictable over time. In a plant that has to manage load-shedding, maintenance windows and the usual day to day pressure on output, that counts.
There was also an aesthetic gain. Clear blister packs still looked clean, with the mark sitting neatly on the surface instead of overpowering the product. That matters when the packaging is part of the customer presentation.
- Cleaner identification on each blister component
- Better traceability for batch control
- Less handling confusion on the line
- No visible damage to the clear pack finish
What we would repeat on the next blister project
If we were doing this again, we would start with the same approach: test the actual material first, then lock in the mark position before final training. That sequence saves time and avoids guesswork. We would also keep the fixture simple and easy to clean, especially for plants running in dusty areas or near loading bays where plastic parts can pick up dirt quickly.
For a similar job, we would recommend the same project structure for other packaging producers in Randburg, Germiston, Kempton Park or Midrand. The key is to match the laser settings to the plastic grade, line speed and code size from day one. When that is done properly, the process is straightforward for operators and the marks stay consistent across shifts.
Our team still supports the client with spares supply, preventive maintenance and breakdown repairs when needed. That keeps the process stable and gives the packing team a local contact if anything changes in the line layout or product mix.
- Repeat the material test before final sign-off
- Keep the fixture easy to clean and adjust
- Train operators on code position and inspection
- Build in support for maintenance and future changes
Key facts
| Project town | Randburg |
|---|---|
| Client type | Packaging producer |
| Material | Clear blister components |
| Marking method | UV laser marking |
| Project duration | 3 weeks |
| Main outcome | Permanent, legible product identification |