What the Centurion lab needed from the marking process
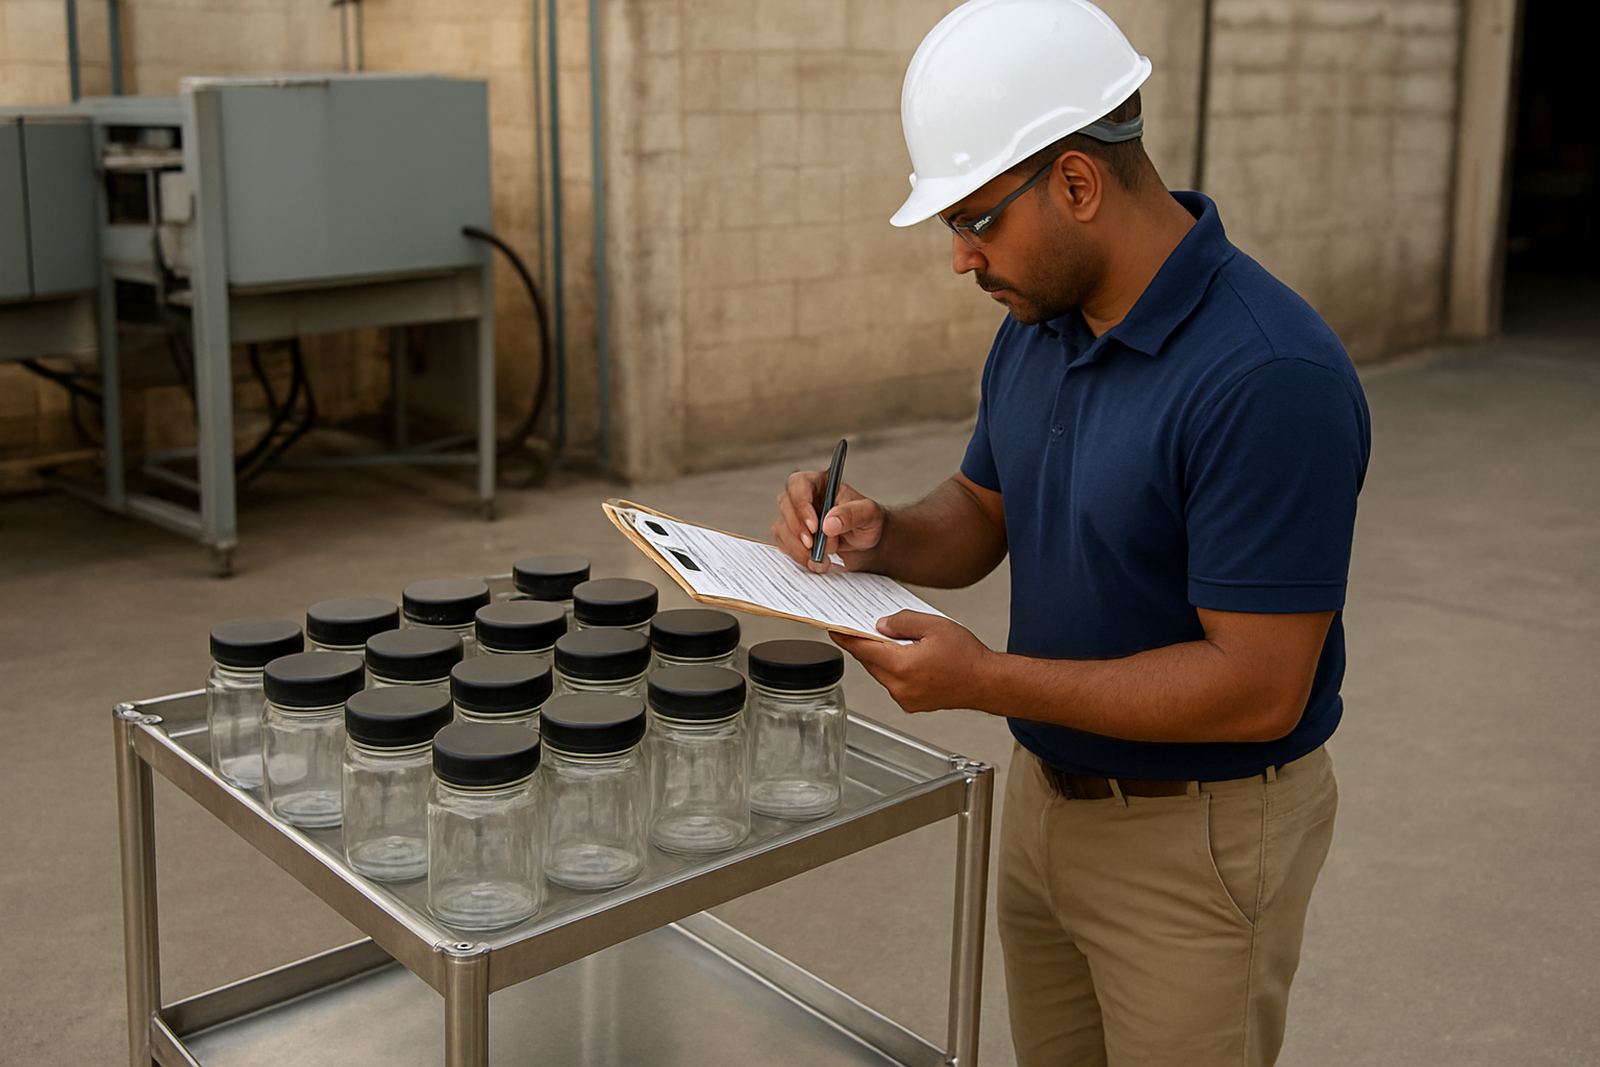
The client was a busy testing facility in Centurion handling a constant flow of sample jars for incoming checks, retention stock and re-testing. Their team was relying on paper labels and marker pens, but those were wearing off, smudging in cold rooms and sometimes falling off during wash-downs. That created avoidable confusion when multiple jars came through the same area, especially on busy shifts.
The brief was straightforward but strict. They needed a permanent marking method for glass and plastic sample jars, with clear text and simple codes that could be read by staff at a glance. The marks had to stay intact after cleaning, storage and repeated handling. They also wanted a process that would suit small containers with curved surfaces, because some of the jars were narrow necked and had limited marking space.
We were asked to test the job first, then recommend a marking setup that could be used reliably day to day. The aim was to reduce mix-ups, speed up identification, and give the lab a tidy finish that would not peel, rub off or blur over time.
Sample jar constraints and working conditions
There were a few practical limits to work through. Some jars were clear glass, others were plastic, and the wall thickness varied from batch to batch. The labels also had to remain readable in bright light and under fluorescent tubes, with enough contrast against the contents behind the glass. Because the facility runs during load-shedding periods as well, the marking setup needed a stable workflow that could resume without wasting samples if power was interrupted. That point mattered more than people expect.
The team also needed a method that would not add moisture, adhesives or extra consumables into the process. In a lab environment, keeping the container surface clean is important. Adhesive labels can lift at the edges, and print can become hard to read after handling with gloves or after refrigeration. The client wanted permanent marks and not another item to manage in stores.
- Container types: clear glass and clear plastic sample jars
- Marking content: sample ID, batch code and short internal reference
- Readability requirement: clean contrast on small curved surfaces
- Durability requirement: permanent marks that survive cleaning and handling
How we tested the marking on glass and plastics
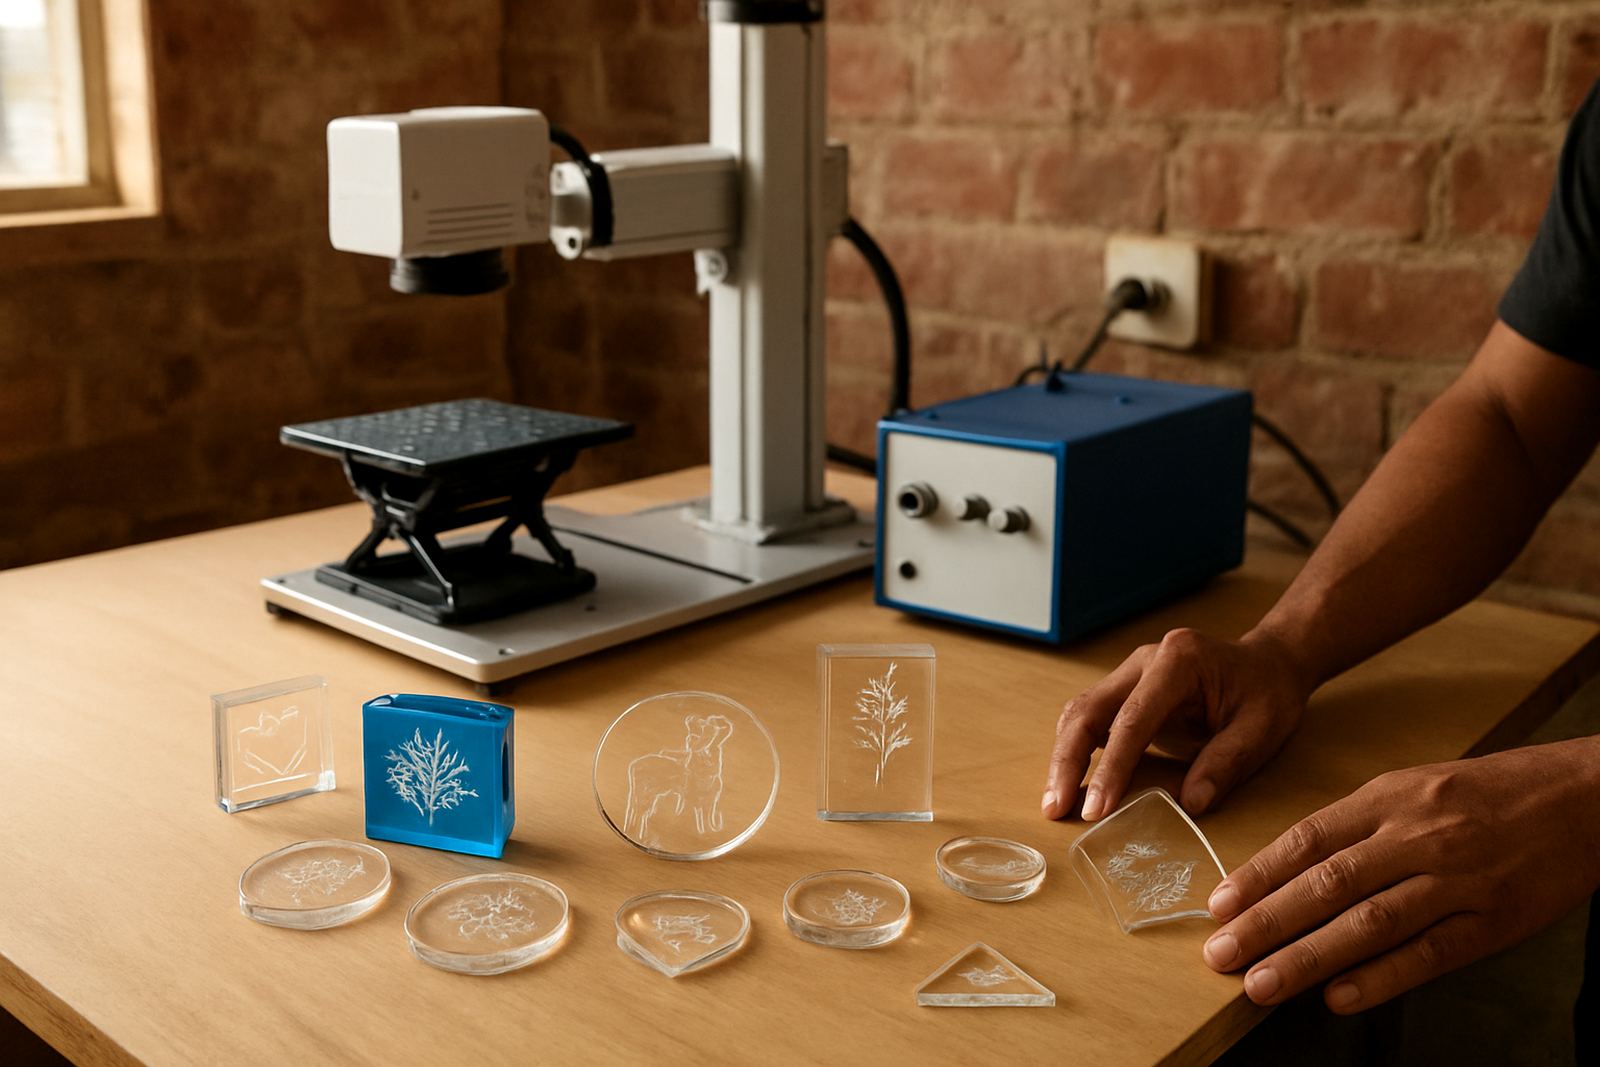
We started with sample testing at our Jet Park base before visiting the Centurion site. Refilwe Mahlangu and Thabo Khumalo assessed the jar sizes, wall thickness and the way the containers were used on the line. We then ran multiple test marks to balance clarity with surface safety. The goal was to achieve a sharp, permanent result without damaging the jar or making the code too fine to read.
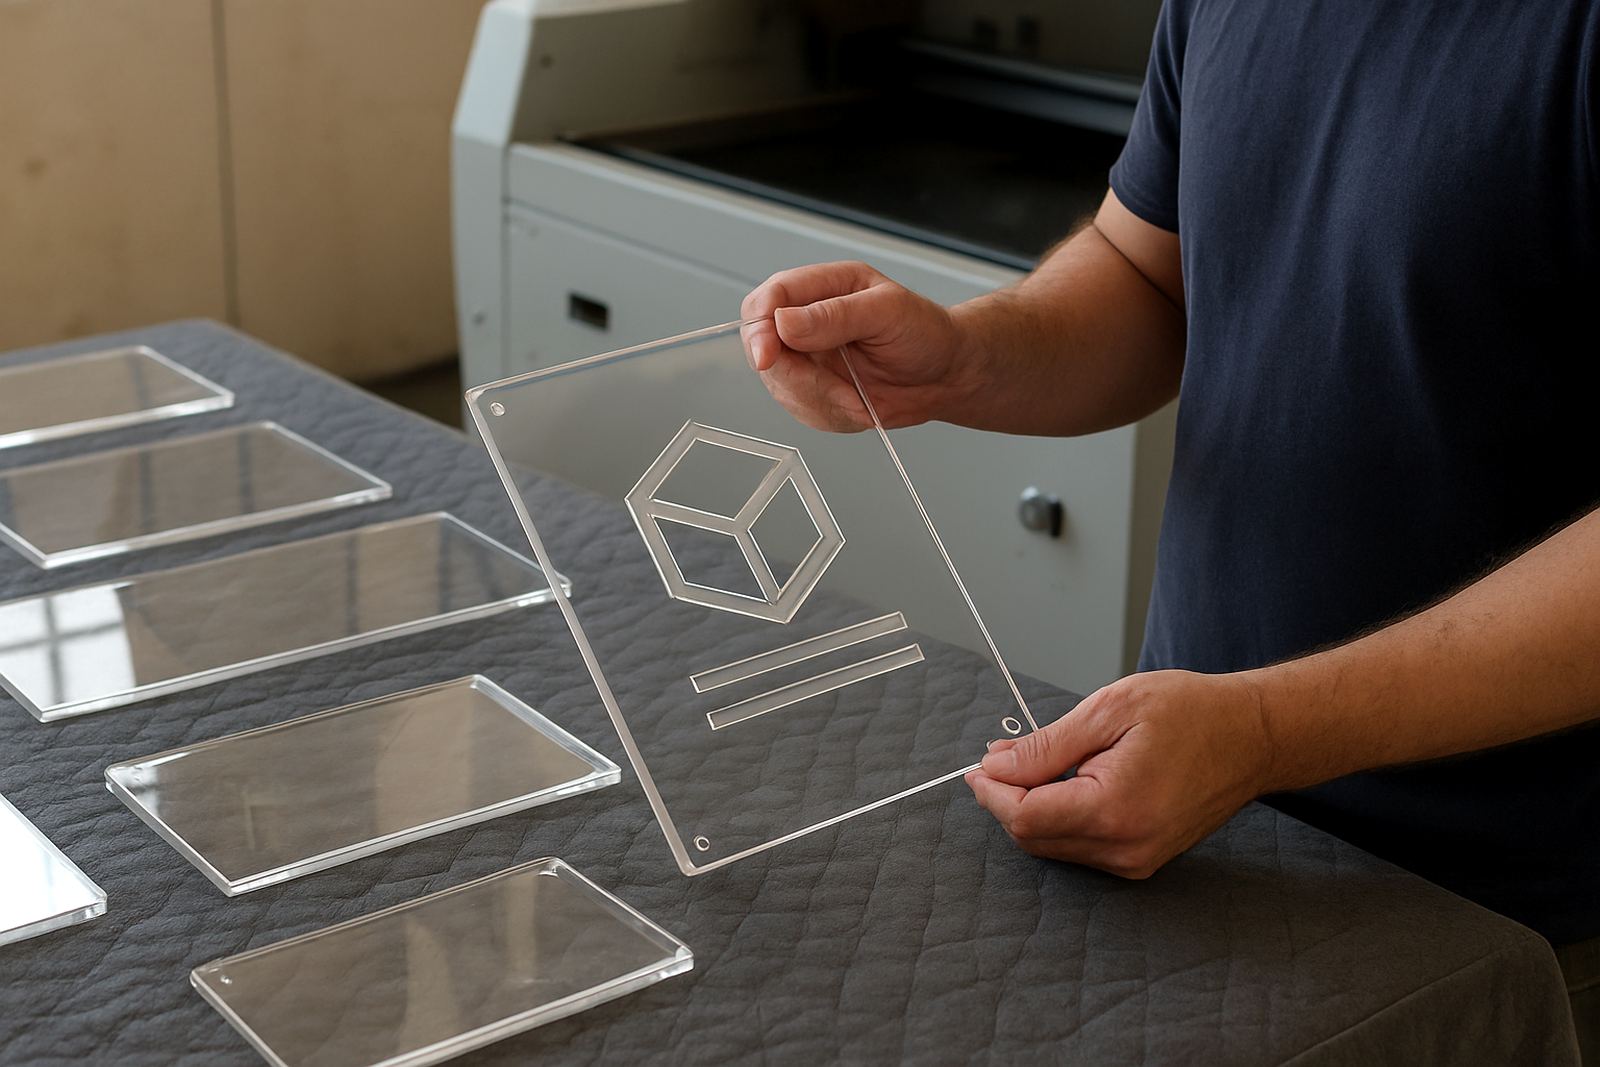
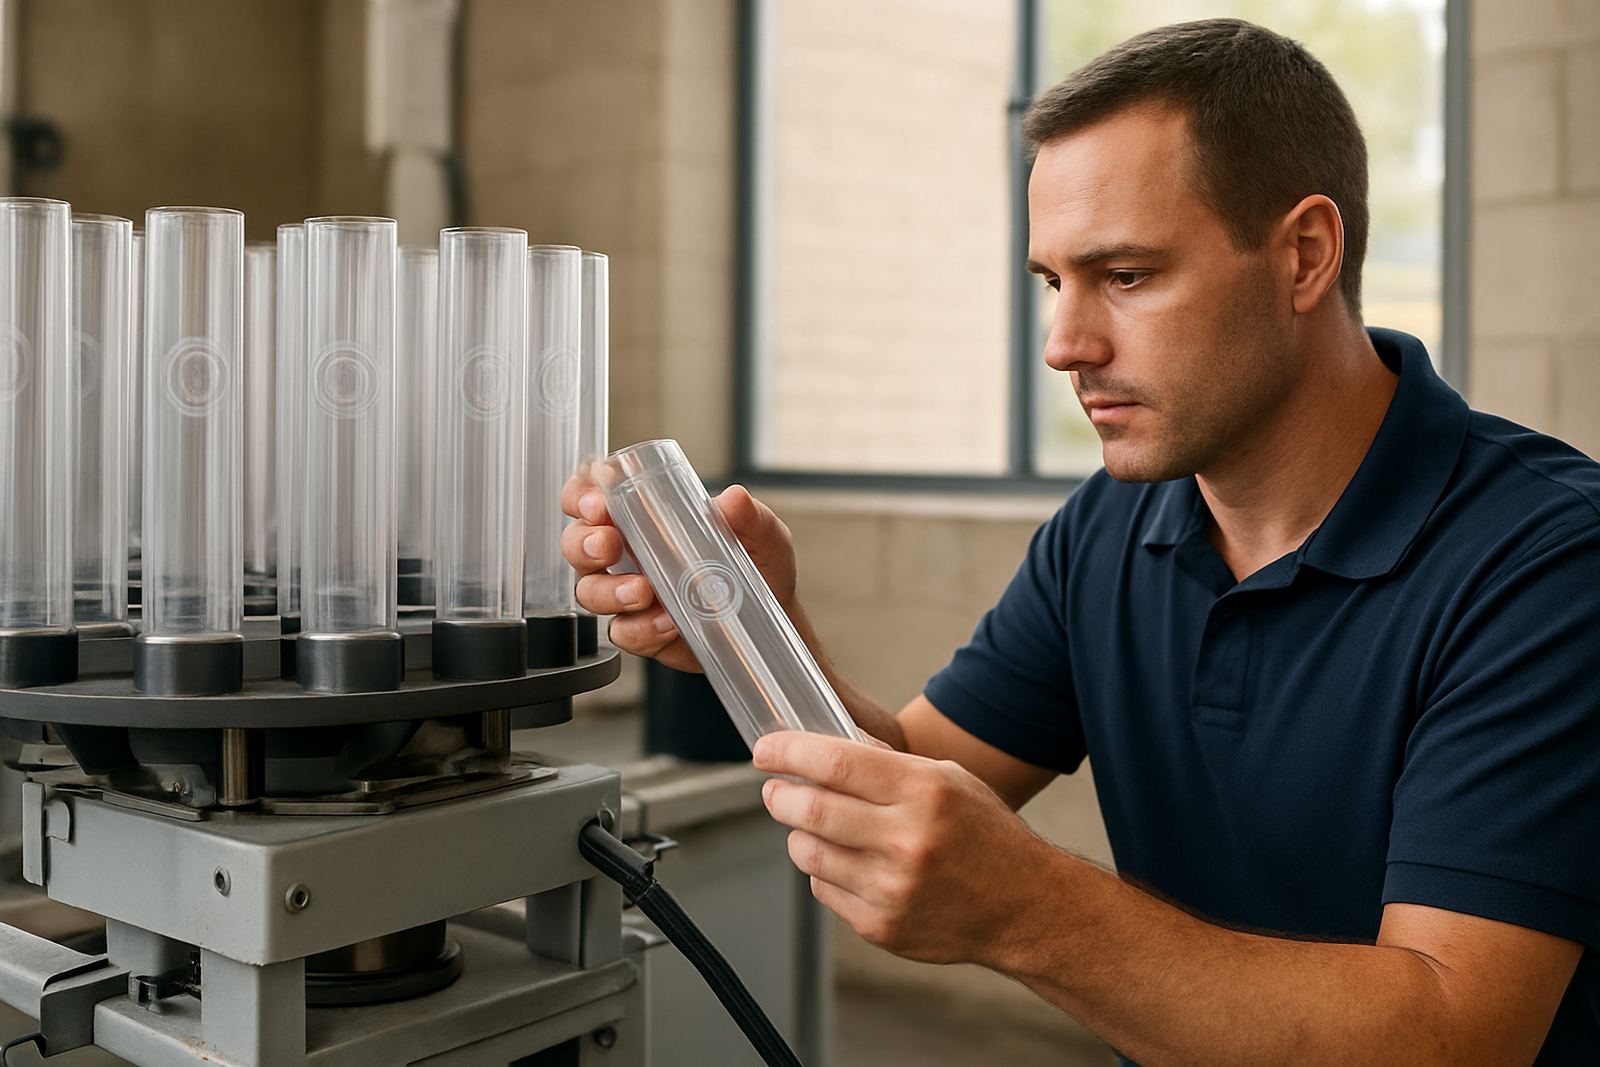
On glass, the marking produced a crisp frosted finish with strong contrast. On selected plastics, we adjusted the settings so the mark stayed neat without warping the surface. Each jar type needed its own approach, because what works on one container can look too light or too aggressive on another. We supplied the client with a sample pack, plus a small reference sheet showing the best settings for each material.
The marking content was kept practical: short alphanumeric IDs, batch numbers, and a few product codes. That kept the mark compact and easy to place on the body of the jar or near the shoulder where it can be seen quickly. No ink was used, and there was no need for labels to be applied after marking.
Installation, operator training and practical handover
Once the test results were approved, we scheduled the installation and handover over a two week period. Naledi Mokoena coordinated the site visits and Priya Naidoo handled the booking and paperwork so the lab team could keep their own schedule moving. The machine was installed with the required safety checks, and the marking station was set up to suit the available bench space and access around the sample prep area.
Anele Dlamini completed operator training with the client team, covering job setup, focus checks, basic maintenance and how to store job settings for repeat sample runs. The staff also learned how to position jars correctly to get consistent marks on curved surfaces. That matters because a small change in height or angle can affect readability, especially on thin containers.
- Installation and commissioning completed in 2 weeks
- Operator training included setup, alignment and job recall
- Maintenance guidance covered cleaning, lens care and daily checks
- Settings were saved for repeat jar types to cut setup time
Results for the Centurion testing facility
After rollout, the lab had a permanent identification method that reduced mix-ups between similar sample jars. Staff could now read the code even after handling, storage and cleaning cycles, which cut down on rework and double checking. It also made stock control easier, because the jars could be sorted and traced without relying on loose stickers or handwritten notes.
The client also reported a cleaner presentation for their sample storage. The marks looked consistent across both glass and plastic jars, and the identification remained legible on busy benches and in the store room. In practical terms, this meant fewer delays when samples were handed between departments, and less time spent trying to confirm which jar belonged to which batch.
From our side, the job showed again why sample testing matters before final installation. The surface, the content and the handling all affect the result, so it is worth taking the time to check the marking on the actual container used on site. A quick trial can save a lot of trouble later.
What we would do again on a similar job
For a similar Centurion project, we would follow the same order: test first, confirm the container mix, then set up the machine and train the operators on the exact jars they use every day. That approach keeps the job practical and prevents surprises once the site starts working at full pace. We would also keep a reference set of settings for the common jar sizes, which makes repeat work faster and more consistent.
We would again recommend UV laser marking where the client needs permanent identification on glass or plastics and wants to avoid consumables that can fail in storage or cleaning. The method is a strong fit for testing labs, sample prep areas and other facilities where traceability is important and space is tight. It is especially useful where staff need a mark that stays put without adding extra steps to the workflow.
UV Laser supports demos, installs and training nationwide from Jet Park, Boksburg, with service into Centurion, Midrand, Pretoria and the rest of Gauteng. For sites that need sample testing, line integration or breakdown support, we can plan the right setup around the actual material and the way the team works. That is what keeps the marking useful after the handover, not just on day one.
Key facts
| Project type | Sample jar identification for a testing facility |
|---|---|
| Location | Centurion, Gauteng |
| Material range | Glass and plastic sample jars |
| Mark type | Permanent UV laser marking |
| Timeline | 2 weeks from testing to handover |
| Support delivered | Sample testing, installation, training and application setup |