Project brief for a Sandton sign install
The brief came from a signage installer working on a corporate fit-out in Sandton, where the acrylic elements had to carry very fine detail without cloudy edges, heat distortion or visible tool marks. The parts included layered acrylic panels, directional inserts and small branded identifiers that had to line up cleanly once mounted on the final frame.
The client needed a marking method that would stay permanent in indoor light and handle everyday cleaning, with no ink rubbing off and no secondary labels to peel away later. Because the sign faces were already cut to size, the marking process had to work on finished parts with tight tolerances, and it had to do so without slowing the installation programme.
This project suit the kind of work we handle often in Gauteng: short lead times, tight visual standards, and a site team that needs reliable results the first time. The pieces were not large, but the detailing was exacting and there was no room for rework.
Why UV marking was the right option
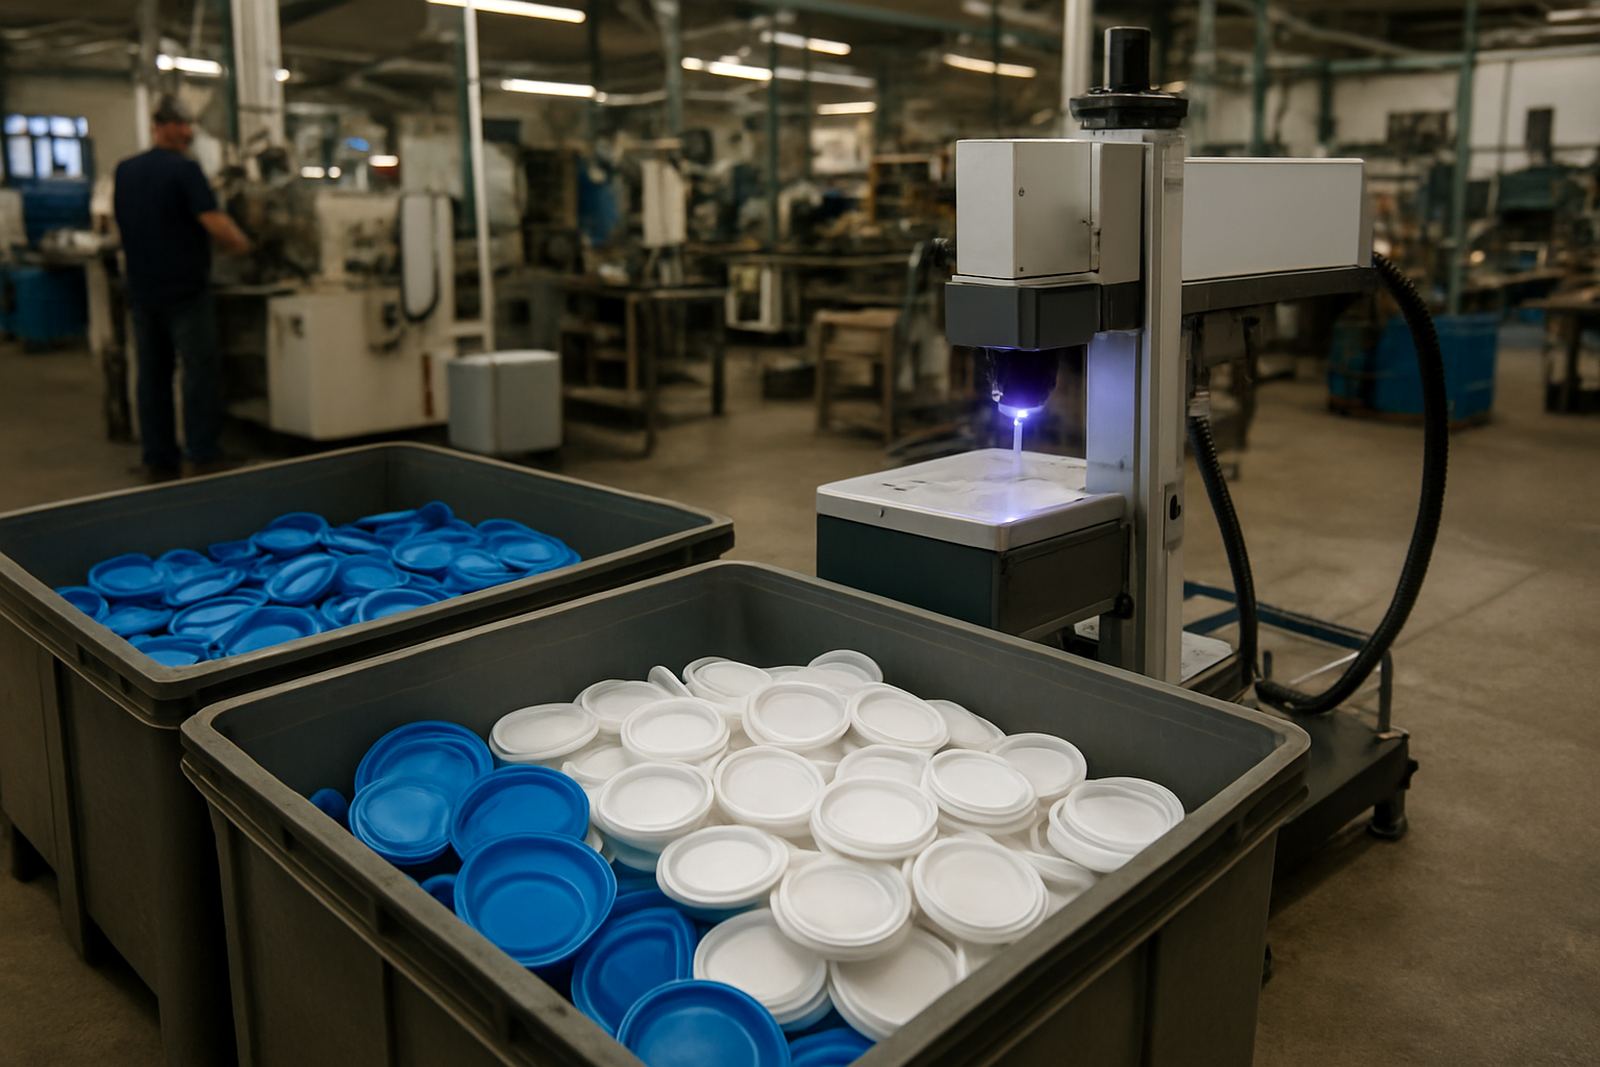
Glass and plastic sign components behave differently under different marking methods, and acrylic in particular needs controlled energy input to avoid melting or surface bloom. For this job we used UV laser marking because it produces sharp contrast on plastics, with a permanent finish that stays readable on close inspection.
- Material: cast and extruded acrylic sign parts
- Marking type: permanent surface marking for logos, arrows and small text
- Detail level: fine line work and compact lettering
- Finish requirement: clean contrast, no raised edge, no adhesive layer
- Use case: interior corporate signage and directional pieces
The client also wanted consistency across repeated pieces, so each panel had to look identical from one side of the boardroom corridor to the next. UV marking gave that repeatability, and it avoided the need for additional consumables that can fail in warm or dusty environments. It was a neat fit for the spec, and kept the sign maker from having to explain away small visual differences later on.
Sample testing and pre-production checks
Before production began, we tested sample pieces from the same acrylic batch to confirm the mark depth, contrast and edge clarity. That step matters because plastic formulations can vary, even when the sheet size and colour are the same. A sample that looks perfect on one sheet can behave differently on another if the density or finish changes.
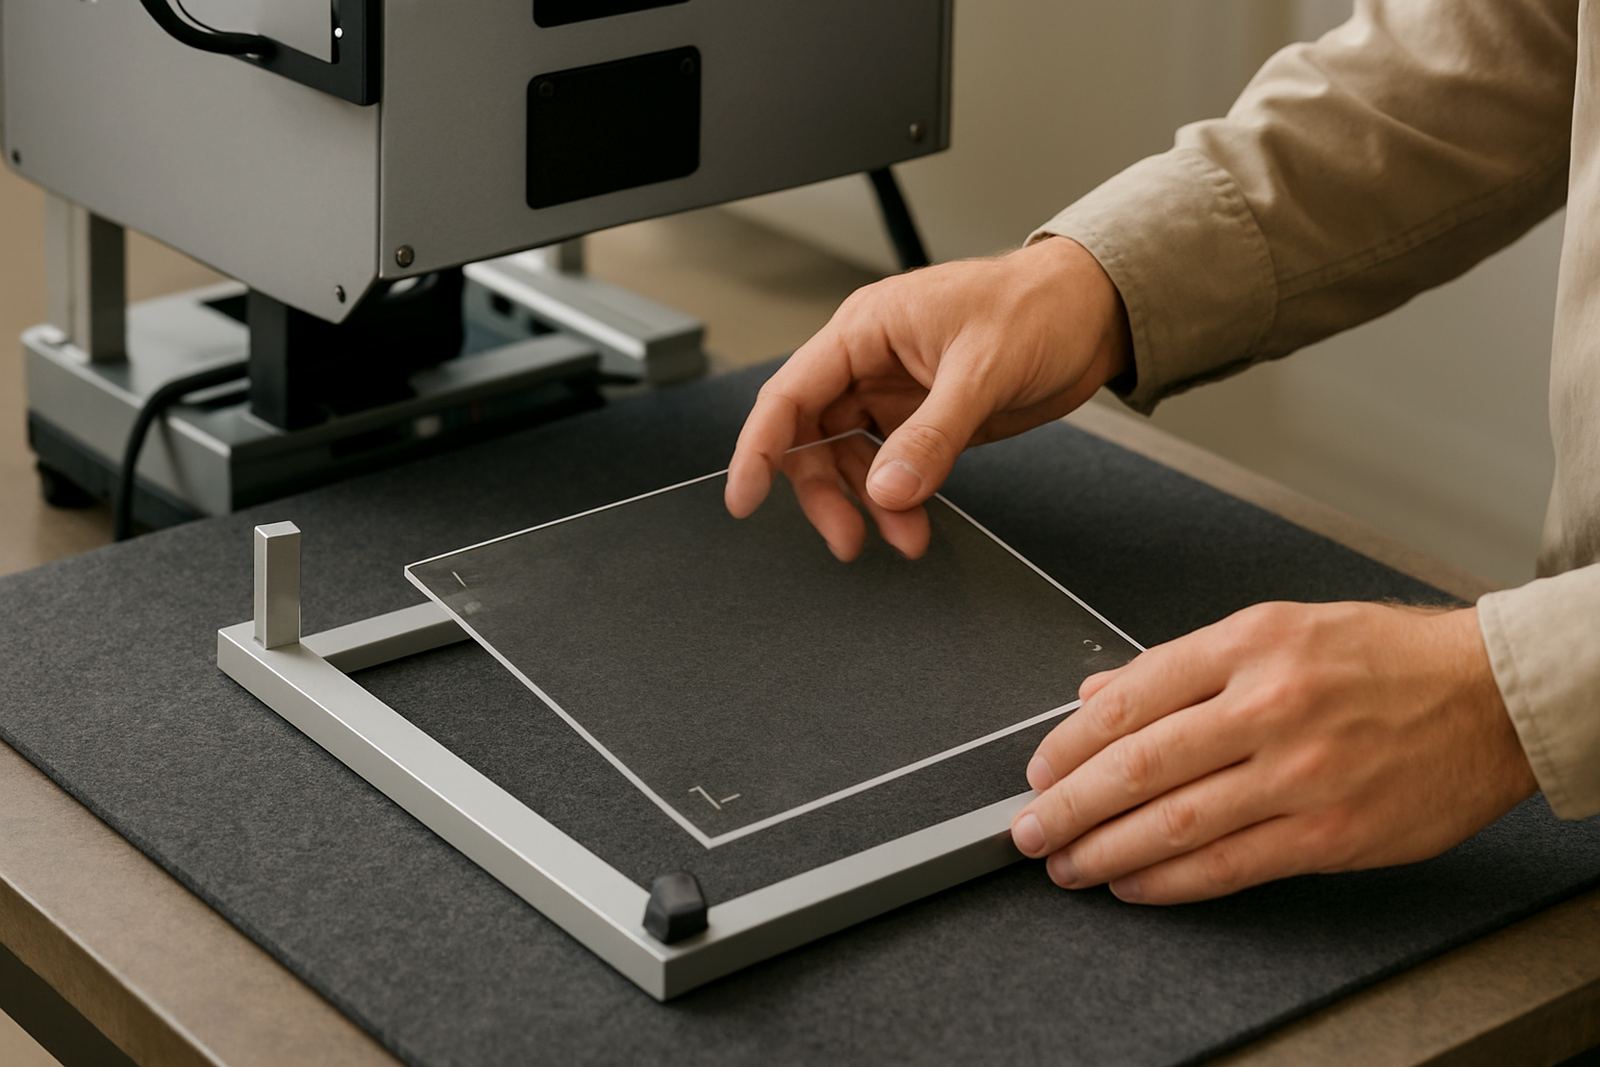
We checked the results under normal office lighting and again at an angle, since that is how most people see signage in reception areas, passageways and lift lobbies. The brief also included a few narrow components for framed inserts, so we checked registration and repeatability on smaller work pieces as well. One of the key goals was to keep the mark legible without making it too bold, which is a small detail but it matters.
- Trial pieces were approved before the main run
- Lettering was checked for width, spacing and alignment
- Surfaces were cleaned before marking to remove dust and release residue
- Finished parts were inspected for haze, lift or edge distortion
Installation support on site in Sandton
Once the samples were signed off, we supported the signage team with setup guidance, handling tips and final checks during installation. The work ran to a practical two-week timeline from sample approval to handover, which included production, marking, inspection and fitment support. The site programme was tight, so coordination mattered just as much as the marking itself.
Sandton sites often have their own access rules, loading bays, security checks and time windows, so we kept the process straightforward. The marked pieces were delivered in sequence for fitting, rather than all at once, which helped the installer work through the panels in order and avoid mix-ups. That made a difference on a project with multiple small sign elements, each one needing the correct orientation and placement.
We also gave the site team a simple handling note for the acrylic parts, especially where protective film had to stay on until the last stage. On polished plastic the wrong cloth or solvent can leave marks very quickly, so care during install is just as important as the marking process. The crew appreciated that there was no guesswork on site, which saved time and a few headaches.
Results on the finished signage
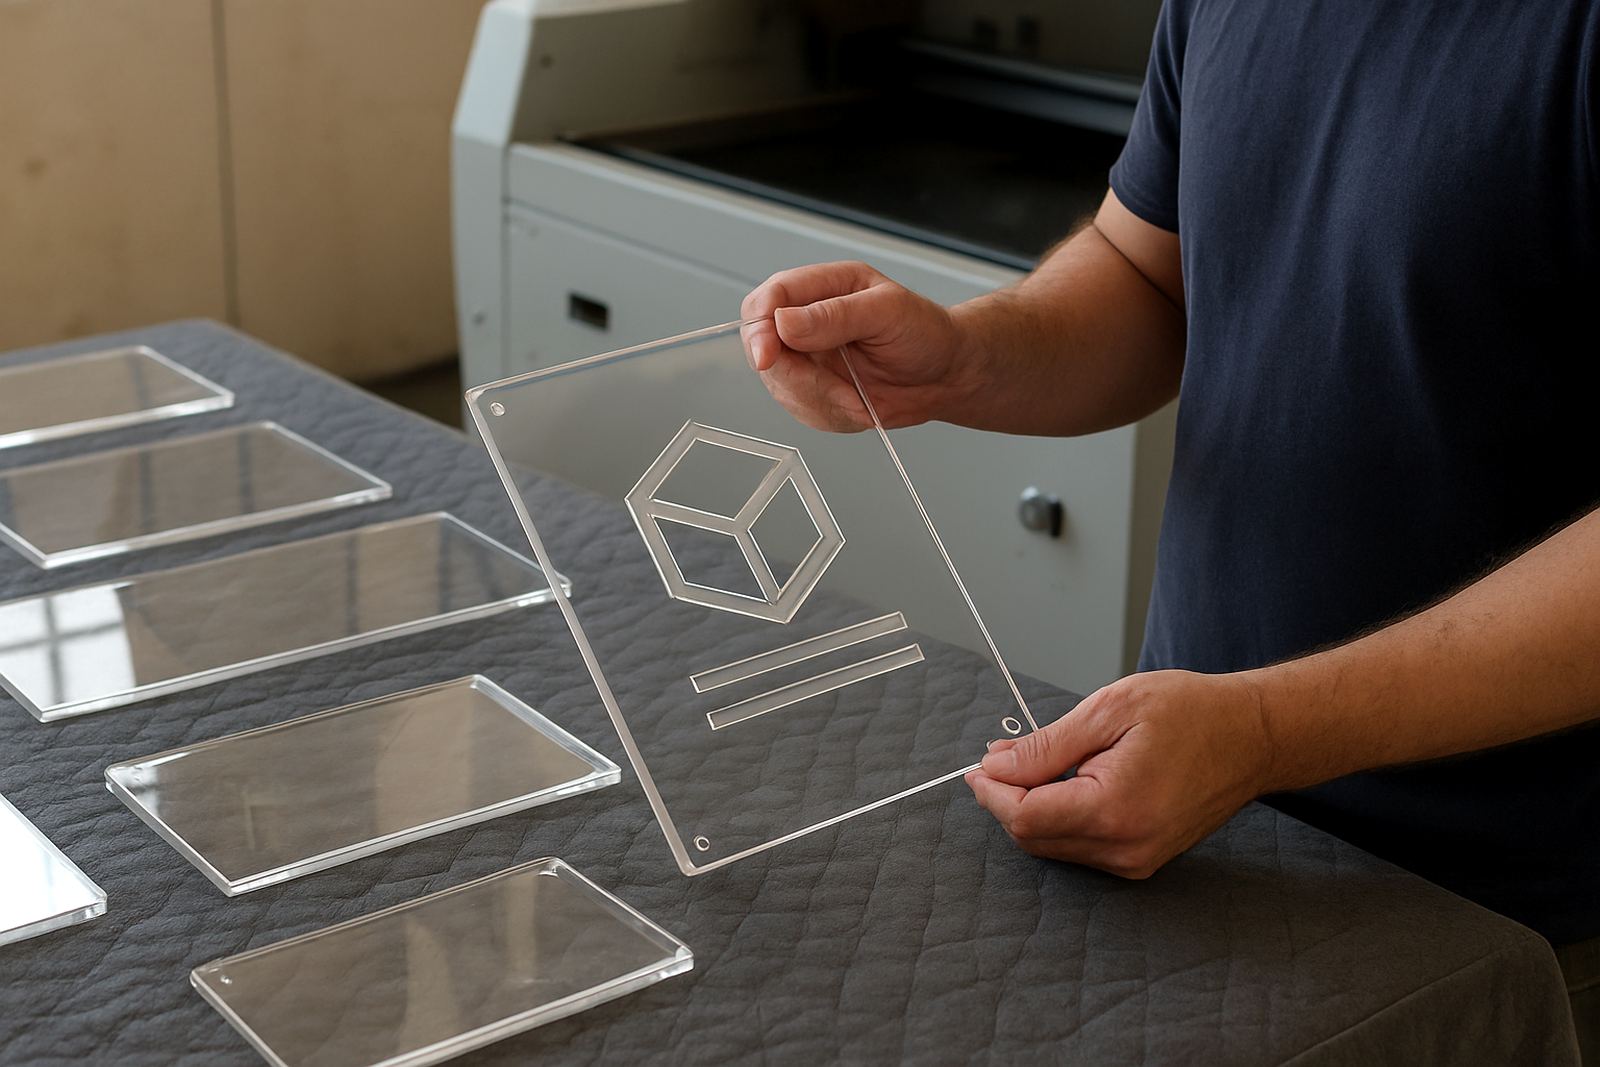
The finished acrylic elements came out crisp and consistent, with the detail visible from a normal viewing distance and still neat on closer inspection. The markings stayed permanent, and the installer was able to complete the sign assembly without adding stickers or cover plates to hide the small text.
For the end client, the result was a cleaner look and a more professional finish across the full sign set. The project also held up well to the usual indoor cleaning routine, which is important in office buildings where fingerprints and dust show up fast on glossy surfaces. In this case the marking process gave the branding the tidy, fixed appearance the client wanted, without overcomplicating the build.
- Sharp, repeatable detail across all acrylic components
- No visible bleeding or fuzzy edges
- Fast fitment because the pieces arrived correctly marked
- Permanent marking suited to everyday cleaning
From our side, the best outcome was simple: the installer had confidence during the fit, and the final sign read clearly from day one. That is what we aim for on projects like this, where the mark has to do its job quietly and stay that way.
What we would repeat on the next acrylic sign job
If we were doing the same type of project again, we would use the same sequence of sample approval, batch marking and staged delivery. It keeps the work controlled and makes it easier to catch small variations before they reach site. For acrylic sign elements, that discipline saves time and reduces the chance of having to remake a finished part.
We would also keep the handling instructions just as plain and practical. On projects with polished plastics, a clean surface and careful packaging are worth more than clever language. A minor scratch can spoil an entire face, so the packing and the final check need the same attention as the marking itself.
This project showed how useful UV marking can be for signage installers working on detailed acrylic work in Gauteng. Whether the job is for an office tower in Sandton, a retail fit-out in Midrand or a directional system in Pretoria, the same principles apply: accurate setup, the right material test, and a finish that holds up after install. It sounds straightforward because it is, but getting it right takes proper process and a bit of patience too.
Key facts
| Client type | Display installer handling a corporate signage project |
|---|---|
| Town | Sandton, Gauteng |
| Materials | Acrylic sign elements and inserts |
| Marking method | UV laser marking for fine permanent detail |
| Timeline | 2 weeks from sample approval to handover |
| Support provided | Sample testing, marking, installation support and training guidance |