Acrylic panels that needed tidy, permanent identification
The project came from a fabricator in Benoni supplying control and display panels for local equipment builders and panel shops in Gauteng. Their main concern was simple enough to state, but not always easy to achieve on acrylic: the marks had to be crisp, readable and permanent, with no cracking, whitening or surface distortion.
The panels carried serial numbers, part names, warning text and small reference marks. Some were clear acrylic, others were tinted, and a few had printed elements that could not be disturbed. The client needed a marking method that would suit short production runs as well as repeat jobs, because their work changes from week to week and the batch sizes are not always the same.
They also needed marks that would hold up in a workshop environment where panels are wiped down, moved around and fitted into assemblies before dispatch. Ink and stick-on labels were not a good fit for that, and engraving left the wrong finish on certain parts.
What we tested before the job went live
Before recommending a machine setup, we ran sample tests on several acrylic offcuts supplied by the client. This let us compare mark depth, contrast and edge quality across different thicknesses and colours. We also checked how the material responded after cleaning, because a panel can look fine on the day and still fail later if the marking leaves stress in the surface.
- Material tested: clear and tinted acrylic
- Typical thicknesses: 2 mm, 3 mm and 5 mm
- Marking content: text, numbers, logos and fine reference points
- Priority: clean edges, low heat input and repeatable placement
The testing stage showed that UV laser marking was the right process. It gave high contrast on the relevant surfaces, kept the panels flat, and did not rely on inks or consumables that would need constant replenishment. We also confirmed that the client could keep a neat finish on small and medium panels without rework. One of the samples needed a second pass to get the contrast right, so we adjusted the settings and the result was much better.
The setup we supplied for the Benoni line
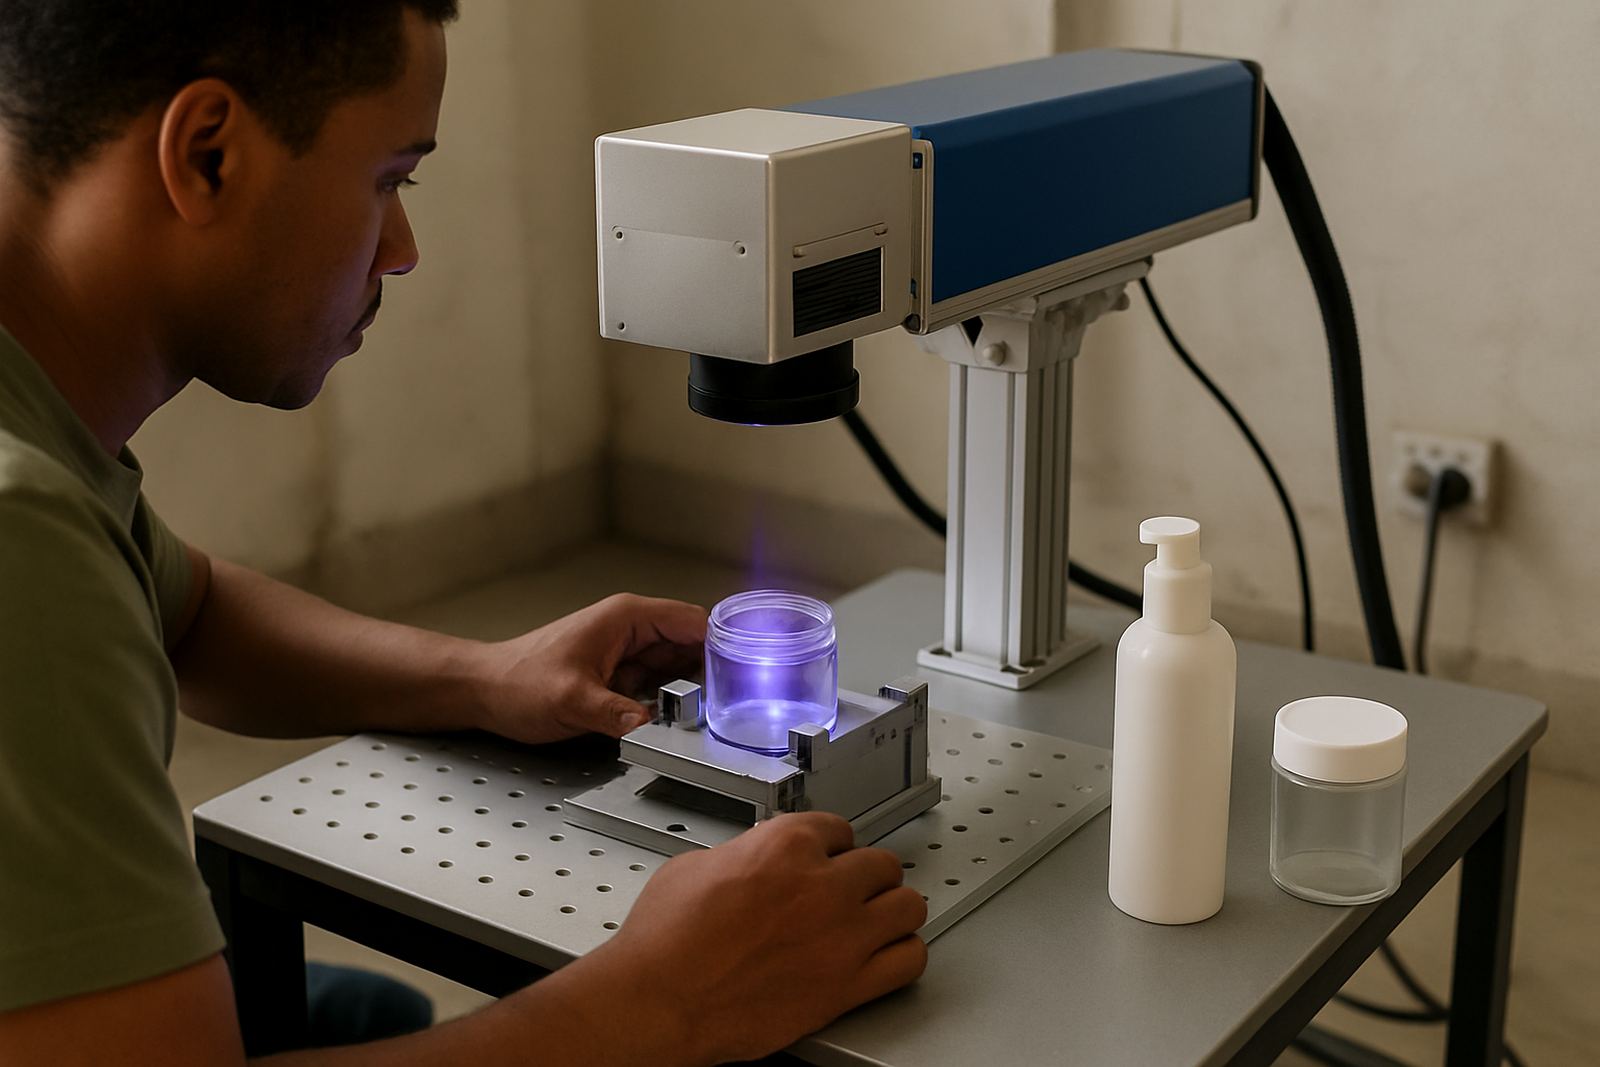
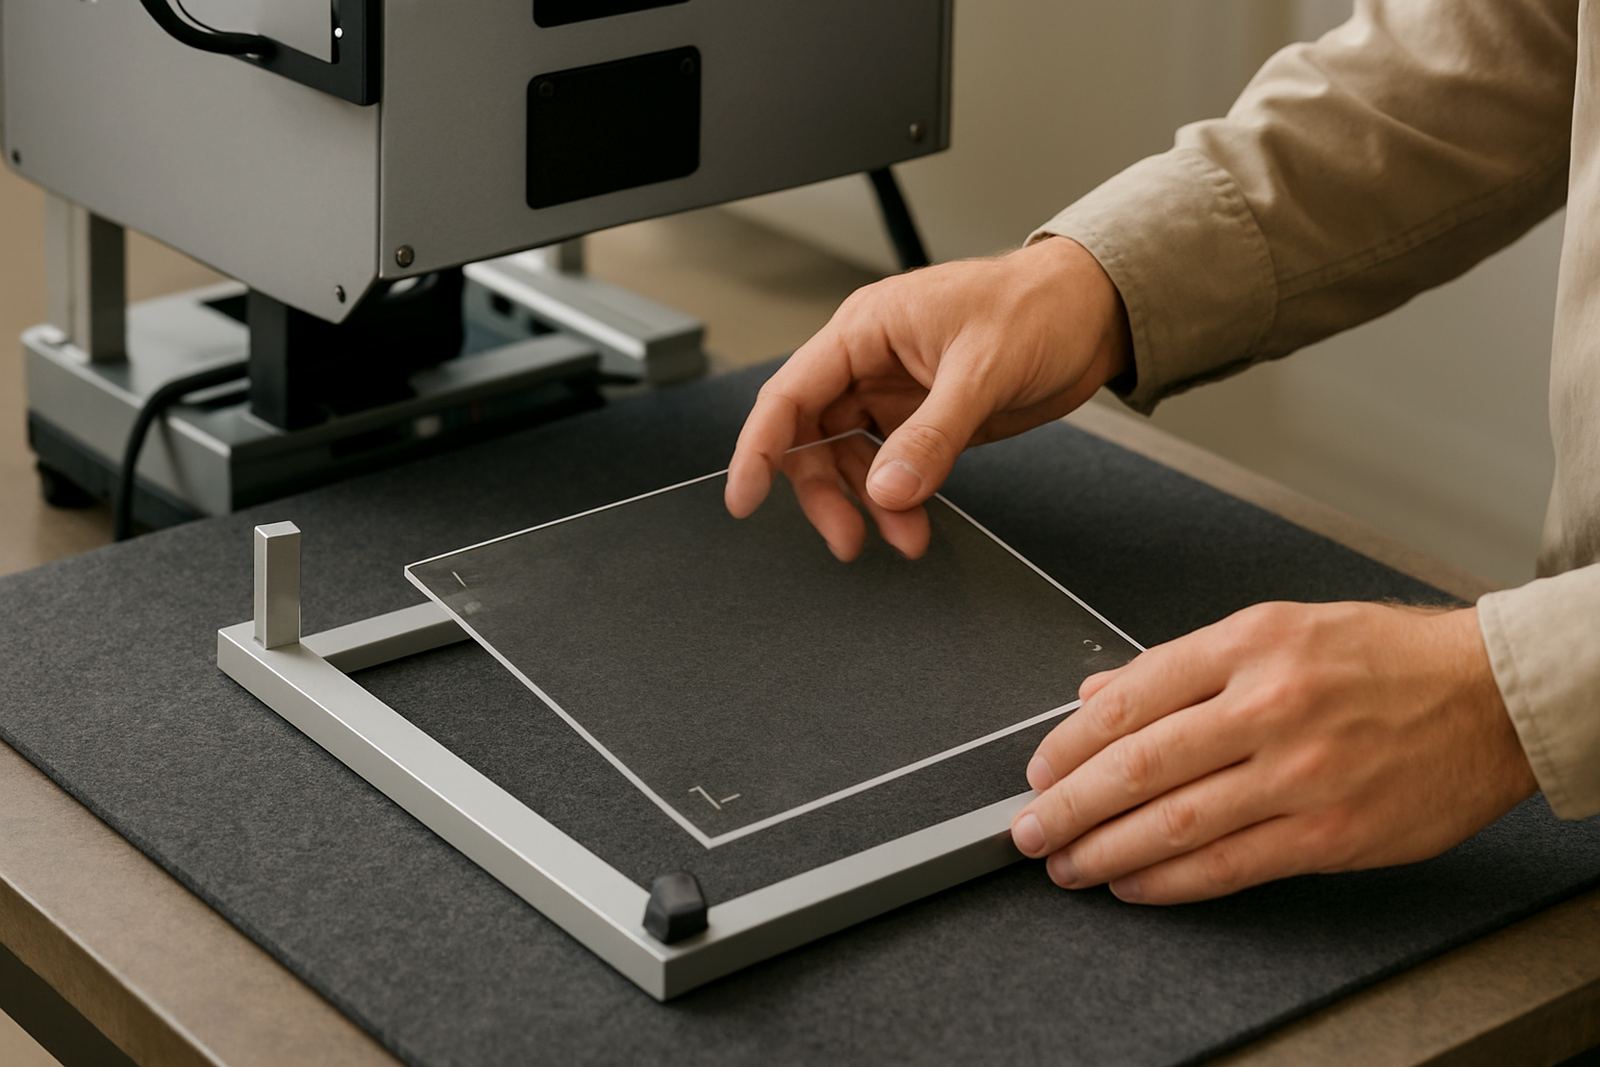
We supplied a UV laser marking system sized for flexible workshop use, together with the practical extras needed for a clean handover. The installation was set up to handle small part location, repeat marking and quick changeovers between panel types. Because acrylic can move slightly if it is not supported properly, we included fixture guidance to keep each panel sitting square and stable during marking.
The system was configured for fine detail work on plastics, with a focused beam suitable for crisp characters and logos on finished parts. We also set the workflow so operators could load a job, check positioning and run repeat marks without wasting time. For a Benoni site working under normal production pressure, that matters more than anything fancy.
- Permanent UV laser marking for acrylic and other plastics
- Fixture design advice for consistent panel placement
- Software setup for serials, labels and repeat jobs
- Operator controls set for fast, accurate use
The client wanted a solution that would not be fussy about day-to-day use. We kept the setup straightforward, easy to clean and ready for a busy floor. In practice that means less waiting around, fewer setup errors and better consistency from one batch to the next.
Installation, training and sign-off in three weeks
The full project ran over three weeks from first sample testing to final sign-off. Week one covered samples and marking trials. Week two was installation and initial setup at the Benoni site. Week three focused on operator training, job loading practice and the final production checks.
The site visit also covered practical issues such as power stability, workspace layout and dust control. In South African workshops, those things can affect uptime more than the machine itself. The team had a sensible plan for the line, but we still made a few small adjustments to improve movement around the marking station and keep the panels safe while being handled.
- Week 1: sample testing and process selection
- Week 2: machine installation and fixture set-up
- Week 3: training, final checks and handover
Training was done with the people who would actually run the work, not just supervisors. That made the sessions more practical. We covered marking speed, alignment, file preparation and basic care of the unit. The client picked up the process quickly, and by the end of the week they were producing repeatable results without extra help.
Results on the panels and what changed on the floor
The clearest result was the finish. The acrylic panels came out with sharp, easy-to-read marks that suited both control use and client-facing display work. There was no visible charring, no messy edge bleed and no need to send parts back for relabelling. That saved time straight away.
The second improvement was consistency. Once the fixture position and software settings were locked in, the team could mark parts with the same placement from batch to batch. That matters when a fabricator is handling mixed orders and cannot afford to stop and reset for every panel. The job moved faster, and the scrap rate dropped.
We also found that the UV process gave the client more freedom with future work. They could now do short runs, prototype labels and replacement panels without changing the whole production method. That is useful for a business serving different customers in Benoni, Boksburg and the wider East Rand.
What we would do again for a similar panel job
If we were doing the same type of job again, we would follow the same sequence: test the exact acrylic first, set the fixtures around the real panel sizes, then train the operators on the actual files they will use every day. That order saves time and avoids guesswork. It also prevents the common mistake of installing a marking system before the final panel method has been confirmed.
We would also keep the handover focused on production habits that matter, like cleaning the marking area, checking part placement and keeping a record of the right settings for each panel type. A small discipline at the start prevents a lot of rework later on. For clients in Benoni, Germiston or Kempton Park, that kind of practical setup usually pays for itself quickly.
UV Laser continues to support sites across Ekurhuleni and nationwide with demos, installs, training and maintenance. For this project, the client needed tidy identification on acrylic panels and a process that would fit a real workshop, not a lab. That is exactly what was delivered.
Key facts
| Project location | Benoni, Ekurhuleni |
|---|---|
| Client type | Fabricator producing control and display panels |
| Material marked | Acrylic panels, clear and tinted |
| Marking method | UV laser marking |
| Project timeline | 3 weeks from sample testing to handover |
| Key outcome | Crisp permanent identification with no heat damage |