When acrylic panels need marking that lasts
Acrylic is used for display covers, light-duty guards, branded inserts, control faces and decorative panels, so the marking must stay neat even when the part is handled often. UV laser marking is a good fit where you need sharp text, logos, part codes or alignment marks without cracking the material or leaving rough edges.
In practice, many South African clients come to us when pad print or adhesive labels are not holding up in heat, sunlight or cleaning. Acrylic can be sensitive to process choice, so the setup has to suit the sheet thickness, finish and the final use. Clear, black or tinted panels each behave a little differently, and the right settings make the difference between a clean mark and a frosted patch that looks untidy.
For factories in Boksburg, Germiston, Kempton Park and Benoni, the usual need is simple: repeatable marking that looks professional and does not slow production. That can be one-off sample work, or a full line setup with fixture support and operator training.
Typical setup for display and cover panels
Acrylic panel marking usually starts with sample testing. We check the sheet type, thickness, surface finish and whether the part is flat or formed. From there, we select the machine, lens and workholding arrangement that suits the job. If the panel is small and runs in batches, a bench-mounted system may be enough. For larger panels or higher volumes, a more controlled station with a fixture and repeatable positioning is better.
The typical equipment set for this kind of work often includes:
- UV laser marking machine suited to plastics and acrylic
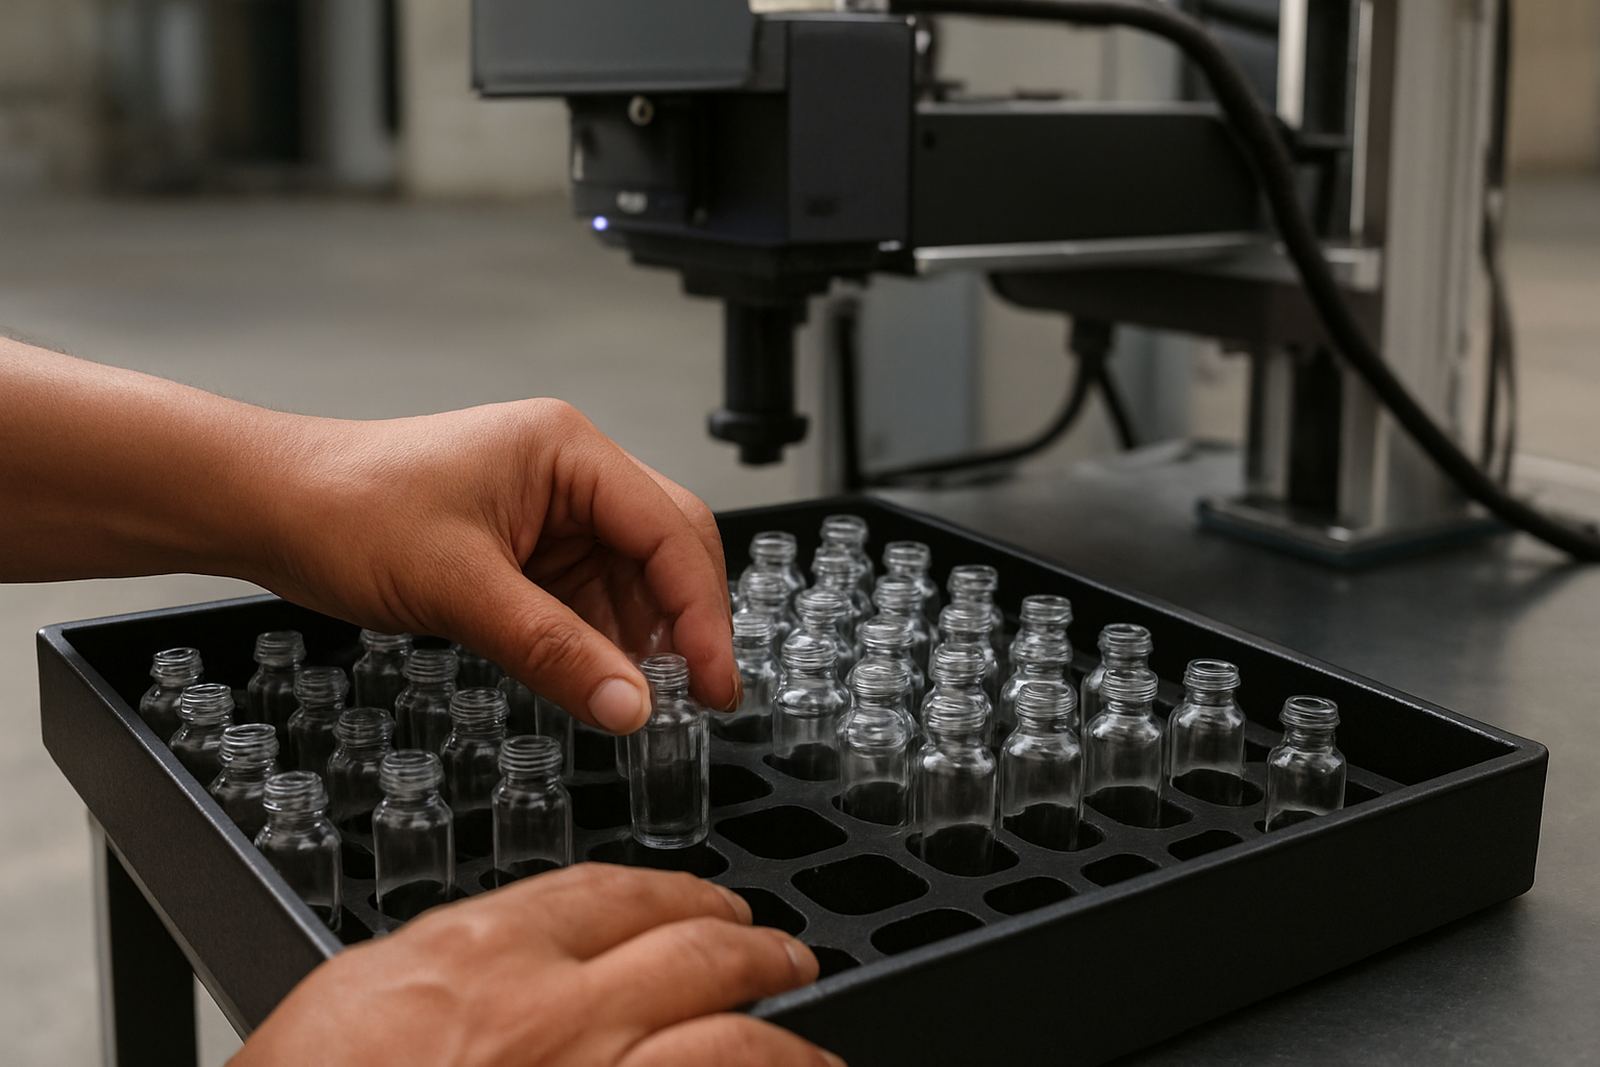
- Adjustable fixture or locating jig for repeat position accuracy
- Extraction or fume control where required
- Software setup for serials, dates, logos and variable data
- Basic inspection tools for reading and placement checks
On some jobs, especially where panels are part of a larger assembly, we also design a simple loading method so the operator can place the part quickly without scratching the surface. In humid coastal conditions or dusty workshop areas, that small planning step helps keep the finish consistent and saves rework.
How to plan the mark before production starts
Good panel marking starts with layout, not the machine. Before production, we look at where the mark should sit in relation to holes, cut-outs, bends, fasteners and visible edges. On branded covers and display pieces, the logo or text must line up with the viewing angle and not fight with other features on the panel. If the part is installed behind glass or inside a housing, the mark needs enough contrast to remain legible without looking heavy.
A common mistake is placing text too close to edges or clips, especially on thin acrylic where there is not much visual margin. Another is choosing a mark size that works on screen but becomes cramped on the real part. We usually advise clients to test at actual size, not just on a drawing, because small adjustments in font weight and spacing can change the final result quite a lot.
For multi-part jobs, it helps to decide early whether the panel will carry a serial number, a brand mark, a batch code or all three. Once that is clear, the fixture, software fields and operator steps can all be set up around the same standard.
Common mistakes we help clients avoid
Acrylic looks simple, but it can show mistakes clearly. If the settings are too aggressive, the surface can haze more than expected. If the mark is too light, it may look fine on day one and then disappear into the finish when the panel is washed or wiped. For that reason, sample testing is worth doing even on a small order.
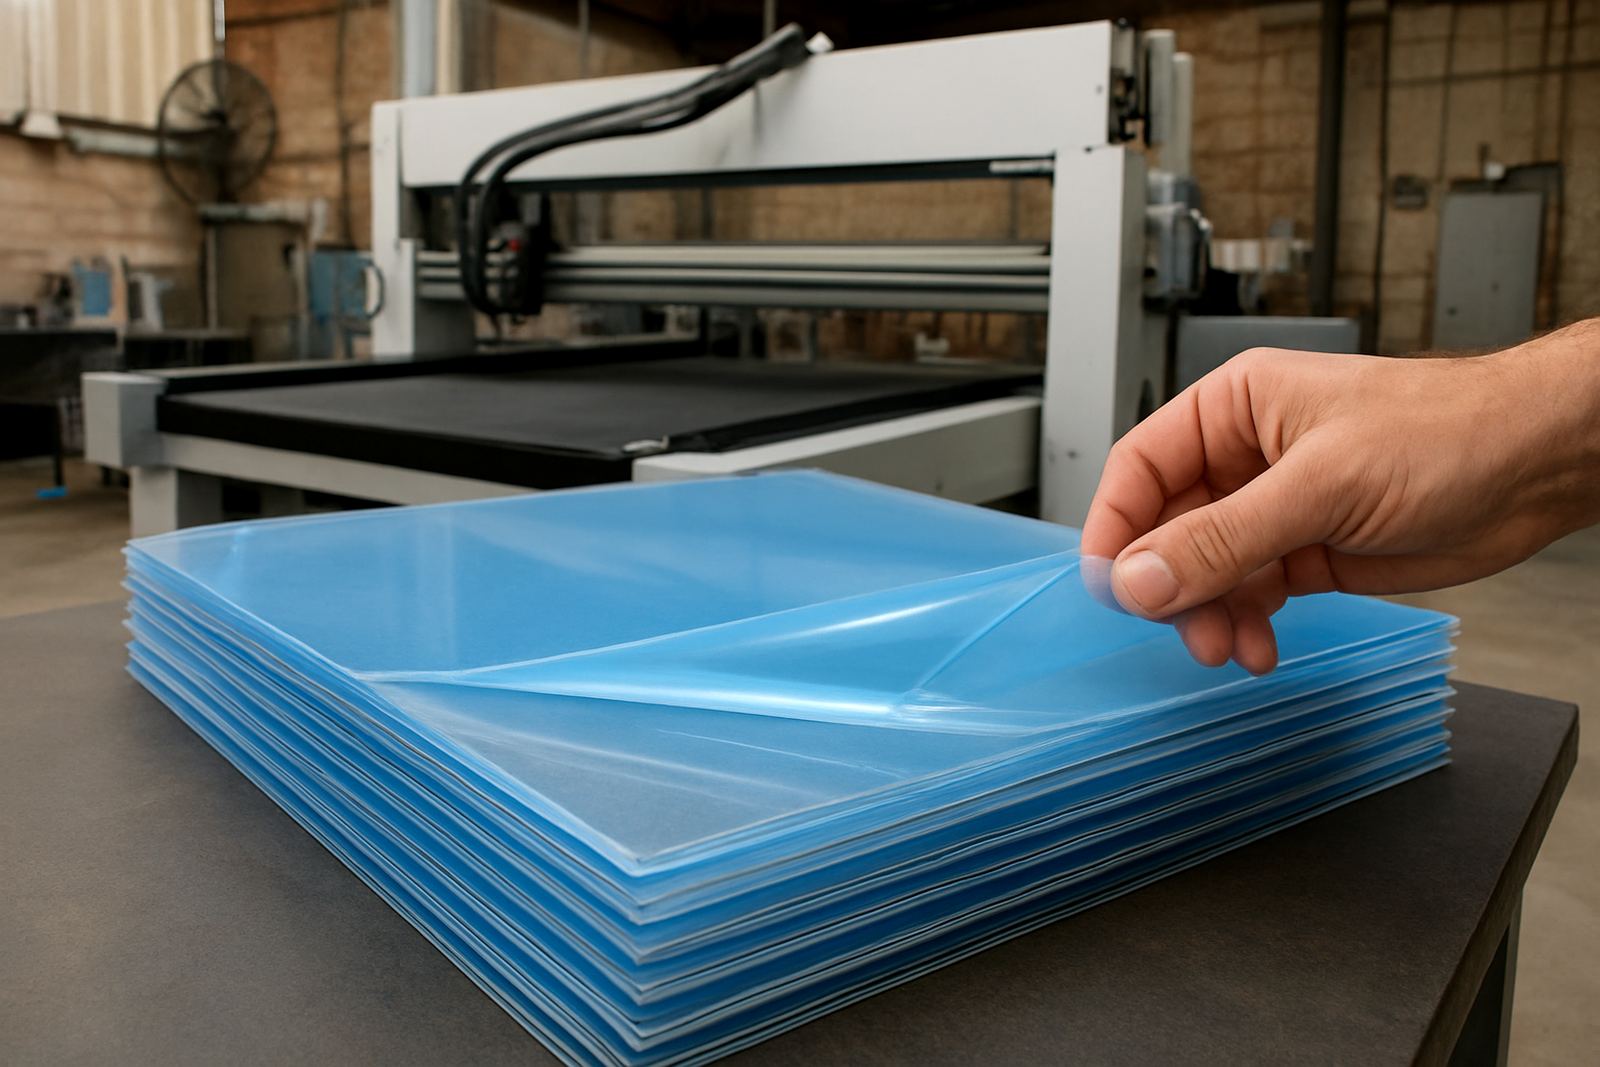
The most common problems we see are not usually about the laser itself. They are about process control, part handling and expectations. People often underestimate how much the finish, sheet colour and protective film affect the result. In some cases the panel arrives with a slight warp or with moulded texture, and then the mark position needs to be adjusted to keep it even.
- Skipping sample testing before full production
- Marking too close to curved edges or fixings
- Using the same setting across different acrylic grades
- Ignoring dust, fingerprints or film residue on the surface
- Not training operators on loading and part orientation
If the job runs across several sites, we can standardise the setup so the same result is achieved in Jet Park, Pretoria or Midrand without each team working it out from scratch.
Budget ranges for acrylic panel marking projects
Budgets depend on whether you need sample work, a standalone marking station or a more integrated production setup. For clients who only need a few panels marked for approval, the cost is usually modest and mostly driven by testing and setup time. For regular production, the spend shifts toward the machine, fixture design, software setup and training.
As a practical guide, small sample testing and mark development can start from a few hundred Rand per test cycle, depending on complexity. A basic entry-level marking solution for low to medium volumes can sit in the tens of thousands of Rand. A more complete setup with fixture design, operator training and line integration will usually move higher, and can reach well into the six figures for bigger factories or continuous duty use.
For a proper budget, it helps to consider the full project, not just the machine price. That includes installation, training, spares planning and preventive maintenance. If your panels are part of a regulated product or a branded retail display range, it is worth planning for future artwork changes too so the system stays flexible.
Support from Jet Park to sites nationwide
UV Laser is based in Jet Park, Boksburg and works with clients across Ekurhuleni, Gauteng and the rest of South Africa. We support acrylic panel projects in Germiston, Kempton Park, Benoni, Alberton, Midrand and Pretoria, and we also travel for demos, installs and operator training nationwide. That matters when a production line cannot wait for long delays or repeated guesswork.
Our team includes Riaan Pretorius, Naledi Mokoena, Refilwe Mahlangu, Anele Dlamini, Priya Naidoo and Thabo Khumalo, so clients get help from people who understand setup, service and day-to-day production pressure. If a site needs fixture changes, software setup, breakdown repairs or a process review, we can work through the details and keep the marking process practical.
For acrylic panels, the goal is simple: clear marking, repeatable placement and a finish that suits the product. Whether the job is for a display cover, a fabricated panel or a branded insert, we help make the mark look right and stay that way.